Managing Calls
146 41-001524-00 REV00 – 04.2014
Call Forward in Custom Mode
IP Phone UI
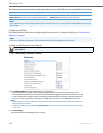
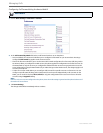
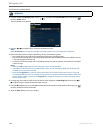
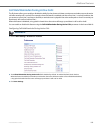
1. Press the configured Call Fwd softkey or press , navigate to the Call Forward option and press the
button or Select softkey.
The Call Forward screen displays.
2. Press the
3 or 4 navigation keys to change to the desired account.
Note:
Select All Accounts if you want your changes to be made to all the accounts configured on the phone.
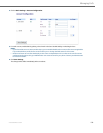
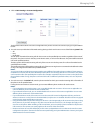
3. Enter forwarding numbers using the dialpad keys for any of the following states:
• All: Forwards all incoming calls for the respective account to the specified number.
• Busy: Forwards incoming calls to a specified number if DND has been enabled for that account OR if the account
is currently engaged in another call.
• No Answer: Forwards incoming calls to a specified number if the call has not been answered for the specified
number of rings.
Notes:
• Pressing the
2 navigation key moves the selection to the next field/checkbox.
• If All and Busy and No Answer are all enabled (and/or if the account has DND enabled), the All settings take
precedence over Busy and No Answer.
• Pressing the CopyToAll key copies the call forward number of the Call Forward mode in focus to every Call
Forward mode of that account. For example, if you have the cursor pointing at the All state and has a call forward
phone number configured, pressing the CopytoAll key assigns the same phone number to the Busy and No
Answer states as well.
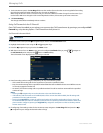
4. If configuring a forwarding number for the No Answer state, navigate to the No. Rings field and press the
3 or
4 navigation keys to change the desired number of rings.
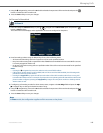
5. Using the
2 navigation key, move to the On checkbox beside the respective Call Forward mode and press the
button to enable the Call Forward mode.
6. Press the Save softkey to save your changes.


