Chapter 4 Page 89
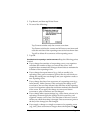
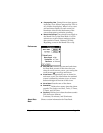
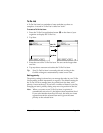
4. Use the Next Field Graffiti stroke to move to the First Name field.
Tip:
You can also move to any field by tapping it directly.
5. Enter the person's first name in the First Name field.
6. Enter the other information that you want to include in this entry.
Note:
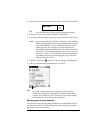
As you enter letters in the Title, Company, City, and State
fields, text appears for the first logical match that exists in
your Address Book. As you enter more letters, a closer
match appears. For example, you may already have
Sacramento and San Francisco in your Address Book. As
you enter “S” Sacramento appears, and as you continue
entering “a” and “n” San Francisco replaces Sacramento.
As soon as the word you want appears, tap in the next
field to accept the word.
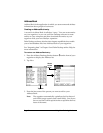
7. Tap the scroll arrows to move to the next page of information.
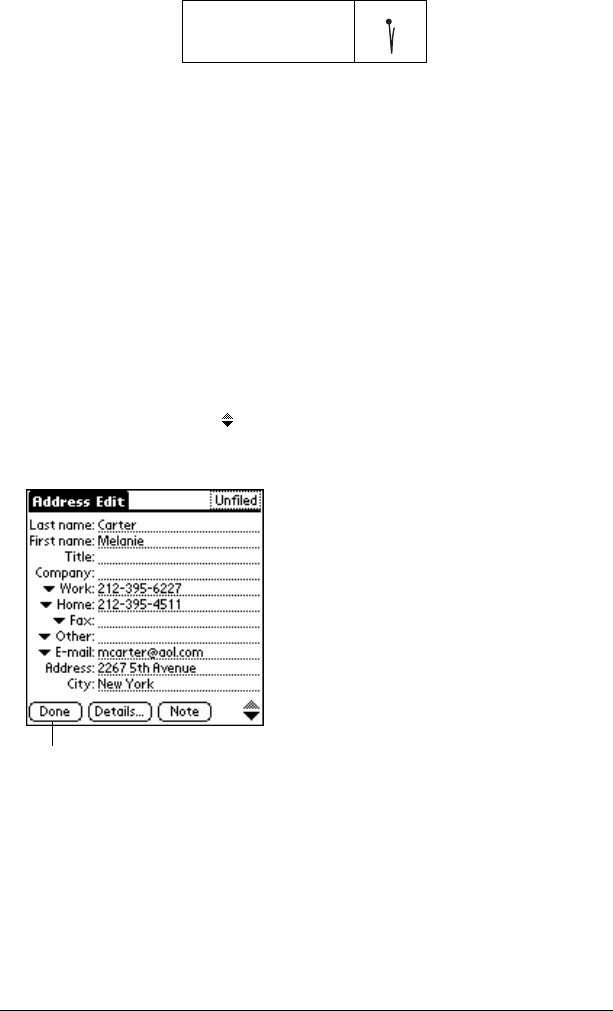
8. After you finish entering information, tap Done.
Tip:
To create an entry that always appears at the top of the
Address list, begin the Last name or Company field with a
symbol, as in *If Found Call*. This entry can contain contact
information in case you lose your organizer.
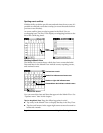
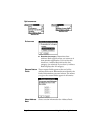
Selecting types of phone numbers
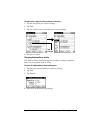
You can select the types of phone numbers or e-mail addresses that
you associate with an Address Book entry. Any changes you make
apply only to the current entry.
Next Field
Tap Done


