Page 200 Advanced HotSync® Operations
Returning to serial cable HotSync operations
It’s easy to return to using the cable for HotSync operations.
Note: If you’re using a USB cable and the Local USB option is already selected on the HotSync
Manager menu, you don’t need to do anything to return to cable operations.
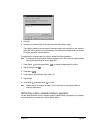
To return to serial cable HotSync operations with Windows 98 and Me:
1. If needed, connect the cable to your computer.
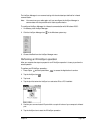
2. Click the HotSync Manager icon in the Windows system tray.
3. Choose Setup, and then click Local.
4. In the Serial Port list, select the COM port where your cable is connected.
5. Click OK.
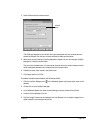
To disable infrared communication with Windows 2000:
1. Click the HotSync Manager icon in the Windows system tray.
2. Uncheck InfraRed on the menu.
3. In the Windows taskbar click Start, choose Settings, and then choose Control Panel.
4. Double-click the Wireless Link icon.
5. Click the Image transfer tab, and select the Use Wireless Link to transfer images from a
digital camera to your computer check box.
The next time you want to perform a HotSync operation just press the HotSync button on the
cable. You can leave the HotSync application on your communicator set to perform IR HotSync
operations and still use the cable. This is useful if you perform HotSync operations with both your
desktop computer and a laptop. When you are in the office just connect your communicator to
the cable and press the HotSync button. When you travel, you don’t have to carry a cable.
Conducting a wireless HotSync operation
Your communicator includes a built-in wireless modem which you can use for wireless
synchronization when you are away from your computer.
Note: The first HotSync operation must be local, using the cable. After that, you can perform a
wireless HotSync operation.
To perform a wireless HotSync operation you must complete the following steps:
■ Connect a modem to your computer
■ Configure HotSync Manager for use with your modem
■ Configure the Modem Preferences on your communicator


