Configuring Intercoms
43
Apply - This option will save your settings to the selected intercom. After applying changes to
an intercom, the unit will be reset and will be unavailable for 10-15 seconds
Cancel - This option cancels changes that have not been Applied
Exit - This option closes the Intercom Configuration Tool screen and returns to the main
screen after you have completed configuring all intercoms.
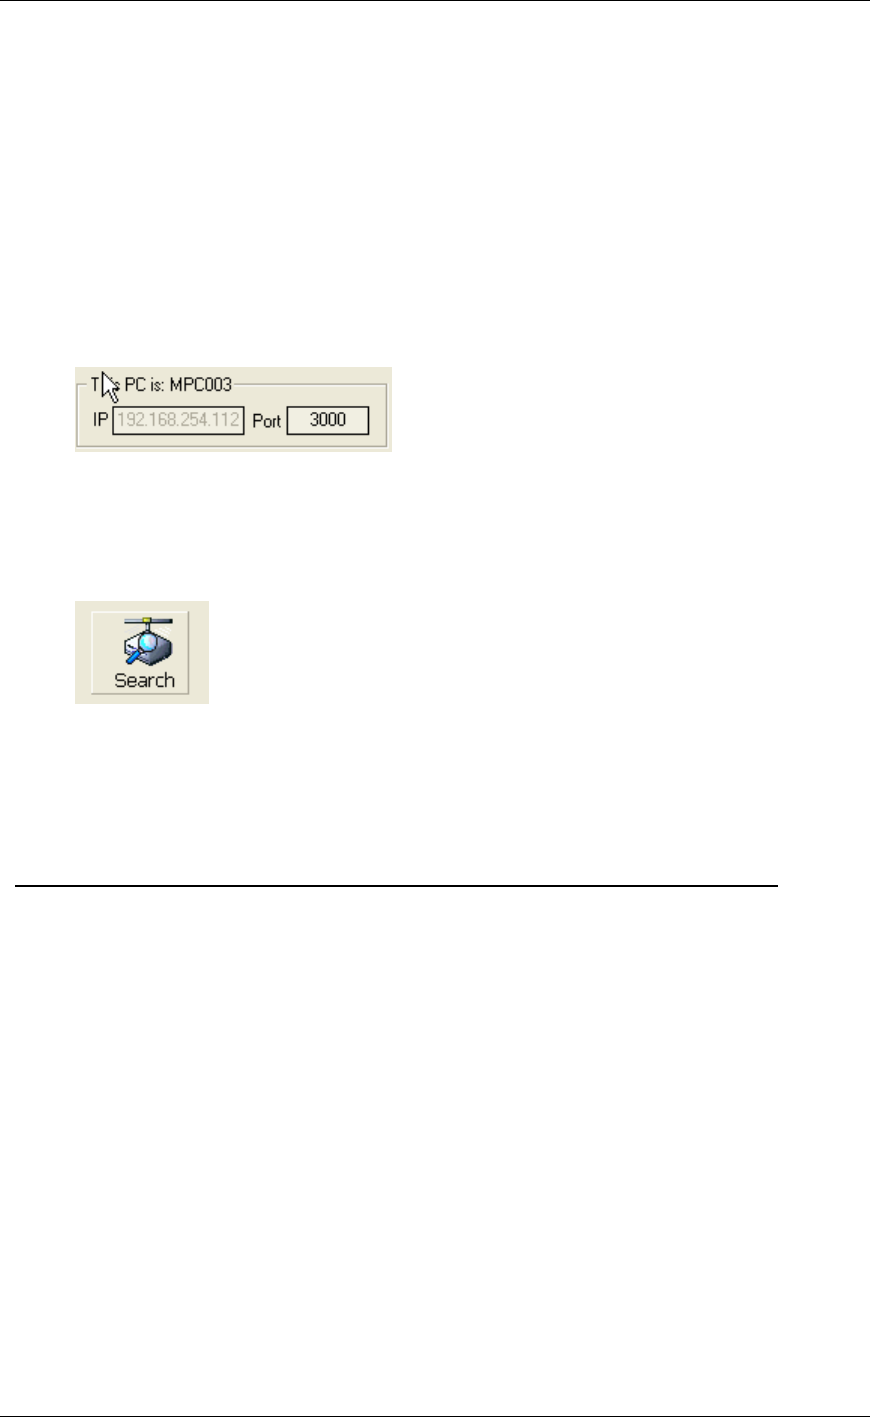
This PC is: XXXXXXXX - This option allows you to change the default Port number
TalkMaster™ uses to listen for Intercom connections on. If you change this setting, it will be
reflected in the Assign this PC address as client’s server. Intercoms must be configured to
connect to TalkMaster on this port.
Search - will re-search the local area network for all Aiphone IP Intercoms so you can verify all
of your changes. Please note, that if you Apply changes to an intercom, the unit will be
unavailable for 10 -15 seconds. If an intercom does not appear in the list, try searching a
second time.
If you need to change other options on the intercoms, make sure that you check menu View
Advanced. Refer to Advanced Configuration for details.
Intercom Configuration - Direct Mode
Configuring two intercoms in Client-Server mode (Direct Mode - No PC required)
This procedure configures two Intercoms to connect to each other. This connection can be on
a LAN, WAN or across the Internet.
To configure intercoms to connect to TalkMaster™, please see Intercom Configuration -
TalkMaster Clients.
From the main TalkMaster™ screen, select the menu Admin Configure Intercoms. The
system will scan the local network segment using a UDP Broadcast to find all IP Intercoms.
New Intercoms will show up with IP addresses of zero.
The Icom ID displayed on the
screen will match the ID# printed on the back of the Intercom.
