TalkMaster Menu Options
36
Adjust Levels
• Microphone audio sent to intercoms - with the radio button selected, adjusting the slider
affects the Windows Microphone Recording volume
• Internet or ‘Line In’ audio set to intercom - no adjustment allowed
• Audio from Intercoms (heard on this PC) - with this radio button selected, two options are
presented
• Master Volume - adjusts the Windows Master volume control
• Volume from intercoms - adjusts the Windows .wav file volume
Common IP Ports - is a list of commonly used port numbers. You may reference this if you
need to change the standard ports used by TalkMaster™.
Record program events to file - should only be checked if directed by Aiphone Technical
Support. Leaving this option checked for an extended period of time can cause TalkMaster™
performance to be affected.
Reset All Connections - will cause TalkMaster to drop all current IP connections to active
intercoms and force them to reconnect to TalkMaster™.
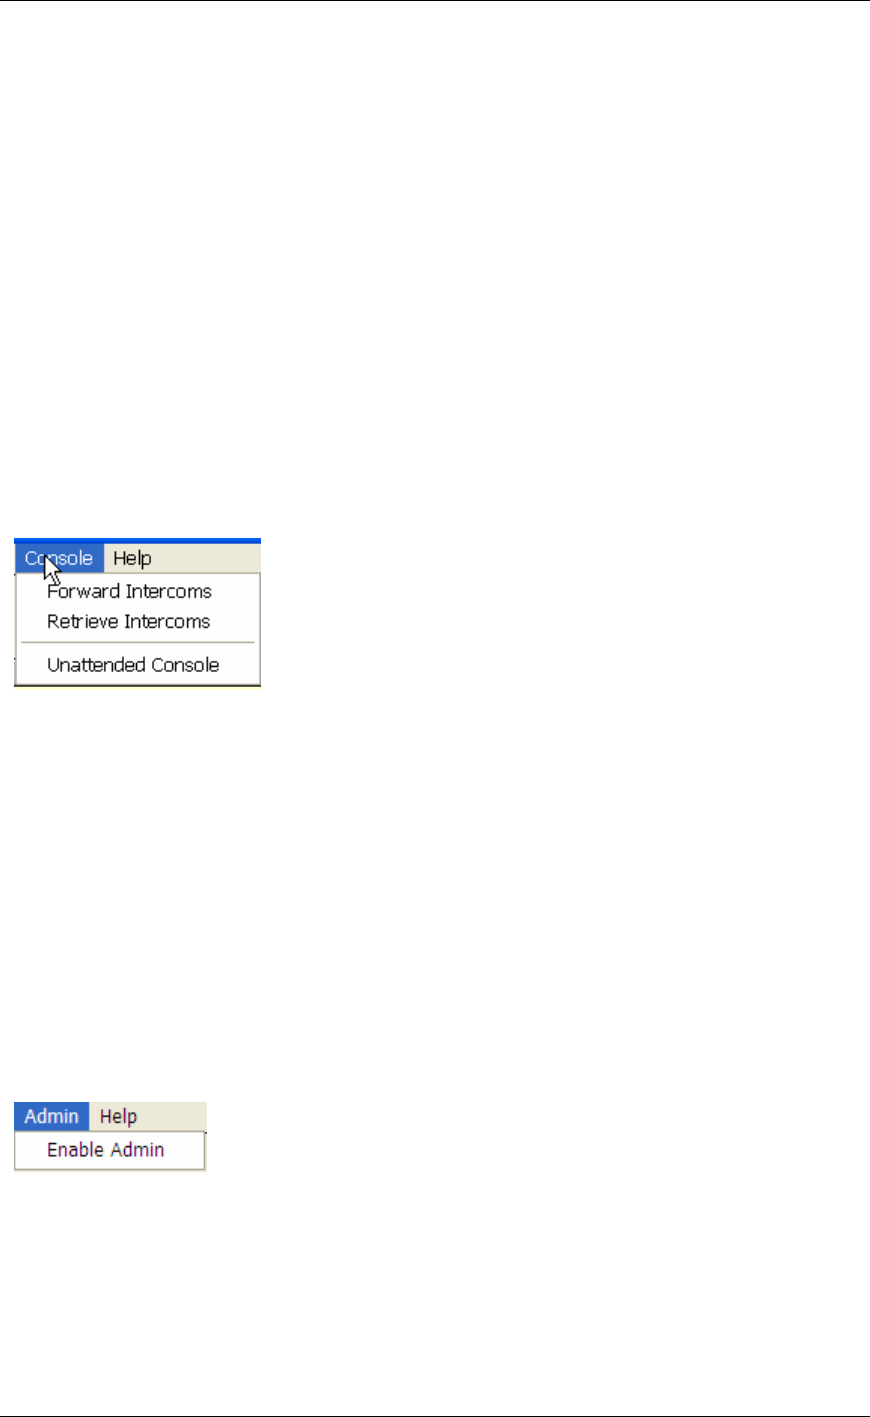
Console Menu
Forward Intercoms - brings up a dialog box allowing you to temporarily forward all of the active
intercoms to another PC running TalkMaster™. Refer to Forward Intercoms for complete
instructions.
Retrieve Intercoms - will retrieve any intercoms from other PC’s running TalkMaster that have
this PC’s IP address assigned as their primary server to connect to. This can be used to
retrieve intercoms that have been forwarded via the Forward command or by the Intercom’s
Fail Forward configuration to another console
Unattended Console - allows you to temporarily suspend the consoles operation. Any
intercom that tries to contact the console is notified that no one is available to take their call. A
dialog pops up reminding you that this mode has been set. Clicking the Cancel button returns
the console to normal operation.
This setting is saved between TalkMaster sessions.
Admin Menu
The Admin Menu allows you to configure TalkMaster™ for your environment.
To activate all of the options on the Admin Menu, click Enable Admin. You will be asked to
enter your Admin password (default is admin). The full Admin Menu will then be activated.


