Using TalkMaster
9
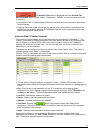
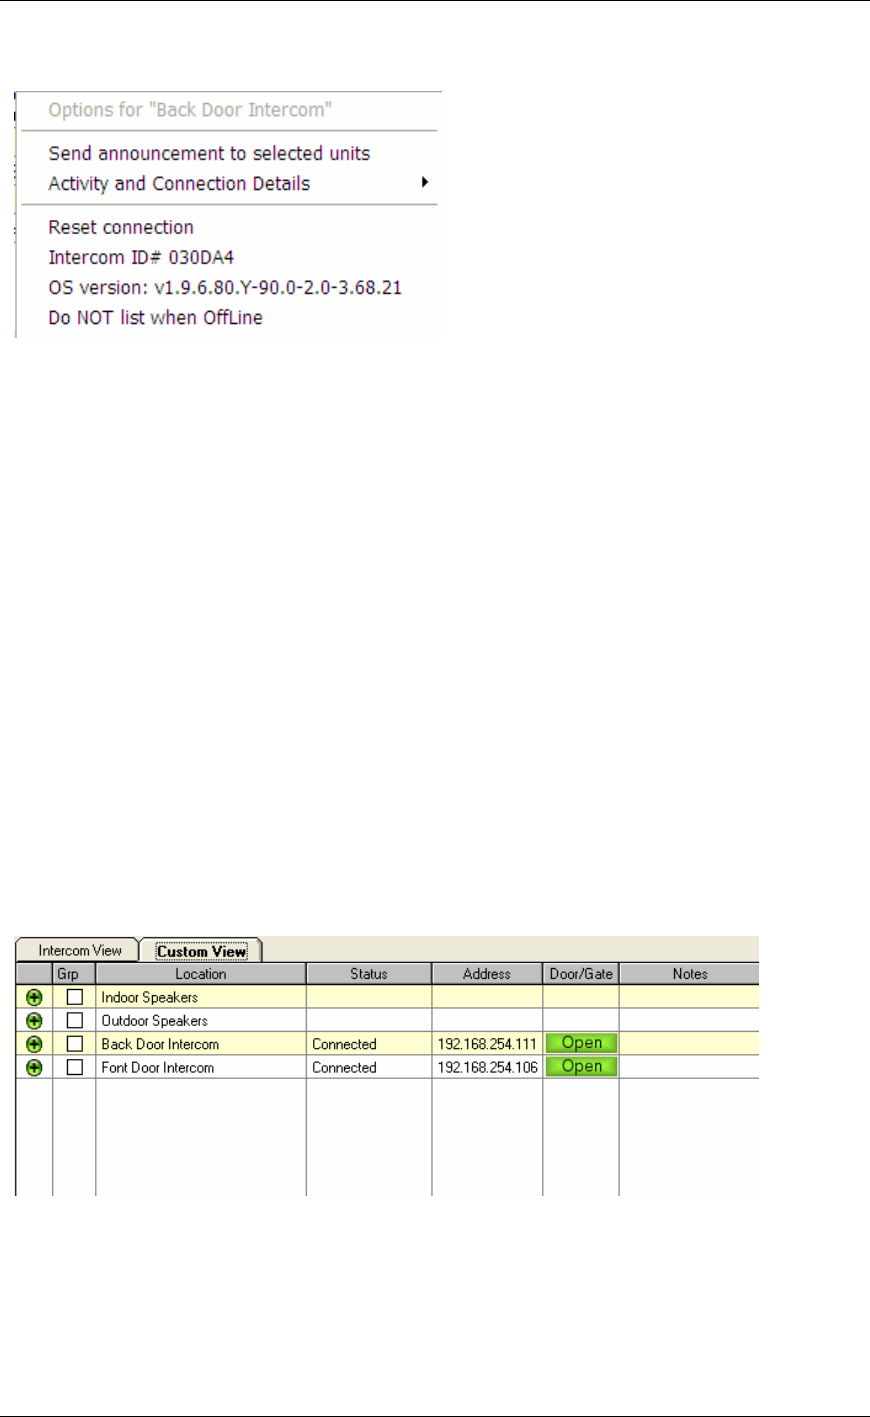
Right clicking on an Intercom displays the following Intercom Options context menu
• Send announcement to selected unit - Click to send the wave file defined in menu Admin
Preferences - Startup Audio to the Intercom
• Activity and Connection Details - Click to display the duration of the Intercoms
connection, the time it connected, the last time it received audio, the last time audio was sent
to it, and the IP address and Port it used to connect to TalkMaster
• Reset Connection - Click to close the socket the Intercom is connected to and force it to
reconnect to TalkMaster
• Intercom ID# - Shows the ICOM ID (last 6 digits of the MAC address)
• OS Version: - Shows the ICOM version, the Intercom option bits, the Intercom model, and
the NIC Version
• List when Offline/Do NOT list when Offline - Click to toggle this feature. The List when
Offline feature forces TalkMaster to remember this intercom and to report on it whether it is
connected or not. The List when Offline/Do NOT list when Offline option only appears
when TalkMaster’s Admin menu has been enabled. Refer to Managed Intercoms for more
information
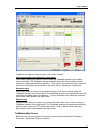
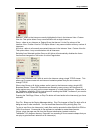
Custom View - is used when you require static paging groups as well as 2-way Intercom
communication. The Paging Groups are listed first and do not list any information in the
Status, Address, or Door/Gate columns. Any Intercoms that have connected to TalkMaster
and have not been defined in a Paging group will be listed next. You can also configure an
Intercom to appear in the list even if it is defined in a paging group by checking Display in
Custom View Tab of the Advanced Configuration Settings of the Intercom Configuration Tool.
Column definitions are the same as previously listed in this topic.
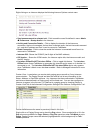
Single click on a Paging Group row to check the Grp column. Rows marked with an X in the
Grp column are available for Page, Chime or Play File operations when Talk Mode is set to
Group. Paging Groups cannot be selected (highlighted with a blue background) for Talk /
Listen operations.


