Address Book 73
3.
Select the category in which you want to store the entry by pressing and
press (ex. “Business”).
4.
Move the cursor to each field where you want to enter data by pressing .
5.
Enter the data.
• You can enter data in the following fields:
Last name, First name, Company, Section, Title, Office #
(number), Fax #, Home #, Mobile #, Pager #, Other #, E-mail
1, E-mail 2, URL, Address (W (Work)), City (W), State (W), Zip
code (W), Country (W), Address (H (Home)), City (H), State
(H), Zip code (H), Country (H), Birthday (M/D/Y or D.M.Y can
be selected by changing the Date Format setting in the
Settings application), Custom 1, Custom 2, Note.
6.
Tap “SAVE” to store the new entry.
The Edit screen turns into the Details screen.
If you tap the close box, the new entry is canceled.
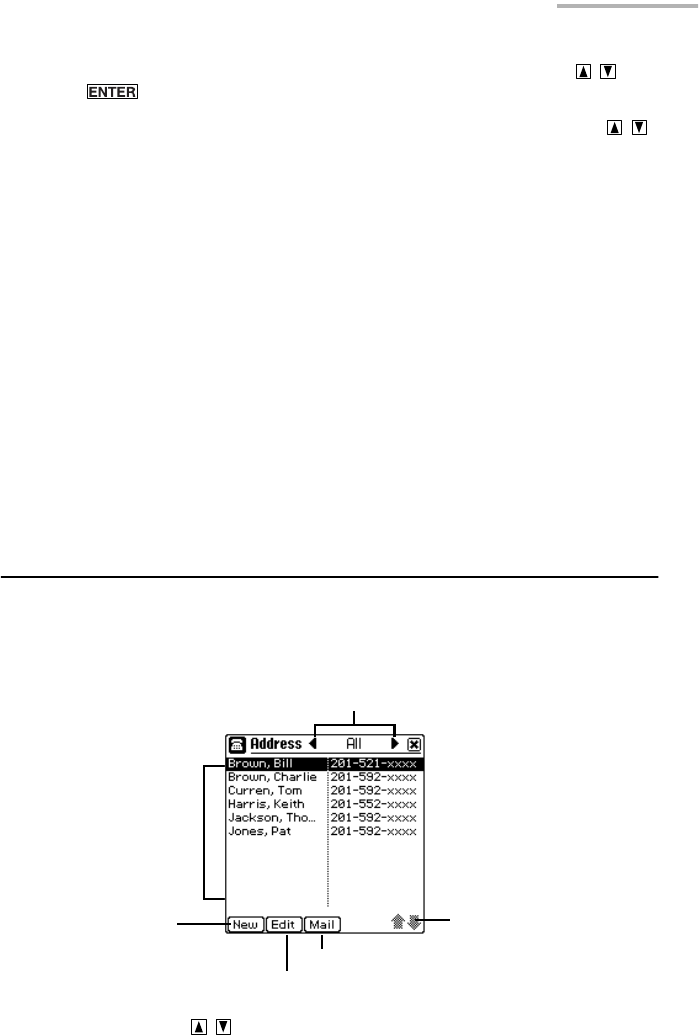
Viewing a list of Address Book entries
1.
Open the Index screen.
Address Book entries are displayed in alphabetical order according to the name
under a specified category and list item.
• Each time you press the highlight moves one line up or down.
Scroll up/down
Category menu
You can change the
sorting order.
(See page 75)
New button
Edit button
Mail button
00.Introduction.book Page 73 Friday, March 15, 2002 3:17 PM


