62
Ch. 4 Using Labels and Stamps
Using Labels and Stamps
●
●
●
●
●
●
●
●
●
●
●
●
●
●
●
●
●
●
●
●
●
●
●
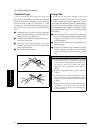
Laminated tape
The backing from labels printed on laminated
tapes can easily be removed if a half cut setting
was used (refer to page 55). However, if a half
cut setting was not used, the backing paper can
be removed by using the enclosed lettering
stick.
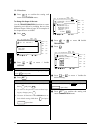
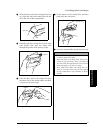
1
Hold the tape in your left hand, with the
printed surface facing up, and hold the let-
tering stick in your right hand.
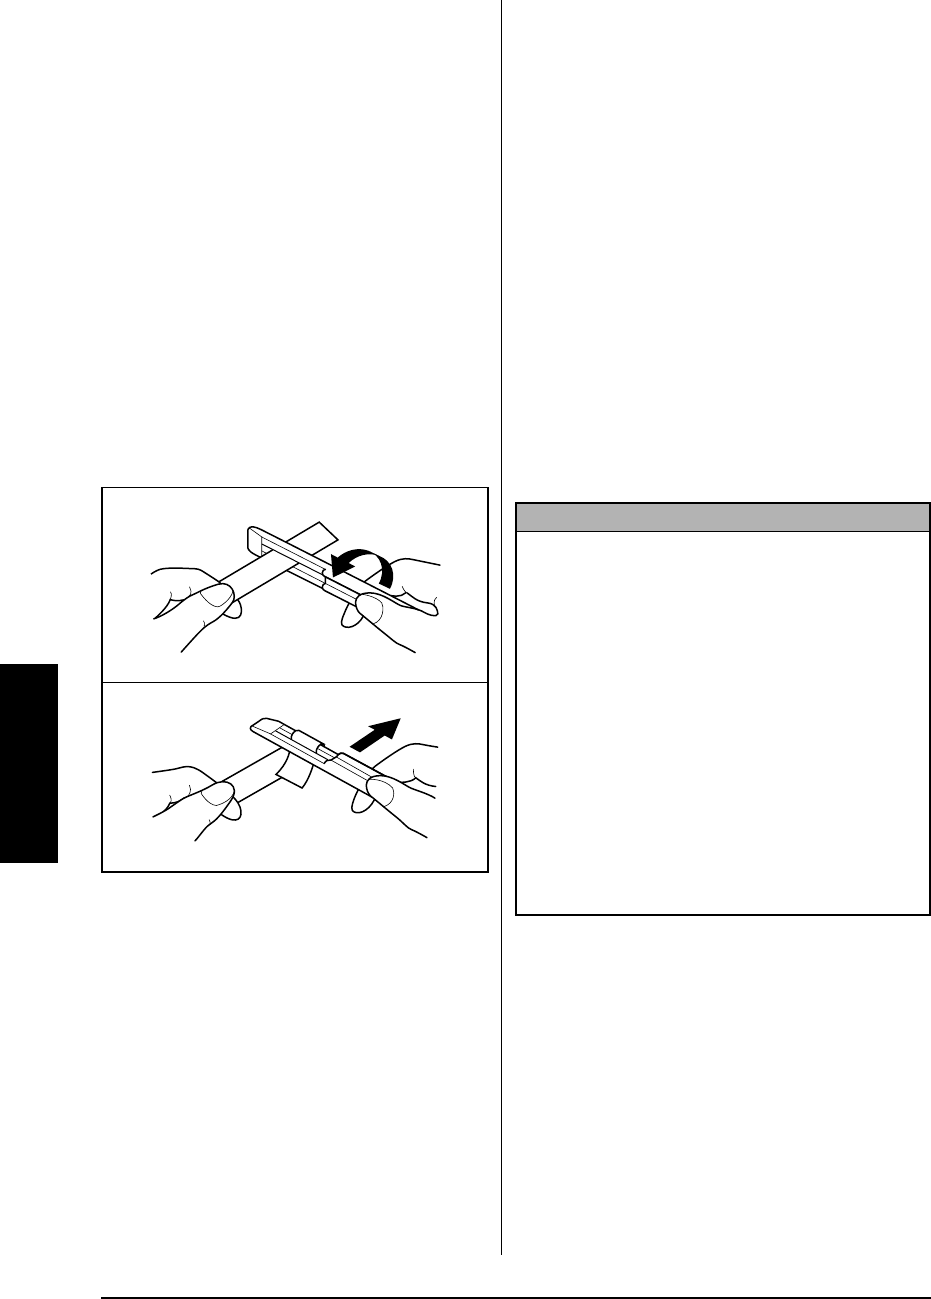
2
Pass the tape halfway through the long nar-
row hole in the stick.
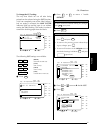
3
Turn the stick three quarters of a turn
towards you and pull the stick away from
you as shown below.
4
Peel off the label backing.
●
●
●
●
●
●
●
●
●
●
●
●
●
●
●
●
●
●
●
●
●
●
●
Stamp film
In addition to labels, your P-touch can be used
to make custom, pre-inked stamps for various
uses (optional stamp kit required). Simply design
your own customized stamps using one of the
pre-formatted stamp templates, and then affixing
the printed stamp stencil to a self-inking stamp
film holder.
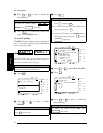
1
Install a stamp film cassette and enter text
into a pre-formatted stamp template. Refer
to pages 41 through 45 for more details on
using templates.
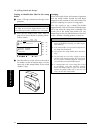
2
Print out the stamp stencil and remove its
backing paper.
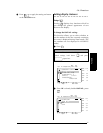
3
Remove the frame from around the stamp
holder ink pad, one end at a time, and then
remove the protective seal covering the ink
pad.
GH
ABCDEF
ABCDEF
NOTE
☞
If the stamp holder already contains a stamp
film, hold the stamp over a piece of scrap paper
and remove the stamp frame by pulling it off,
one end at a time. Then, slowly peel off the
stamp film. Be careful that the ink does not
splatter.
☞
Keep the stamp film holder out of the reach of
children.
☞
Avoid getting ink in your eyes or mouth. If ink
gets in your eyes or mouth, immediately wash it
with fresh water for several minutes and consult
a doctor.
☞
Keep ink off skin, clothes and important papers.
Immediately use soap to wash skin that has
come in contact with ink. Even washing may
not remove all ink.


