3
Ch.1 Before You Start
Before You Start
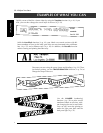
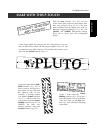
MAKE WITH THIS P-TOUCH
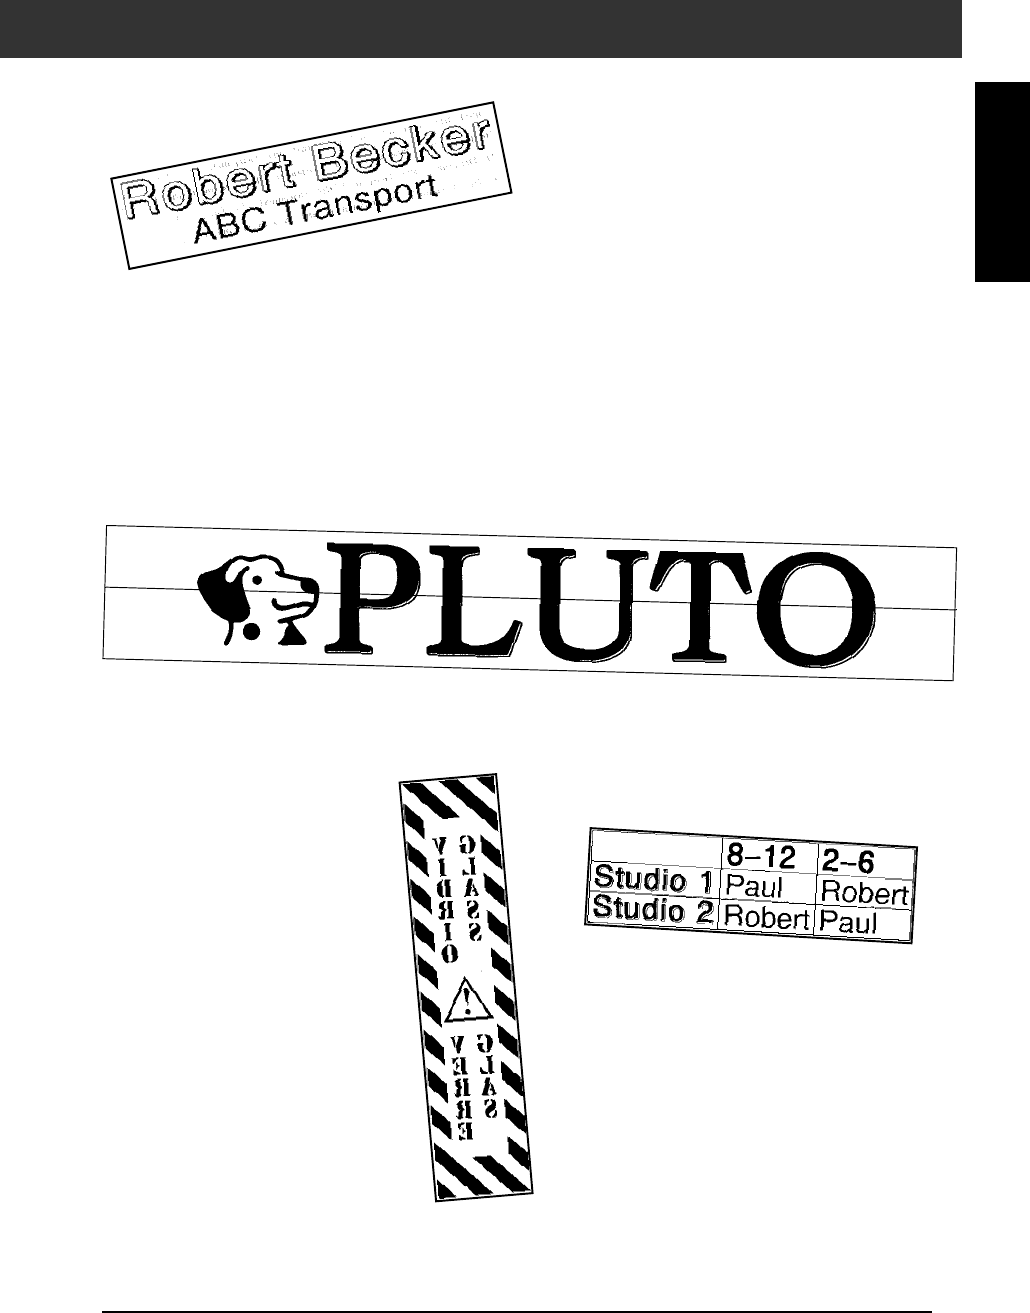
With the
Area
function (
➩
p. 22), you can
select certain parts of the text and change their
font, size and style (
➩
p. 25–31). Give your
label a different look by adding one of the 13
different background designs (
➩
p. 40). The
[SMALL]
and
[LARGE]
background settings
allow you to create your own background
design.
Using clear tape and the
MIR-
ROR
function (
➩
p. 52) to
print in reverse, this sign for a
glass door can be read from
the adhesive side. In this
example, a warning symbol
was added (
Symbol
function
➩
p. 17), and the entire text
was framed using the
Frame/
Shading
function (
➩
p. 32). In
addition, the label was
printed vertically using the
Vertical
function (
➩
p. 31).
Create a table using the
Frame/
Shading
function (
➩
p. 32) to put a
box around each line of each block
in the text. Then, use the
Area
func-
tion (
➩
p. 22) to format the headings
of the table.
Create larger labels by enlarging the text and printing it on two,
three or four labels, which can then be put together (
➩
p. 56). You
can decorate your label using the 475 symbols and pictures avail-
able with the
Symbol
function (
➩
p. 17).


