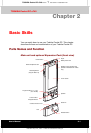
Microsoft Pocket Outlook
User's Manual 4-6
TOSHIBA Pocket PC e740 Version
1
Last Saved on 10/05/2002 21:02
ENGLISH using Euro_C.dot –– Printed on 10/05/2002 as PDA3_UK
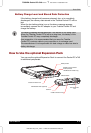
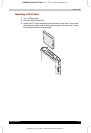
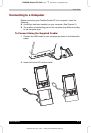
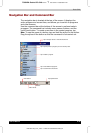
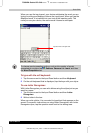
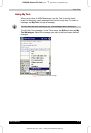
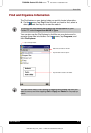
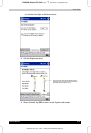
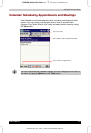
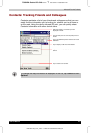
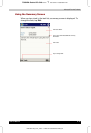
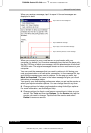
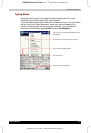
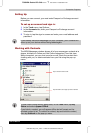
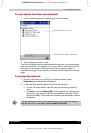
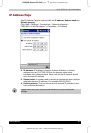
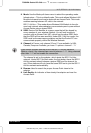
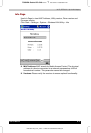
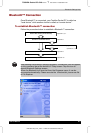
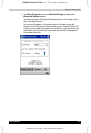
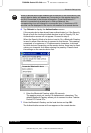
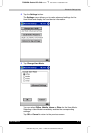
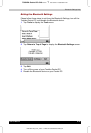
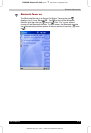
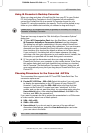
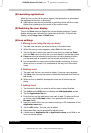
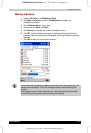
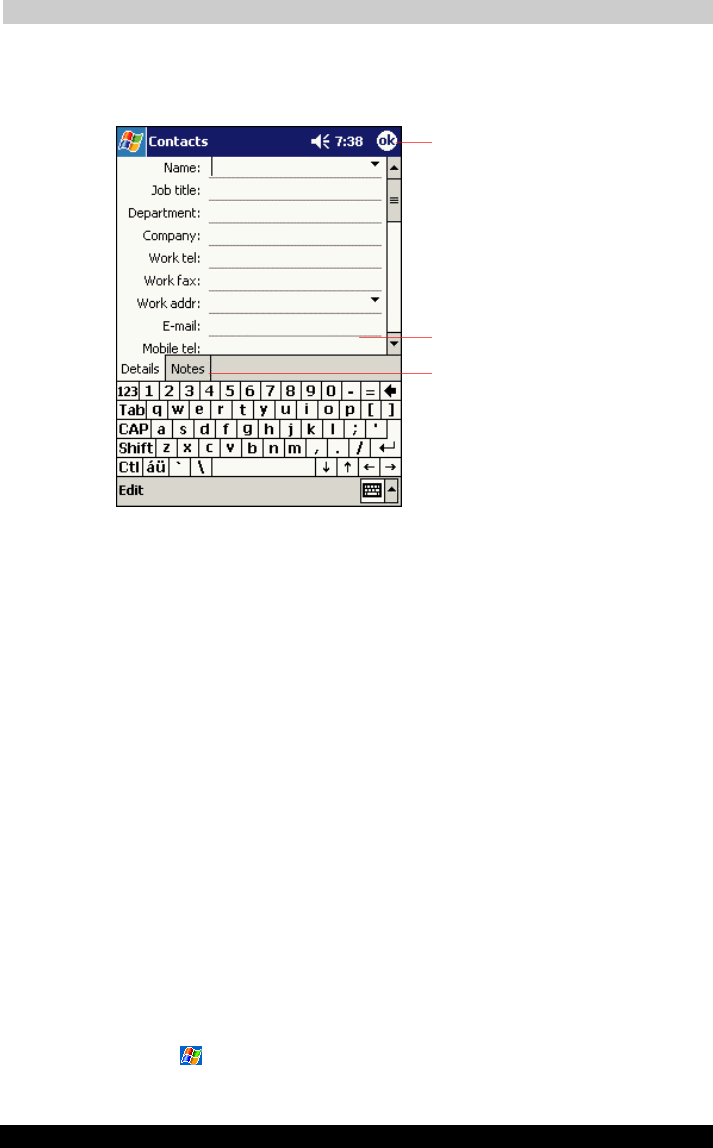
To create a contact:
1 Tap New.
2 Using the input panel, enter a name and other contact information.
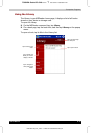
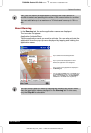
You will need to scroll down to see all available fields.
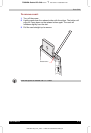
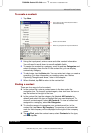
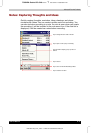
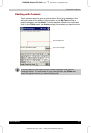
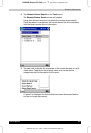
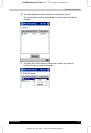
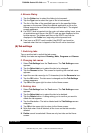
3 To assign the contact to a category, scroll to and tap Categories and
select a category from the list. In the contact list, you can display
contacts by category.
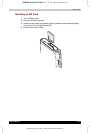
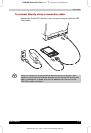
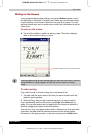
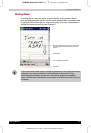
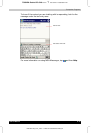
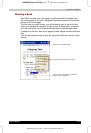
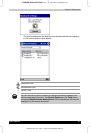
4 To add notes, tap the Notes tab. You can enter text, draw, or create a
recording. For more information on creating notes, see “Notes:
Capturing Thoughts and Ideas,” later in this chapter.
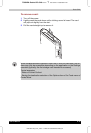
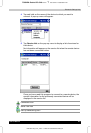
5 When finished, tap OK to return to the contact list.
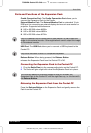
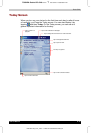
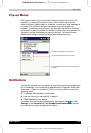
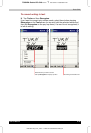
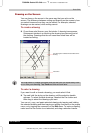
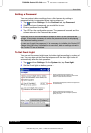
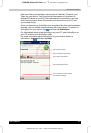
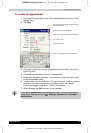
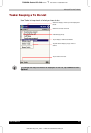
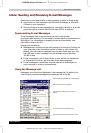
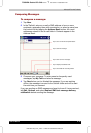
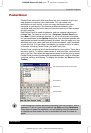
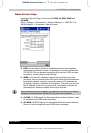
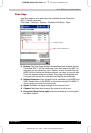
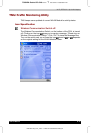
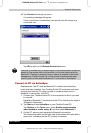
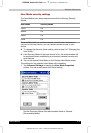
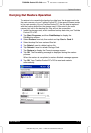
Finding a contact
There are four ways to find a contact:
■ In the contact list, enter a contact name in the box under the
navigation bar. To show all contacts again, clear text from the box or
tap the button to the right of the box.
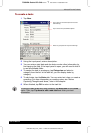
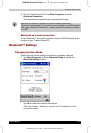
■ In the contact list, tap the category list (labeled All Contacts by
default) and select the type of contact that you want displayed. To
show all contacts again, select All Contacts. To view a contact not
assigned to a category, select No Categories.
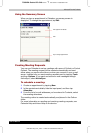
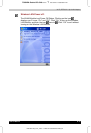
■ To view the names of companies your contacts work for, in the
contact list, tap View > By Company. The number of contacts that
work for that company will be displayed to the right of the company
name.
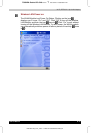
■ Tap
, Find, enter the contact name, select Contacts for the type,
and then tap Go.
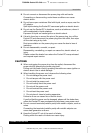
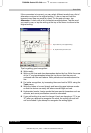
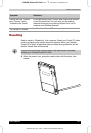
Notes is a good place for maps and directions.
Scroll to see more fields.
Tap to return to the contact list (the contact is
saved automatically).