


Basic Skills
User's Manual 2-12
TOSHIBA Pocket PC e740 Version
1
Last Saved on 10/05/2002 21:02
ENGLISH using Euro_C.dot –– Printed on 10/05/2002 as PDA3_UK
Initial Setup
When using the Toshiba Pocket PC e740 for the first time, carry out the
initial setup according to the procedures below after the battery has been
charged.
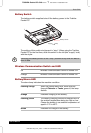
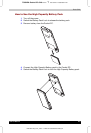
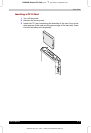
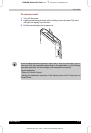
1 Move the battery switch to the “supply” position. The Toshiba
Pocket PC powers on automatically and the Welcome screen
appears. Tap the screen to start the following setup.
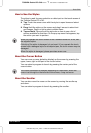
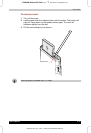
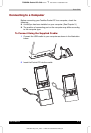
2 Execute touch screen alignment.
When the alignment screen appears, tap the center of the cross target
with the stylus. The next target position changes upon tapping the
target. Five taps completes the positioning alignment. The screen then
changes to the Stylus screen.
■ If a finger or any other object besides the stylus touches the
screen during alignment, the alignment will be cancelled and you
must repeat the procedure.
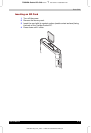
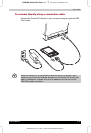
3 Read how to use the stylus.
■ Read and understand the stylus operation, and then tap NEXT.
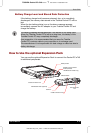
For more information on stylus operation, see “How to Use the Stylus” in
this chapter.
4 Learn the pop-up menu operation.
■ Read the on-screen explanation and then follow the instructions.
Display the pop-up menu, and cut and paste the data according to
the screen instructions.
■ After you finish the paste operation, this stage is completed. Tap
NEXT.
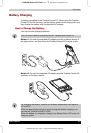
5 Set the TIME ZONE.
■ When tapping the right W mark, the city and the time zone list
appears. Tap the desired city and time zone.
■ When the setup is completed, tap NEXT.
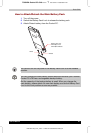
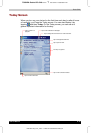
6 Complete the initial setup.
■ When the Complete screen appears, the initial setup is completed.
■ After tapping the screen, you can use the Toshiba Pocket PC.
When you tap the Complete screen, the Today screen appears. For more
information, see “Today screen” in this chapter.