


© 2003 - 2005 Sipura Technology, Inc Proprietary (See Copyright Notice on Page 2)
51
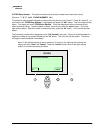
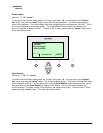
8 Non DHCP IP Address
(Shortcut: "i", "9", “8”, "IP ADDRESS”, “ok”)
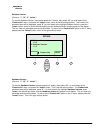
To use a Non DHCP IP Address, then please press the “i” button, then press “9” – or scroll down to the
“Network” option and then press the “select” button. This is the left soft key button. Press “8” – or scroll
down to the highlight Non DHCP IP Address and press the "select" button. This is the left soft key button.
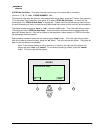
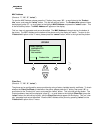
The options displayed are to “save” or to “edit” the Non DHCP IP Address. These buttons are the left and
right soft key buttons, respectively.
To change the phone to use a Non DHCP IP Address, please press the “edit” button, which is the right soft
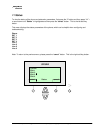
key button. The display shows the option to enter an IP address. Please enter the IP address here. This
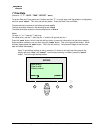
IP address will be always be used by the phone (i.e. it is a static IP address). Erase mistaken numbers,
one at a time using the erase button, which is the right soft key button. After the IP address is entered,
press the “ok” button, which is the left soft key button. The display returns to the Non DHCP IP Setting.
The phone will begin to use the IP address immediately.
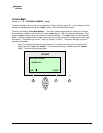
Note: To exit without making an entry, press the ">" button on the right top of the phone, the
display will show “clear” and “cancel”. Press the "cancel" button (which is the right soft key button)
to exit.