© 2003 - 2005 Sipura Technology, Inc Proprietary (See Copyright Notice on Page 2)
49
1 DCHP
(Shortcut: "i", "9", "edit", "y/n", "ok")
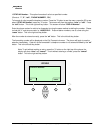
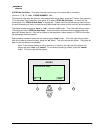
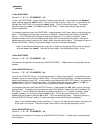
To set the use of DHCP by the phone, then please press the “i” button, then press “9” – or scroll down to
the “Network” option and then press the “select” button, which is the left soft key button. When DHCP is
enabled, the phone will have the IP address assigned by the DHCP server. The displays shows "1 DHCP
Enable" with a “Yes” or “No” below it, press the “edit” button, which is the right soft key button.
Press the “y/n” button – which is the left soft key button – to toggle between two options “Yes” and “No”.
The display will change to “DHCP No”. This disables the phone from using DHCP for IP address
assignment. Once the selection is made, press the “ok” button – which is the left soft key button and the
display returns to the Network menu.
The phone will begin to use the selection immediately.
Note: To exit without making an entry, press the ">" button on the right top of the phone, the
display will show “clear” and “cancel”. Press the "cancel" button, which is the right soft key
button, to exit.
2 Current IP Address
(Shortcut: “i", "9", “2” "save”)
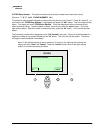
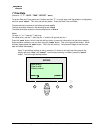
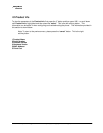
To view the Current IP Address, then please press the “i” button, then press “9” – or scroll down to the
“Network” option and then press the “select” button which is the left soft key button. Current IP Address
will appear as the 2
nd
option, under DHCP enable. Press “2” – or scroll down until Current IP Address is
highlighted and press the "select" button. This is the left soft key button. The IP Address will be shown on
the display. The options are to “save” or “cancel” and are chosen by using the left and right soft keys,
respectively. Press “save”, the Current IP Address will be used and the display returns to the Network
menu.
The Current IP Address is a parameter that is set in two ways. Option 1, is that it is set by the DHCP
server and then the user cannot edit it. Option 2, is the use the NON DHCP IP Address option described
later in this section.
3 Host Name
(Shortcut: "i", "9", “3” "save”)
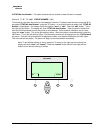
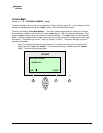
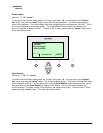
To view the Host Name, then please press the “i” button, then press “9” – or scroll down to the “Network”
option and then press the “select” button. This is the left soft key button. The Network submenu items will
appear, press ”3” – or scroll down to highlight Host Name and press the "select" button. This is the left
soft key button. The options are to “save” or to “cancel” the Host Name. These are the left and right soft
key buttons, respectively. Press “save”, the current Host Name will be used and the display returns to the
Network menu.
The Host Name is a parameter that is set by the administrator. The user cannot change the setting.
4 Domain
(Shortcut: "i", "9", “4” "save”)
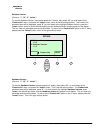
To view the Domain, then please press the “i” button, then press “9” – or scroll down to the “Network”
option and then press the “select” button. This is the left soft key button. The Network
submenu items will
display, press ”4” – or scroll down to highlight Domain and press "select". This is the left soft key button.
The options are to “save” or to “cancel” the Domain. These are the left and right soft key buttons,


