


8786
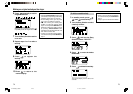
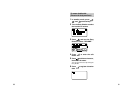
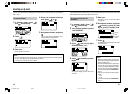
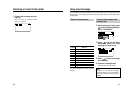
3 Press , and turn the Easy
Shuttle to select “STATE 1”,
“STATE 2” or “DEFAULT”.
Refer to the next page for the settings of
“STATE 1”, “STATE 2” and “DEFAULT”.
4 Press .
The normal display returns after a few
seconds.
Hints:
• In step 2, you can also use the 1 button.
You do not need to press F/SELECT in
step 3.
• In step 3, you can also use the numeric
button.
1: STATE 1
2: STATE 2
3: DEFAULT
You do not need to press F/SELECT in
step 4.
The default settings of “STATE 1”, “STATE 2” and “DEFAULT” are as follows:
STATE 1 STATE 2 DEFAULT
RINGER LEVEL OFF Volume 2 Volume 2
PAGING MODE VIBRATION VIB & BELL BELL
RINGER TONE Initial settings Initial settings Initial settings
BACK LIGHT AUTO ON ON
OPERATE TONE OFF ON ON
AUTO ANSWER OFF ON OFF
SUBADDRESS OFF OFF OFF
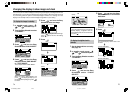
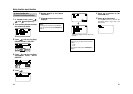
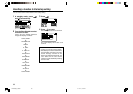
Displaying/storing/restoring current settings
You can check the current settings of your PT-H99, and store those settings so that you can
restore to the stored conditions after making changes.
To check the current settings:
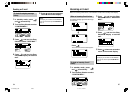
1 In standby mode, press ,
, and successively.
2 Turn the Easy Shuttle to check
the another settings.
3 After you check, press to
return to the normal display.
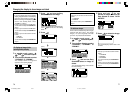
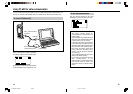
To restore to the stored state:
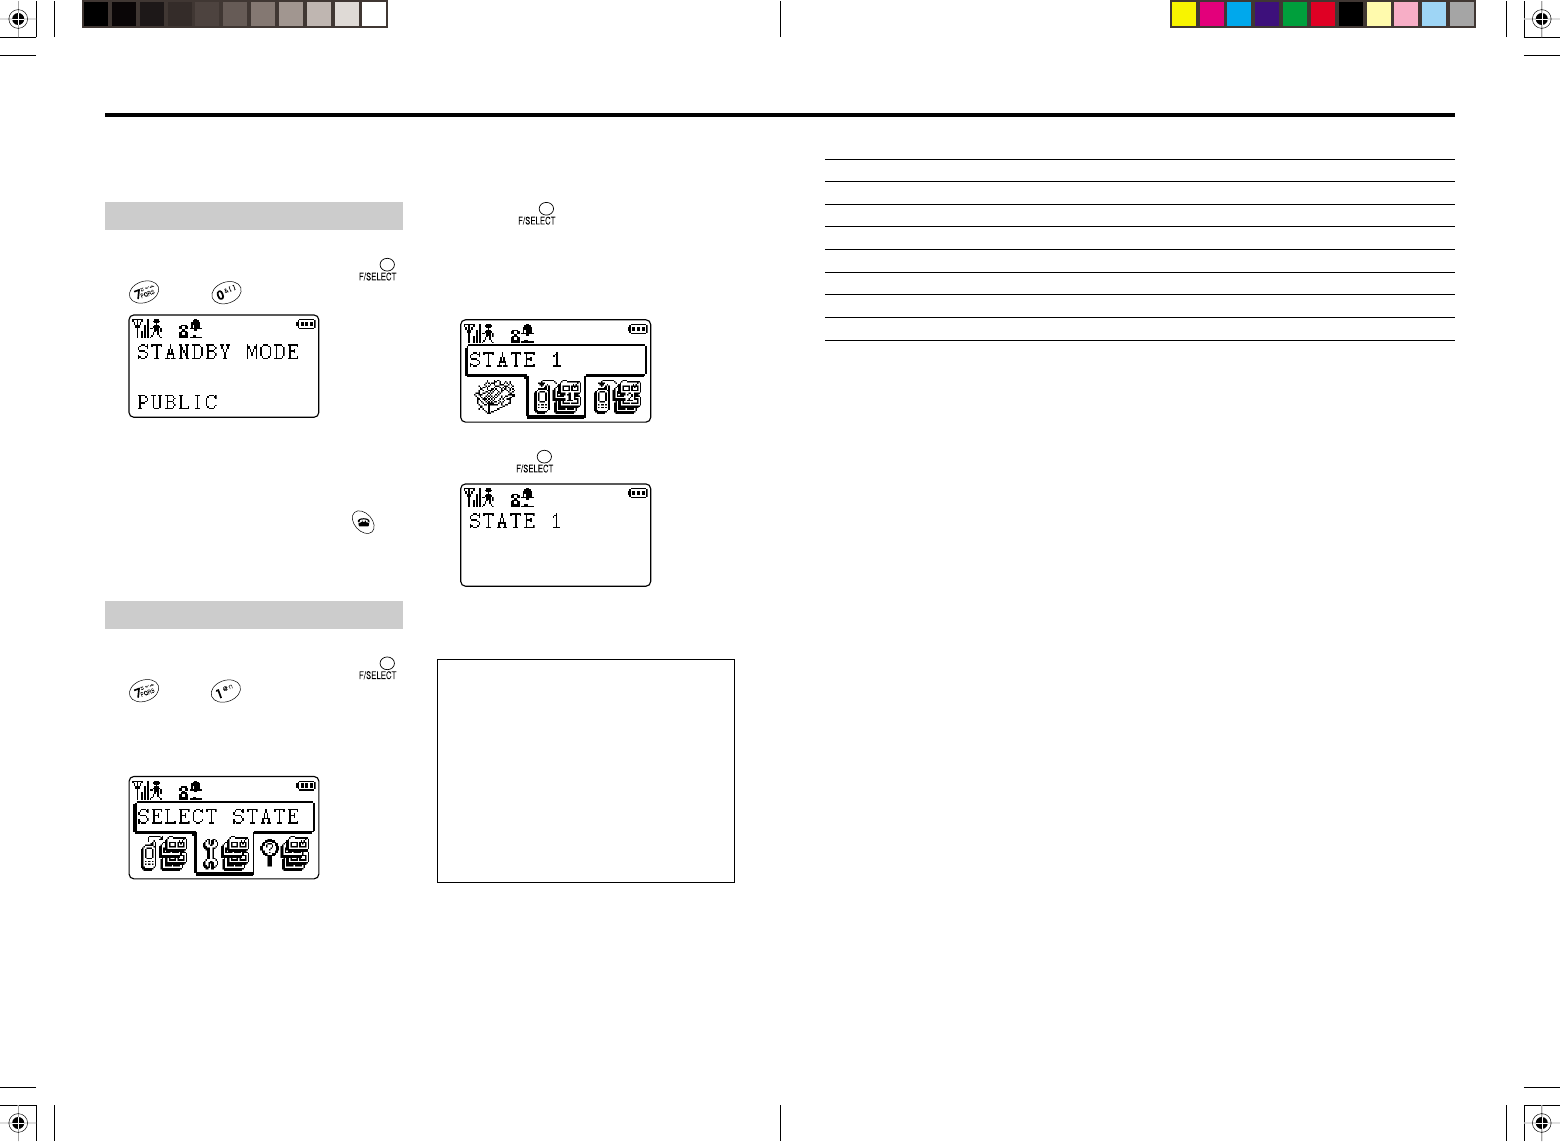
1 In standby mode, press ,
, and successively.
2 Turn the Easy Shuttle to select
“SELECT STATE”.
*PT-H99(AH)_05E/02 01.10.11, 9:15 PM86-87