


7574
You can set your PT-H99 so it displays a bitmap image (wall paper) or the digital clock in the
standby mode. You can also set a bitmap image for the opening (when the power is turned
on) and ending (when the power is turned off) displays. However, if a message is on the
display in the standby mode, it remains displayed regardless of your setting.
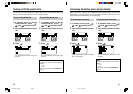
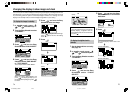
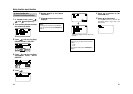
Changing the display to show image and clock
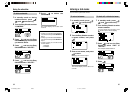
To display the image in standby:
1 In standby mode, press ,
, and successively.
2 Turn the Easy Shuttle to select
“STANDBY”.
3
Press , and turn the Easy
Shuttle to select “WALLPAPER”.
4 Press , and turn the Easy
Shuttle to select “BMP IMAGE”
or “TEXT IMAGE”.
This example selects “BMP IMAGE”.
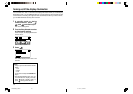
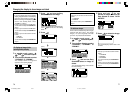
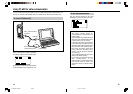
When you select “TEXT IMAGE” and
press , the display prompts you to
input text. After inputting text, press
to enter it.
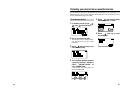
5 Press , and turn the Easy
Shuttle to select an image.
Pressing displays the selected image.
Press again to return to the setting
mode.
6 Press .
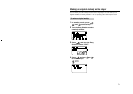
V
(No.1)
or
(No.2)
or
(No.3)
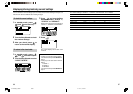
Hint:
If you set a bitmap image or text for the
standby display, it appears after the
normal display lasts for 5 seconds when
you press .
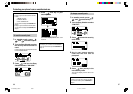
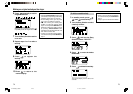
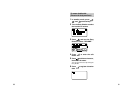
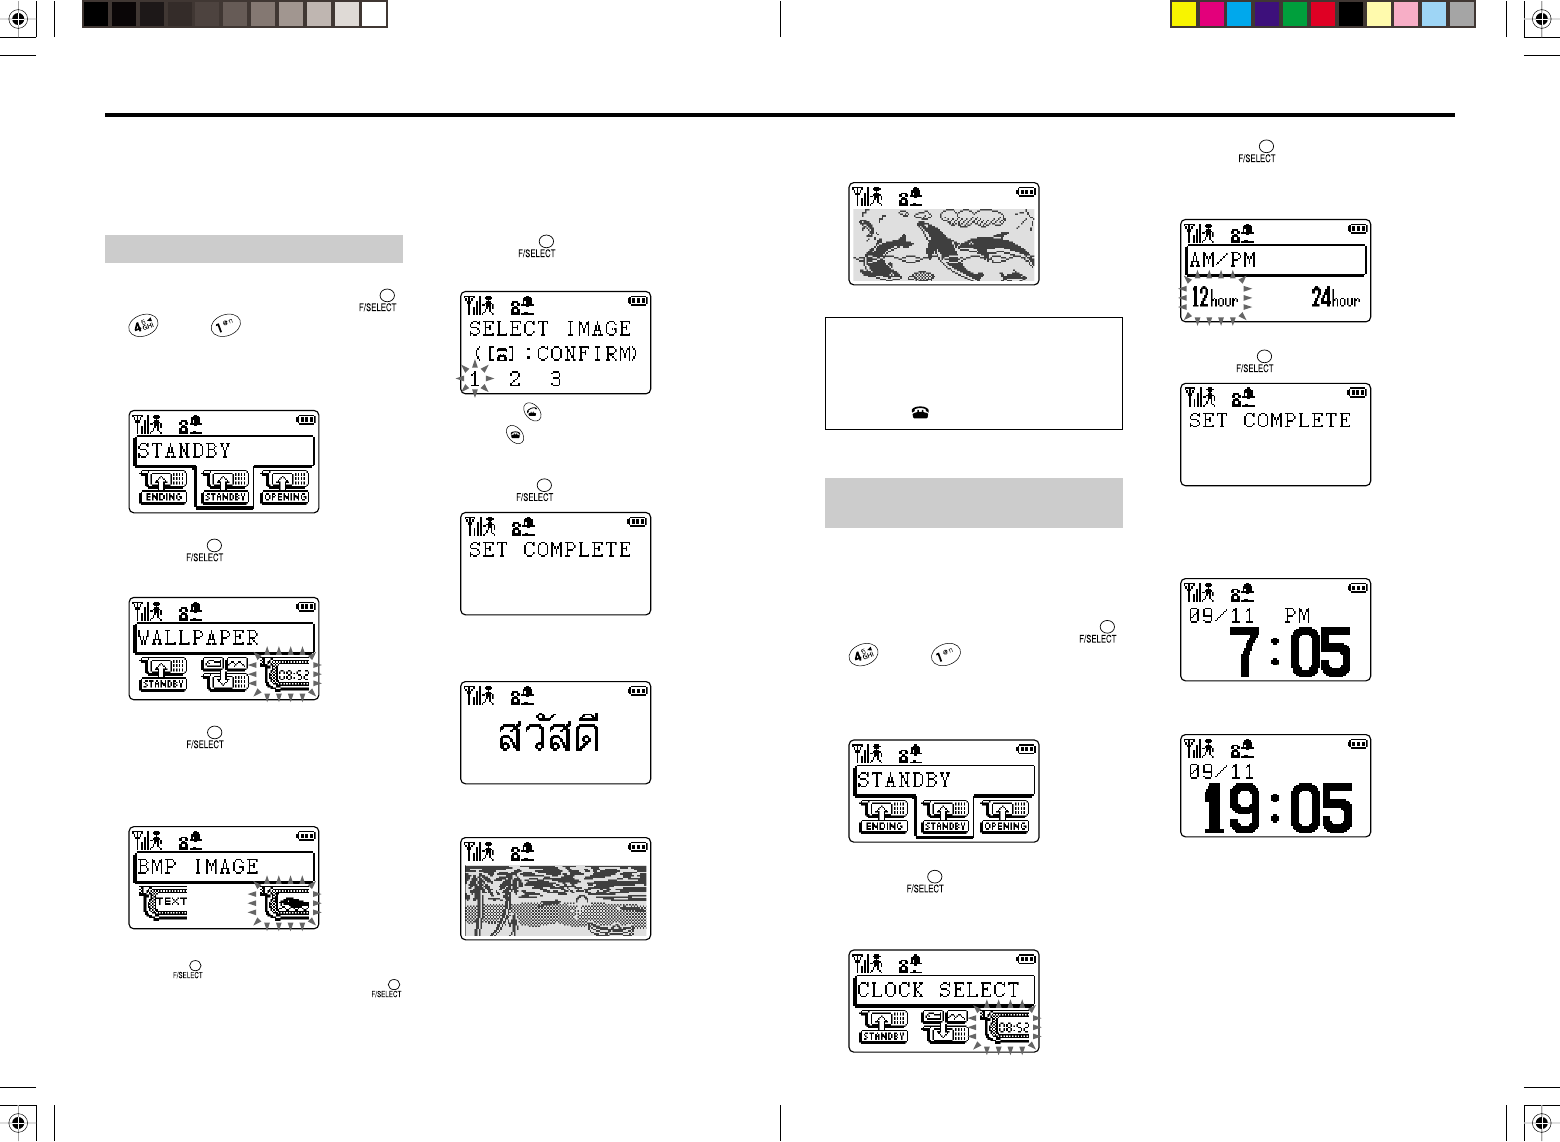
5 Press , and turn the Easy
Shuttle to select 12- or 24- hour
indication.
6 Press .
The normal display returns after a few
seconds.
V
(12-hour indication)
or
(24-hour indication)
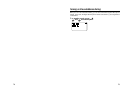
To display the digital clock in
standby:
1 Set the date and time correctly.
See page 19.
2 In standby mode, press ,
, and successively.
3 Turn the Easy Shuttle to select
“STANDBY”.
4 Press , and turn the Easy
Shuttle to select “CLOCK
SELECT”.
*PT-H99(AH)_05E/02 01.10.11, 9:15 PM74-75