


7776
Hint:
In step 2, you can also use the numeric
button.
1: OPENING
2: ENDING
You do not need to press F/SELECT in
step 3.
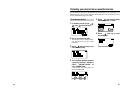
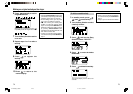
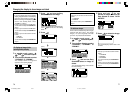
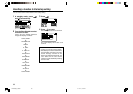
To delete an image:
This function is available only for the images
received from other PCTs. The default
images (1 to 3) that originally come with
your PCT are protected from deletion.
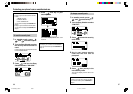
1 In standby mode, press ,
, and successively.
2 Turn the Easy Shuttle to select
“OPENING”, “STANDBY” or
“ENDING”.
3 Press , and turn the Easy
Shuttle to select an image to
delete.
You cannot delete image 1 because it is
the default image.
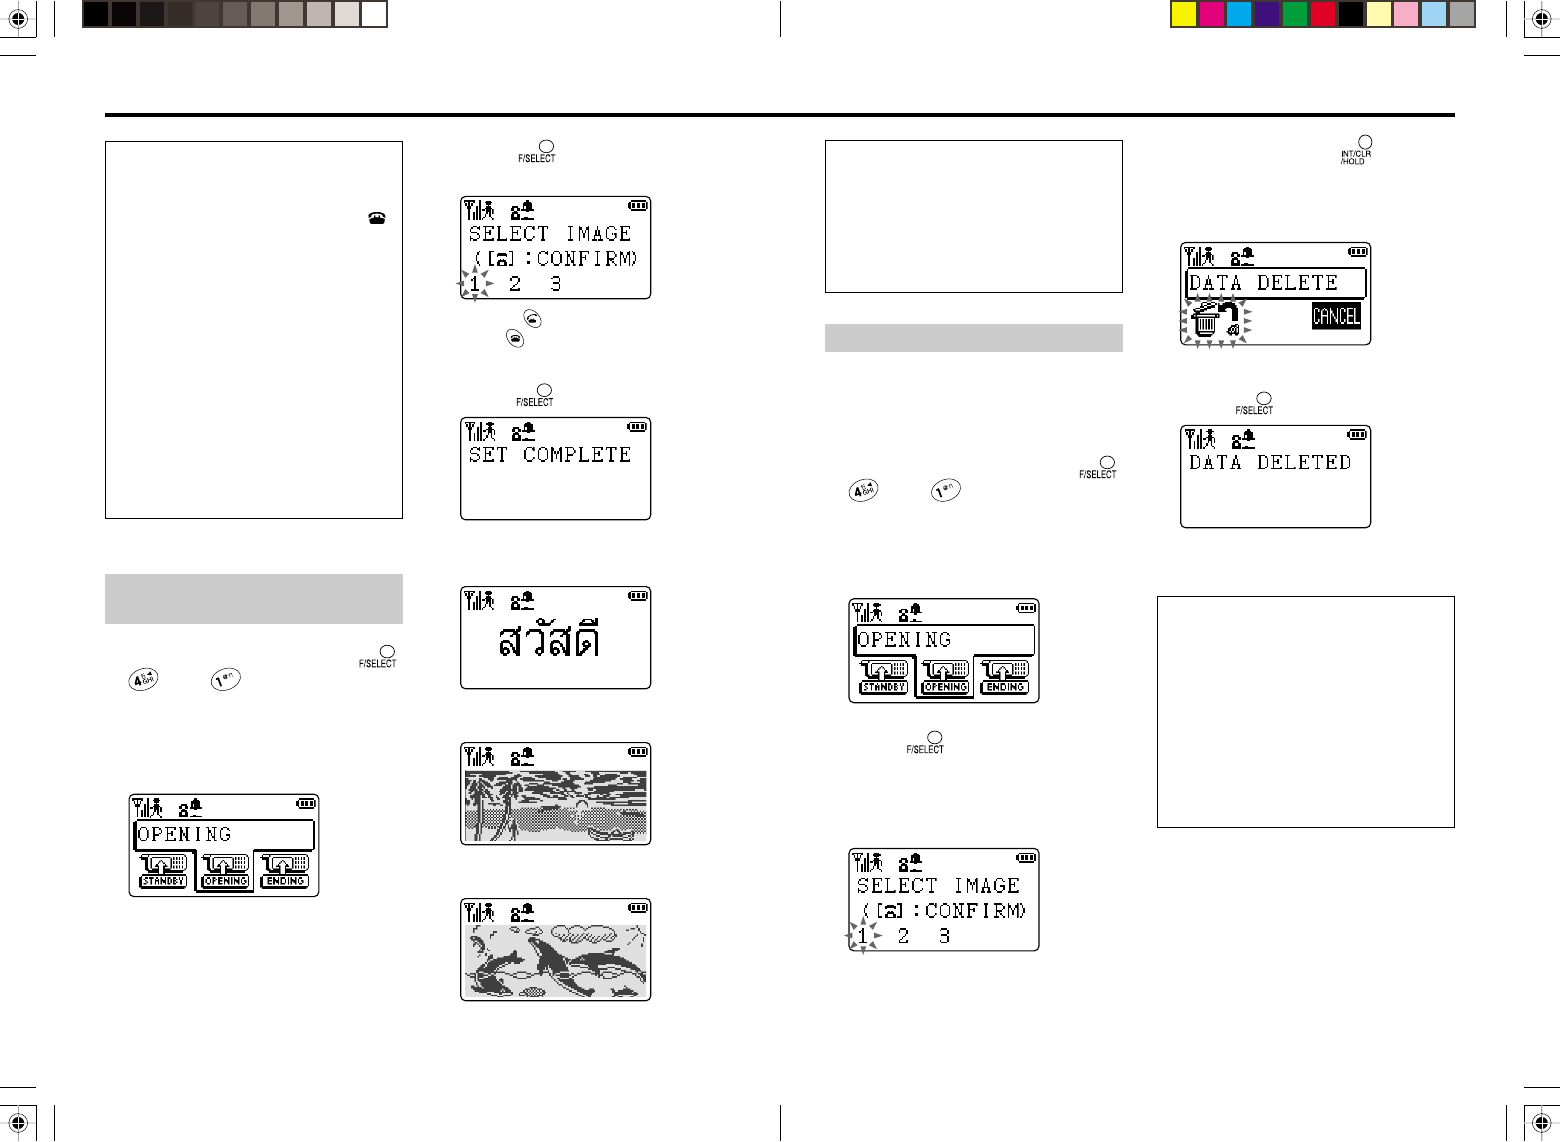
4 Press and hold for one
second or longer, and turn the
Easy Shuttle to select “DATA
DELETE”.
5 Press to delete the image.
The normal display returns after a few
seconds.
Hints:
• In step 2, you can also use the numeric
button.
1: OPENING
2: ENDING
3: STANDBY
You do not need to press F/SELECT in
step 3.
• In step 4, you can also use the 1 button.
You do not need to press F/SELECT in
step 5.
Hints:
•
If you set a digital clock for the standby
display, it appears after the normal display
lasts for 5 seconds when you press .
• When recovering from displaying digital
clock in the standby mode, select
“NORMAL” at step 3.
• In step 2, you can also use the 3 button.
You do not need to press F/SELECT in
step 3.
• In step 3, you can also use the 3 button.
You do not need to press F/SELECT in
step 4.
• In step 4, you can also use the numeric
button.
1: AM/PM
3: 24 HOUR
You do not need to press F/SELECT in
step 5.
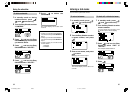
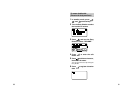
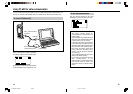
Changing the display to show image and clock
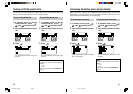
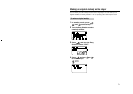
To display an image in the
opening/ending display:
1 In standby mode, press ,
, and successively.
2 Turn the Easy Shuttle to select
“OPENING” or “ENDING”.
This example shows the image that
appears in the opening display.
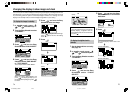
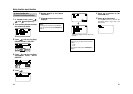
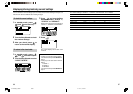
3 Press , and turn the Easy
Shuttle to select an image.
Pressing displays the selected image.
Press again to return to the setting
mode.
4 Press .
V
(No.1)
or
(No.2)
or
(No.3)
*PT-H99(AH)_05E/02 01.10.11, 9:15 PM76-77