


Chapter 5 Page 63
Categorizing records
Categorize records in the Contacts view in PhoneBook, To Do List, Memo Pad, and Expense
applications so that they are grouped logically and are easy to review. (You can also categorize
applications. See page 37 for details.)
When you create a record, your communicator automatically places it in the category that is
currently displayed. If the category is All, your communicator assigns it to the Unfiled category.
You can leave an entry as Unfiled or assign it to a category at any time.
System-defined and user-defined categories
By default, your communicator includes system-defined categories, such as All and Unfiled, and
user-defined categories, such as Business and Personal.
You cannot modify the system-defined categories, but you can rename and delete the user-
defined categories. In addition, you can create your own user-defined categories. You can have
a maximum of 15 user-defined categories in each application.
The Contacts view in PhoneBook contains the QuickList user-defined category, in which you can
store the names, addresses, and phone numbers you might need in emergencies (doctor, fire
department, lawyer, etc.).
Expense contains two user-defined categories, New York and Paris, to show how you might sort
your expenses for different business trips.
N
NN
No
oo
ot
tt
te
ee
e:
::
: The illustrations in this section come from Memo Pad, but you can use these procedures
in all the applications in which categories are available. Categories are not available in
Date Book Plus.
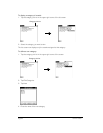
To move a record into a category:
1. Open the record you want to categorize.
2. In Contacts view in PhoneBook only: Press Menu , and under Record, select Edit
Contact (/E).
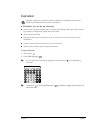
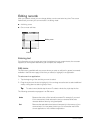
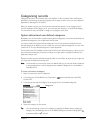
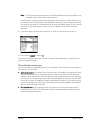
3. In the record view, tap the Category list to display the list of available categories.
4. Select the category for the record.
T
TT
Ti
ii
ip
pp
p:
::
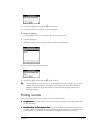
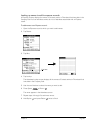
: You can also assign a record to a category by tapping the Details button, selecting a
category from the Category pick list in the Details dialog box, and then holding Option
and pressing Return to finish.
Category list