


Installing and Starting Up the Hub 2-13
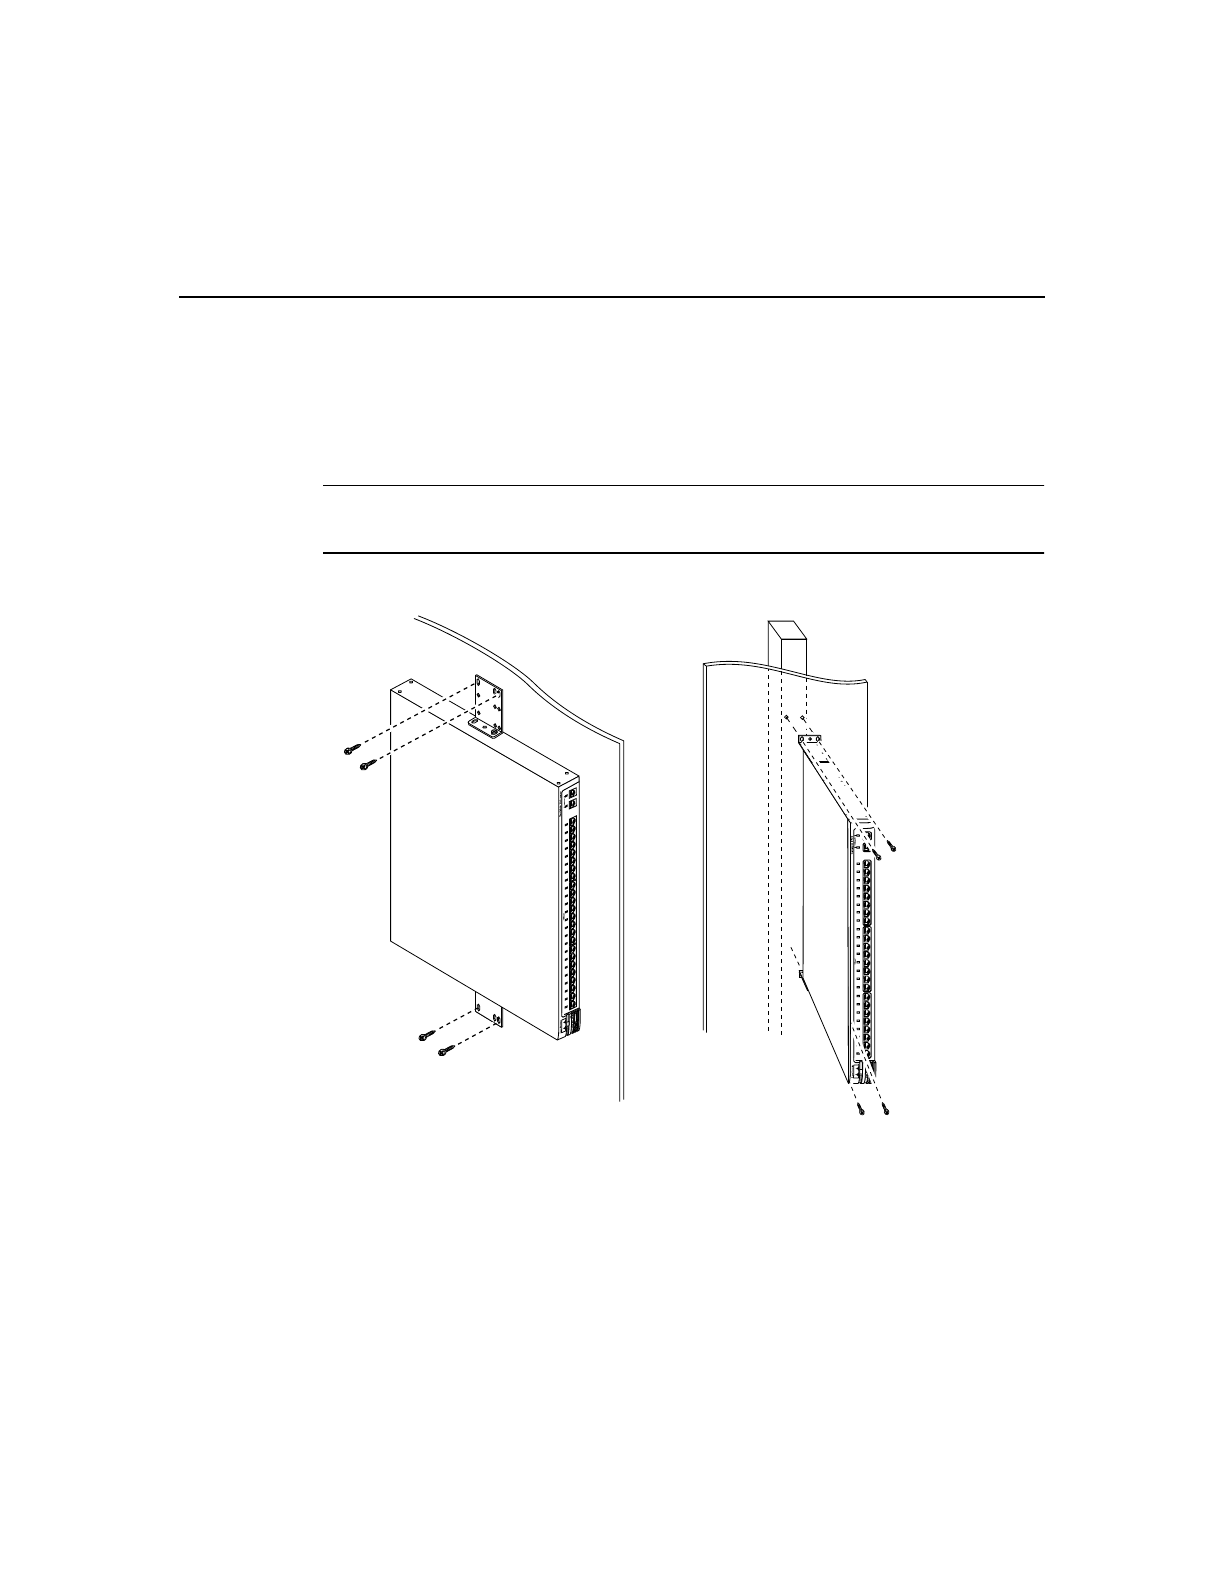
Attaching the Hub to a Wall
Attaching the Hub to a Wall
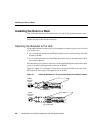
For the best support of the hub and cables, make sure the hub is securely attached to a wall
stud or to a firmly attached plywood mounting backboard, as shown in Figure 2-7. You
must supply your own screws to attach the hub to the wall.
Note If you plan to use the optional switched uplink module, install it in the hub before
vertically attaching the hub to a wall.
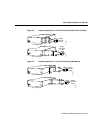
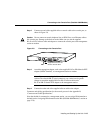
Figure 2-7 Attaching the Hub to the Wall
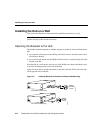
After the hub is attached to the wall, connect one end of the AC power cord to the AC power
connector on the hub and the other end of the cord to a power outlet. If your configuration
has a Cisco RPS, see the RPS documentation. After power is connected, the hub starts the
series of self-tests described in the “Powering Up the Hub and Running POST” section on
page 2-6.
User-supplied
screws
Parallel wall-mount
Ax
Bx
RPS
MODE
1x
2x
3x
4x
5x
6x
7x
8x
9x
10x
11x
12x
13x
14x
15x
16 x
17x
18x
19x
20x
21x
22x
23x
24x
H10188
RPS
MODE
1x 2x 3x 4x 5x 6x 7x 8x 9x 10x 11x 12x 13x 14x 15x 16x 17x 18x 19x 20x 21x 22x 23x 24x
SERIES
Ax Bx
H10189
Vertical wall-mount
User-supplied
screws
Vertical
wall stud