


Installing Your Phone
(Optional) Attaching the Desk Stand
Cisco Small Business Pro IP Phone SPA 525G (SIP) User Guide 23
2
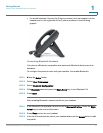
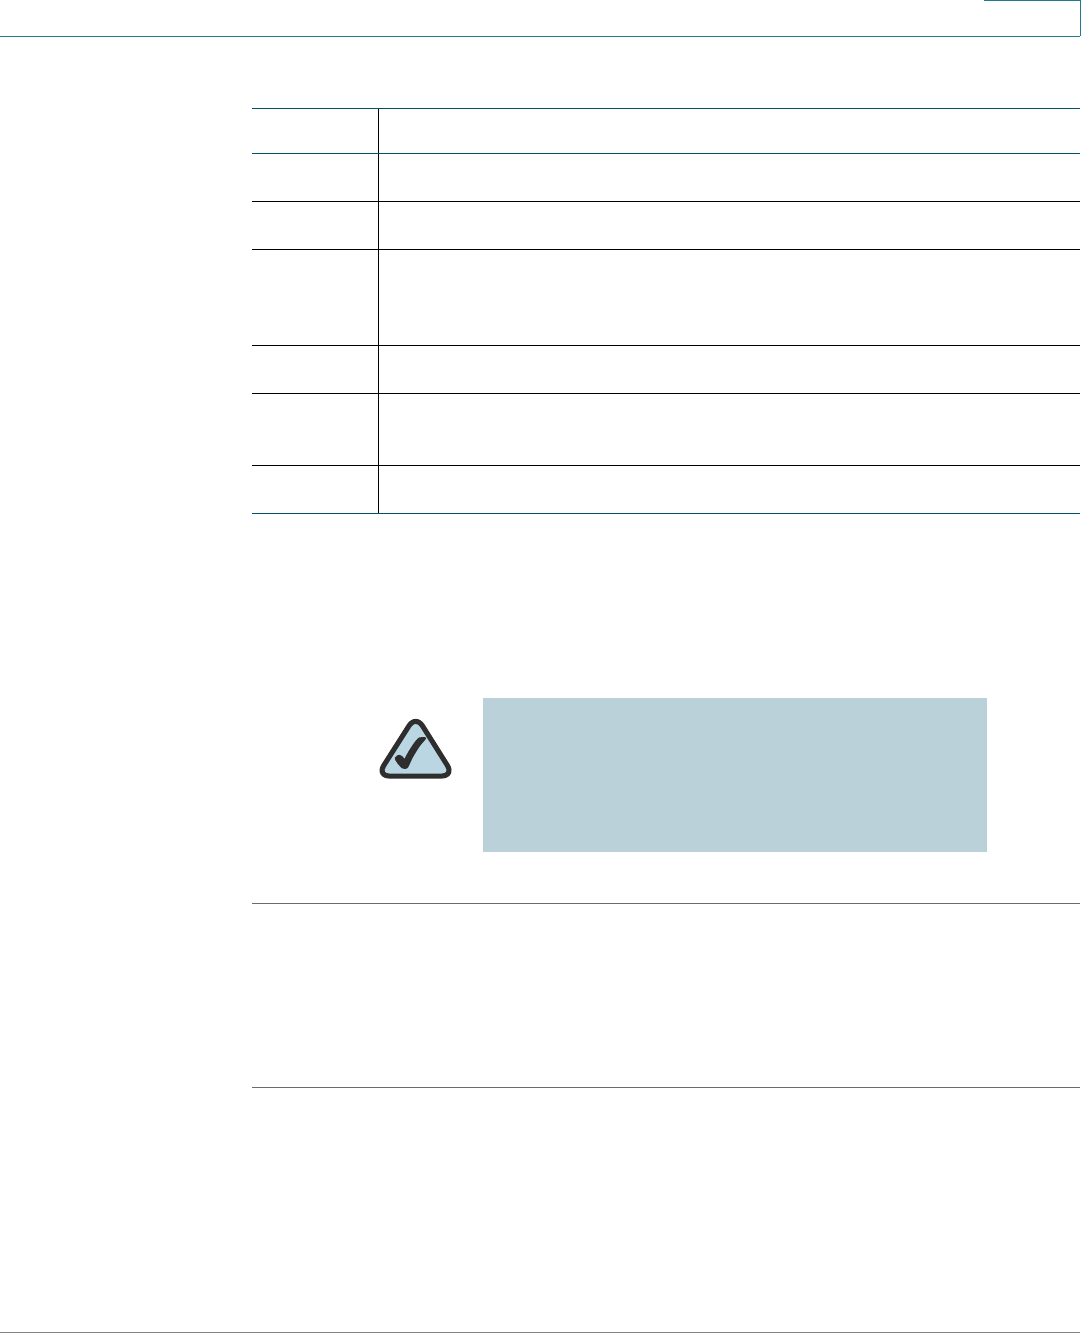
(Optional) Attaching the Desk Stand
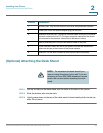
STEP 1 Line up the tabs on the desk stand with the slots on the back of the phone.
STEP 2 Slide the bottom tabs into the slots
STEP 3 Lightly press down on the top of the desk stand. It should easily slide into the top
slots. Do not force.
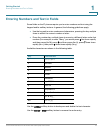
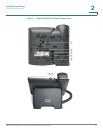
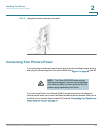
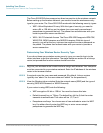
Number Component
1 Auxiliary port. Only for use with the Cisco SPA 500S attendant console.
2 Power port. Insert the power adapter plug into this port.
3 Additional Ethernet port. Connect an Ethernet cable to this port to provide
network connectivity to a PC. (This port cannot be used when the phone
is connected to the network via the built-in Wireless-G client.)
4 Switch (Ethernet) port. Connect the network cable to this port.
5 Phone cord slot. Insert one end of the phone cord into this slot and the
other into the jack at the bottom of the phone handset.
6 USB port. For use with an external USB memory device (optional).
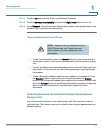
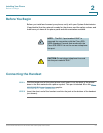
NOTE: Do not attach the desk stand if you
want to mount the phone to the wall. If you are
attaching a Cisco SPA 500S attendant console
attach the console before attaching the desk
stand.