


Using the User Options Web Pages
Cisco Unified IP Phone 7962G and 7942G Phone Guide for Cisco Unified Communications Manager 7.1(2) (SCCP and SIP)
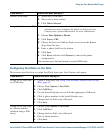
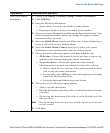
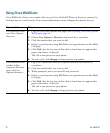
Add a new remote
destination
1. Choose User Options > Mobility Settings > Remote Destinations.
2. Click Add New.
3. Enter the following information:
–
Name—Enter a name for the mobile (or other) phone.
–
Destination Number—Enter your mobile phone number.
4. Select your remote destination profile from the drop-down list box. Your
remote destination profile contains the settings that apply to remote
destinations that you create.
5. Select the Mobile Phone check box to allow your remote destination to
accept a call sent from your desktop phone.
6. Select the Enable Mobile Connect check box to allow your remote
destination to ring simultaneously with your desktop phone.
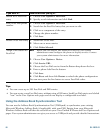
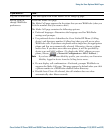
7. Choose one of the following options in the Ring Schedule area:
–
All the time—Choose this option if you do not want to impose day
and time restrictions on ringing the remote destination.
–
As specified below—Choose this option and select from the
following items to set up a ring schedule based on day and time:
• Select a check box for each day of the week you want to allow
calls to ring the remote destination.
• For each day, select All Day or select the beginning and ending
times from the drop-down lists.
• Select the time zone from the drop-down list box.
8. Choose one of the following ringing options:
–
Always ring this destination.
–
Ring this destination only if the caller is in the allowed access list that
you select.
–
Do not ring this destination if the caller is in the blocked access list
that you select.
Note The ring schedule drop-down list boxes include only the access lists that
you have created.
9. Click Save.
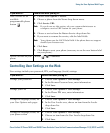
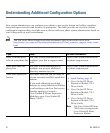
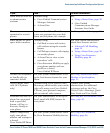
If you want to... Then do this after you log in...