


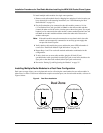
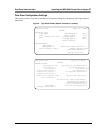
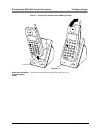
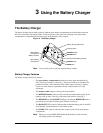

The Battery Charger Installing the MDW 9040 Pocket Phone System 2
MDW Wireless Pocket Phone Installation and Use,
503-801-190 Issue 2, February 2001 25
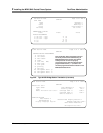
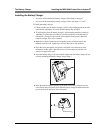
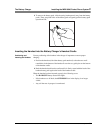
Installing the Battery Charger
• If you are wall-mounting the battery charger, follow Steps 1 through 7.
• If you are desk-mounting the battery charger, follow only Steps 1, 5, and 7.
To install the battery charger:
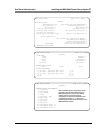
1 Check to make sure the battery charger’s power cord is unplugged from the wall
outlet before continuing. If you are desk-mounting, skip to Step 5.
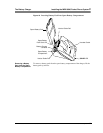
2 To wall-mount, place the battery charger’s wall-mounting template (located in
Appendix E) against the wall. Choose a location backed by a wooden stud (if
unavailable, use toggle bolts instead of the supplied wood screws). Hold the
template straight; use a level if needed.
3 Mark the locations for the two wall-mounting screws, and then remove the
template from the wall. Lightly tap a nail into the wall to start the holes.
4 Place the screw through the wall spacers so that the screw head nests in the
indentation on the spacer. Start the screws, and screw them in until the wall
spacers rest against the wall.
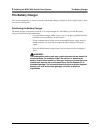
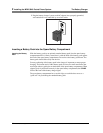
5 Insert the battery charger’s power cord/AC adapter into the battery charger. If you
are desk-mounting the battery charger, skip to Step 7.
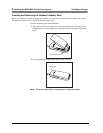
6 Place the keyhole-shaped openings in the back of the battery charger over the
screw heads and wall spacers, then slide the battery charger downward into the
groove in the wall spacers to lock it into place.
lttbt KLC 062800