15
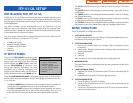
You must input the ID assigned to your ITP phone.See your phone system admin-
istrator to get this value.Press the [ENTER] button to save and exit.
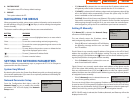
Finally, select the [3. System Password] item and the screen below will be dis-
played.
You must input the password associated with your ID. See your phone system
administrator to get this value.Press the [ENTER] button to save and exit.
Completion of Settings
From the Main Menu verify settings at the second item [2. System Information]
after setting all of the above items. Select the seventh item [7.Reboot] to save all
modified settings and reboot the ITP-5112L phone.
Phone Password
xxxx
Load and Upgrade Set/Modify
The fourth item [4. Load & Upgrade Setup] sets or modifies the IP phone’s soft-
ware version.Use extreme caution when upgrading the keyset.
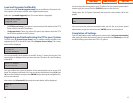
Select the [4. Load & Upgrade] item.The screen below is displayed.
• [1.TFTP Server Setup]: This option is used to enter the IP address of the TFTP
Server which hosts the ITP software.
• [2.Upgrade Start]: When you select this option, the software from the TFTP
server will be pushed to the ITP phone.
Registering and Authenticating the ITP to your System
The fifth item [5. System Server Setup] sets or modifies settings related to the
registering the ITP to the MCP. Select the [5.System Server Setup]. The screen
below will be displayed.
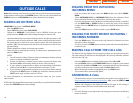
You can set/modify the IP address of the MCP at the [1. System Server] item. The
screen below is displayed when you enter the item.The server IP is the IP address
of the MCP.
You can confirm the current IP address of the authentication server at the LCD
panel.The address is left blank if it is not set.Use the dial buttons from [0]-[9], and
[✱] to set the IP address and press the [ENTER] button among the navigation but-
tons to save and exit.
Next select the [2. System ID] item and the screen below will be displayed.
1.TFTP Server Setup
2.Upgrade Start
14
1.System Server
2.System ID
3.System Password
Server IP Address
xxx.xxx.xxx.xxx
Phone ID
xxxx
Home Page
Table of Contents
ITP-5112L


