


81
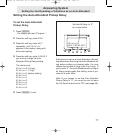
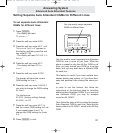
Setting Separate Auto Attendant OGMs for Different Lines
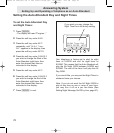
To set separate Auto Attendant
OGMs for different lines:
1
Press P.
- The display will read
“Program...”
2 Press the soft key under ANSW.
3 Press the soft key under NEXT until
“Advanced Setting” appears in
the display, and then press the soft
key under ENTER.
- The display will read “AA OGM 2-8
Setup.”
4 Press the soft key under NEXT.
- The display will read “AA by
Line.”
5 Press the soft key under ENTER.
The display will show the current
OGM setting for Line 1.
6 Press the soft key under CHANGE if
you wish to change the OGM setting
for Line 1.
The choices are:
AA OGM1 (factory setting) through
AA OGM8, or OFF
7 Press the soft key under NEXT to
see the current OGM setting for Line
2, and repeat steps 6 and 7 to
change the OGM settings for Lines
2-4.
8 Press P to exit.
You may wish to have a separate Auto Attendant
OGM for one or more of your lines. While the
phone is preset to play the AA Day OGM on all
lines, you may choose your OGM on a per line
basis, and you may even have a different OGM
for each line.
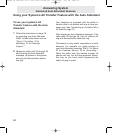
This feature is useful if you have multiple busi-
nesses sharing one system, or if you have busi-
ness and personal lines sharing the same sys-
tem.
In order to use this feature, first follow the
instructions on the previous page for recording
additional Auto Attendant OGMs. If you need just
one additional OGM, you may for example
record an AA OGM 2.
Then follow the steps at left to assign the desired
Auto Attendant OGM to each line. Note that the
factory default is AA OGM 1, which is the AA Day
OGM.
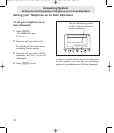
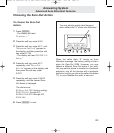
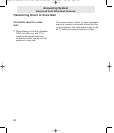
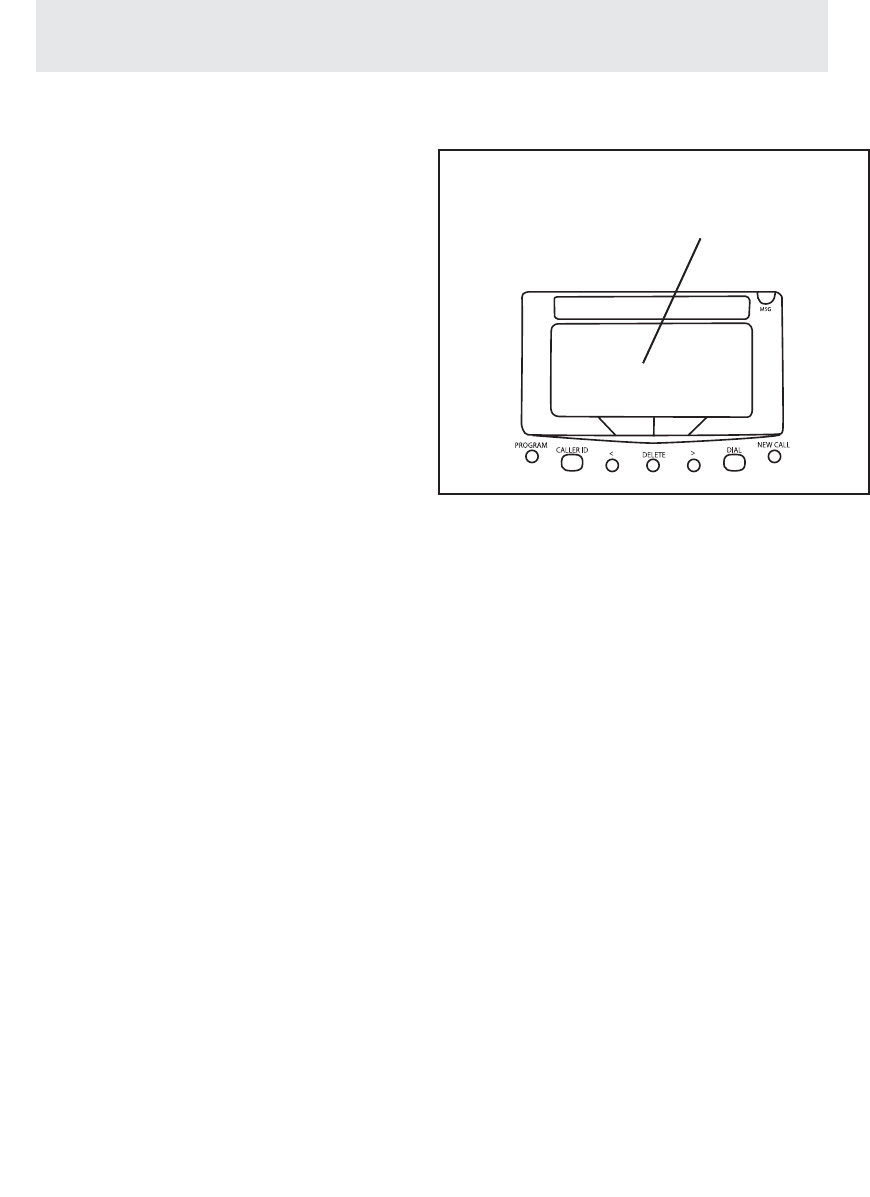
You may easily assign separate
OGMs to different lines
Answering System
Advanced Auto Attendant Features
AA by Line
BACK ENTER NEXT
EV4500 UG combined v52 in PDF order 101005.qxd 10/10/2005 4:54 PM Page 95