ZEPHYR
XPORT
USER’S GUIDE
22 CHAPTER 3 - THE DETAILS
Activating a Location Setup – Step by Step
Note that this process is the same as accessing a Dial Setup, only a three-digit
number is used.
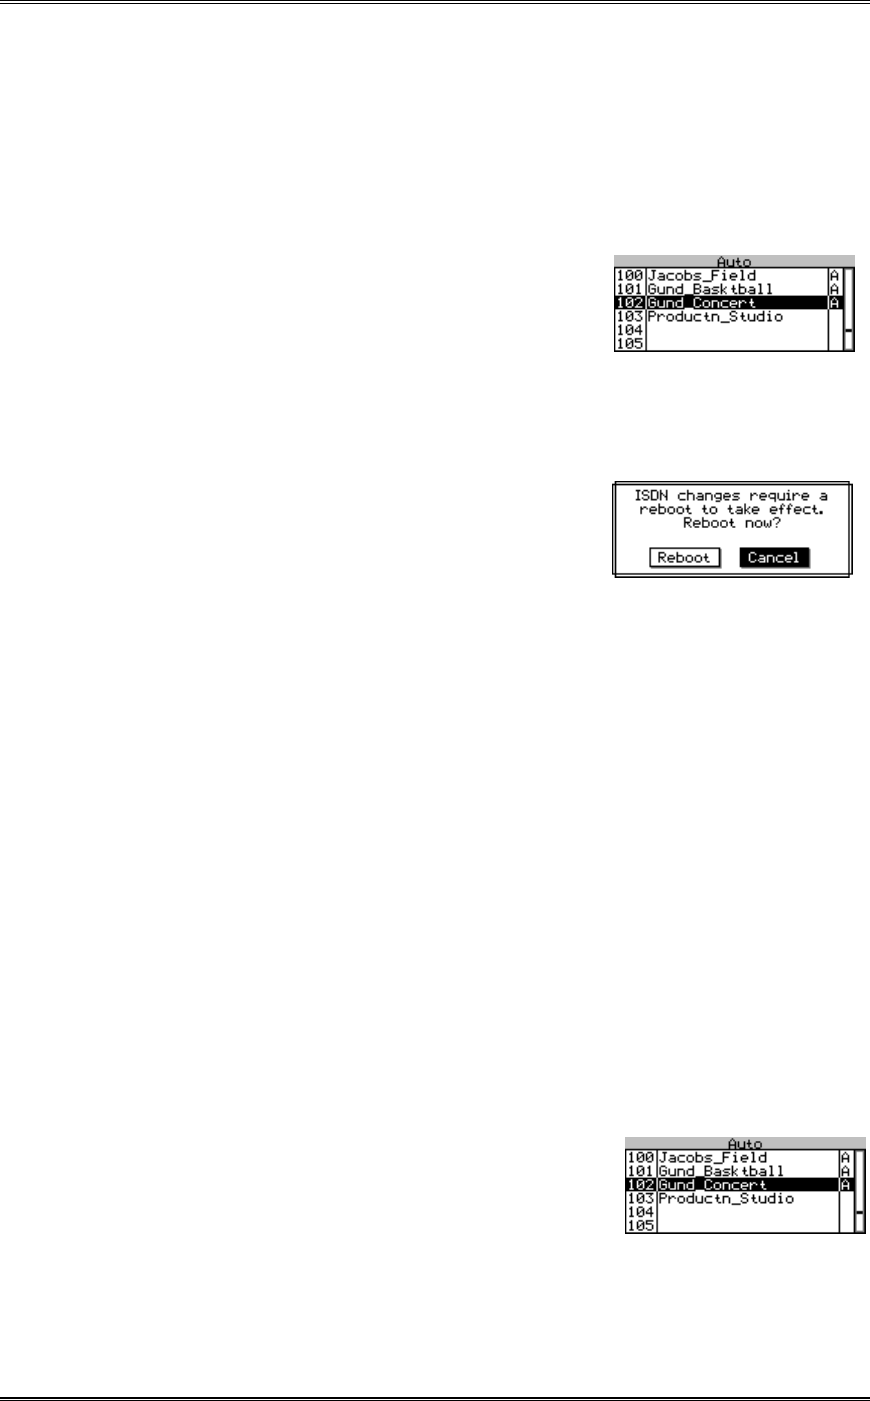
1. Press the <AUTO> key.
2. To choose a Location Setup you have two options:
• Use the <5> and <6> to scroll through the
list of 30 Location Setups. These are setups #
100 to 130 - press and hold <6> to scroll past
the Dial Setups.
• Or, use the Keypad to enter the three-digit number for the desired setup. That
setup will be displayed and will be highlighted.
3. Once the desired setup is highlighted, press the
<AUTO> button to activate the configuration
sequence. Once configuration is complete, the
Xport may will show the following screen:
4. Press <5> then <SEL> to reboot.
Creating Location Setups – Set by Step
1. If the location Setup will be for ISDN, configure and test the Zephyr Xport for the
ISDN line to be used at this location (optional). You must make certain that these
items are entered correctly in the setup:
• Telco, SPID, MSN/DN. Ideally, you should be connected to the line for the
target location, so you can verify the ISDN settings are correct. In that case, the
line status should indicate Ready and you should be able to place calls (with
ETS 300 ISDN it is acceptable if Deactivated & Deactivated is displayed as long
as you can place calls). If you are not connected to the line that's ok too, but you
should be certain that the items mentioned above are set correctly.
2. Press the <AUTO> key. Choose the Location Setup to be entered. Note: You can edit
an existing setup by selecting it.
To choose a Location Setup you have two options:
• Press and hold the <6> to scroll to the list of 30
Location Setups (these are setups # 100 to 130).
• Or, use the Keypad to enter the three-digit
number for the desired setup. That setup will be displayed and will be
highlighted.


