ZEPHYR
XPORT
USER’S GUIDE
20 CHAPTER 3 - THE DETAILS
Dial Setups
Dial Setups are very similar to the "Dial Setups" used in the Zephyr Xstream. Each of the
100 dial setups consists of several pieces of information.
A Setup number – this 2-digit number (00 to 99) can be used to instantly access a
given setup.
An alphanumeric Name
Number – The telephone number to be dialed.
A Mode as follows (See section 2.3.2 for more on the available Modes):
• Codec – places one of the following types of calls: If ISDN is not present, a Xport
call will be placed (aacPlus). If ISDN is present, a Zephyr call will be placed
using AAC.
• Phone for calls to a standard telephone.
The bit rate (56 or 64 kbps) to be used for the call (this setting is only used for ISDN
codec calls).
Activating a Dial Setup – Step by Step
Before beginning, verify the Zephyr Xport is connected to the phone line and ready
for use. If necessary, activate the appropriate Location Setup for the location (if you
have just arrived there) now (see below).
1. Press the <AUTO> key. The most recently used Dial Setup will be highlighted (white
text on a black background. To activate this Setup Press <AUTO> again.
2. To choose a different Dial Setup you have two options:
• Use the <5> and <6> to scroll through the list of 100 Dial Setups.
• Or: Use the Keypad to enter the two-digit number (00 to 99) for the desired
setup. That setup will be displayed and will be highlighted.
3. Once the desired setup is highlighted, press the <AUTO> button to activate the dial
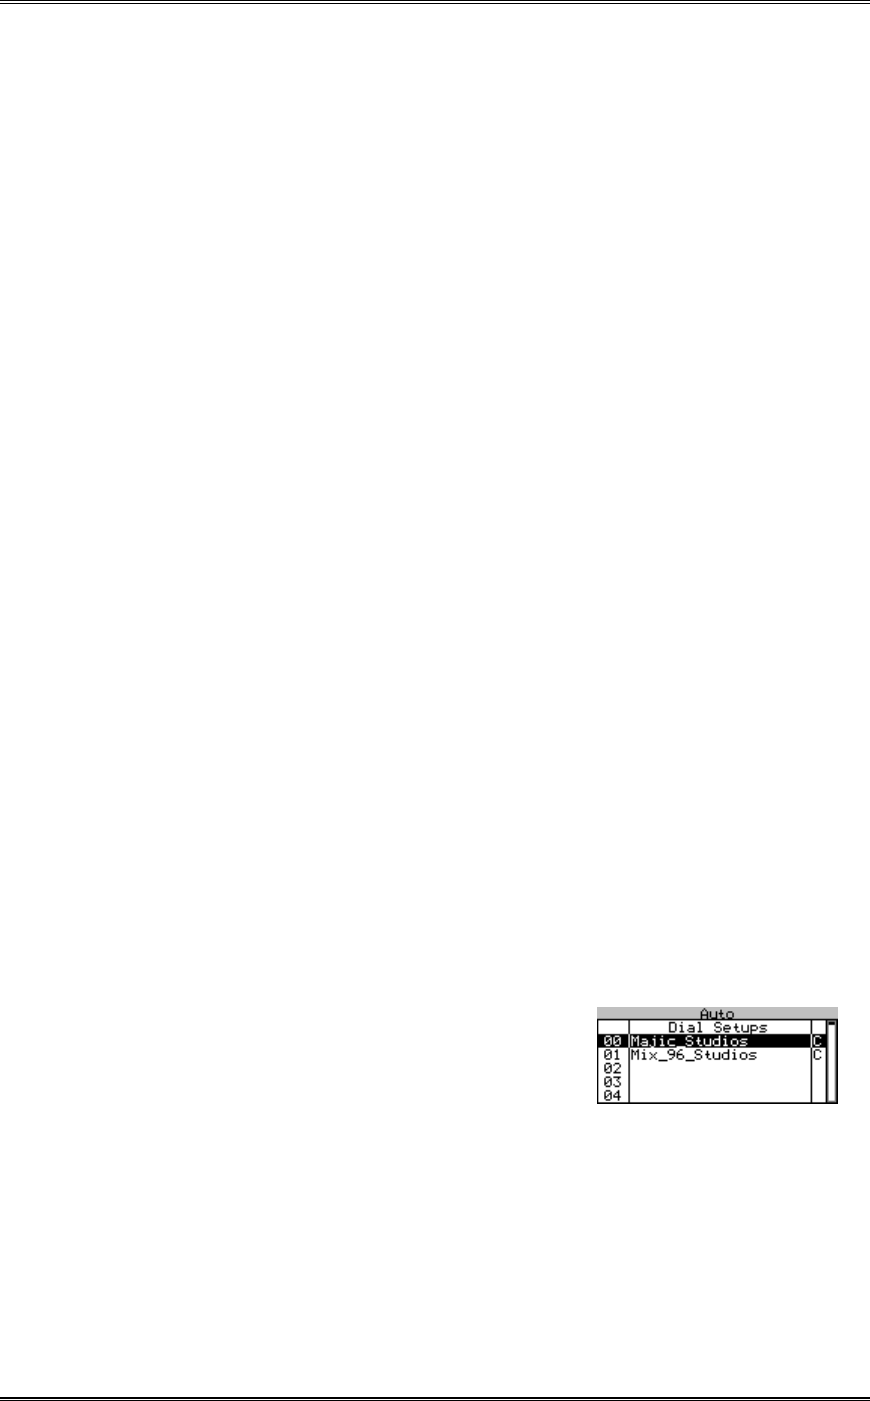
sequence. The illustration below shows several sample Dial Setups.???
Creating Dial Setups – Step by step
1. Press the <AUTO> key. Choose the Dial Setup to
be entered. Note: You can edit an existing setup
by selecting it.
To choose a Dial Setup you have two options:
• Use the <5> and <6> to scroll through the list of 100 Dial Setups.
• Or: Use the Keypad to enter the 2-digit number (00- 99) for the desired setup.
That setup will be displayed and will be highlighted.
2. Once the desired setup is highlighted, press the <SEL> button to allow entry of (or
editing of) the information for this setup. If an empty setup was selected, "Empty


