


2-3
Installation
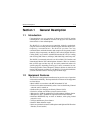
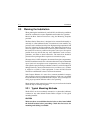
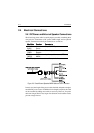
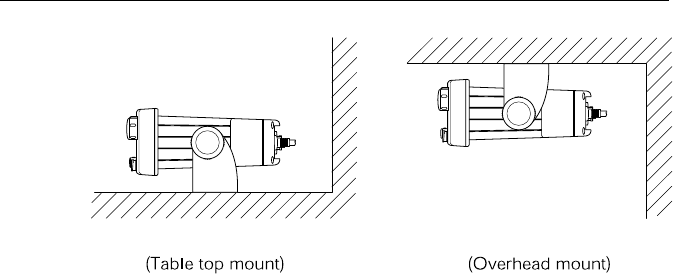
Figure 2-1 Typical Mounting Methods
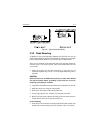
2.3.2 Flush Mounting
In addition to the typical Mounting Methods, the RAY215 may also be
flush mounted using the optional Flush Mount Kit. These kits are available
from your Raymarine dealer or our Customer Service Department.
There are two methods of mounting the radio using the flush mount kit:
from the front or rear of the console. Choose the method that best suits
your console.
1. Select the location for the radio transceiver. A clear, flat area, of
sufficient height having at least 9" of clear depth behind the panel is
required.
CAUTION
Make sure there are no hidden electrical wires or other items behind
the desired location before proceeding. Check that free access for
mounting and cabling is available.
2. Unpack the Flush Mount kit and confirm that all hardware is present.
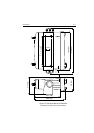
3. Mark the cutout area using the cutout guide.
4. Drill a pilot hole inside of the cutout guide area.
5. Using an appropriate saw, carefully cut along the cutout line.
6. Remove the yoke knobs and the mounting yoke from the transceiver.
Check that the radio will fit into the cutout area.
Front Mounting
7. Insert the rear of the transceiver through the flush mount bracket such
that the tabs on the bracket point away from the radio’s front bezel.