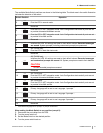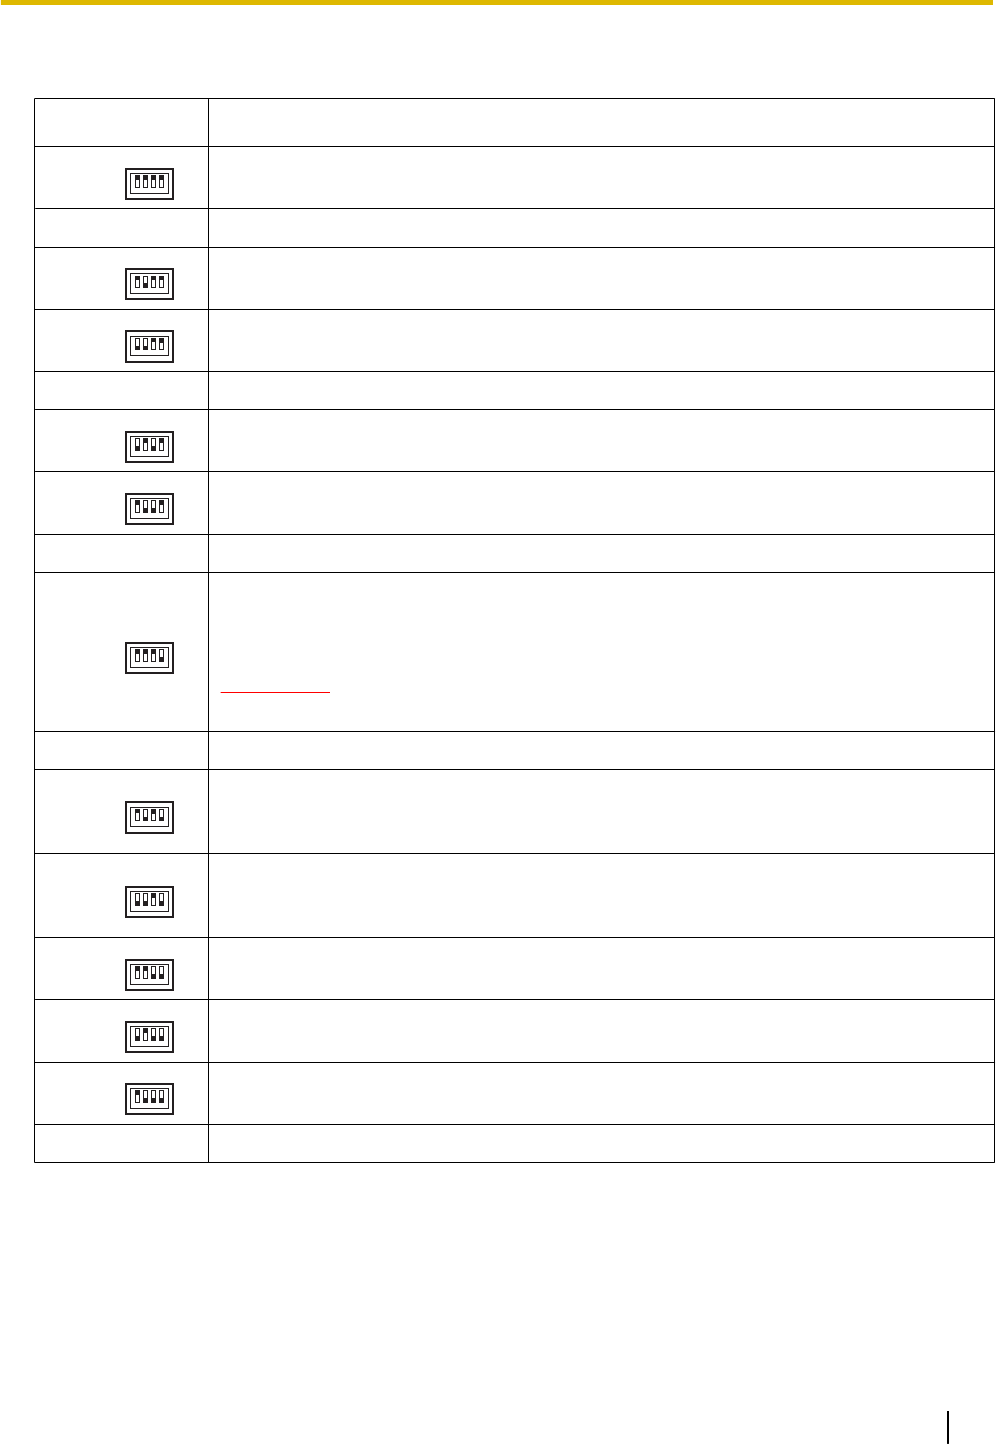
The available Mode Switch positions are shown in the following table. The black area in the switch illustration
indicates the direction of the switch.
Switch Position Operation
0
0
1
1234
Puts the VPS in normal mode.
1
Reserved
2
0
1
1234
Puts the VPS in DPT Integration mode. Auto Configuration starts and all ports are set
to provide Automated Attendant service.
3
0
1
1234
Puts the VPS in DPT Integration mode. Auto Configuration starts and all ports are set
to provide Voice Mail service.
4
Reserved
5
0
1
1234
Initializes the VPS. All settings are reset to their default values. Recorded messages
are erased. System prompts (including customized prompts) are preserved.
6
0
1
1234
KX-TVA200 only
Puts the VPS in hard disk test mode.
7
Reserved
8
0
1
1234
KX-TVA200 only
Initializes the VPS. All settings are reset to their default values. Recorded messages
and customized prompts are erased. All System prompts are reset to their defaults.
CAUTION
All user-recorded prompts are erased.
9
Reserved
10
0
1
1234
KX-TVA50 only
Puts the VPS in APT Integration mode. Auto Configuration starts and all ports are set
to provide Automated Attendant service.
11
0
1
1234
KX-TVA50 only
Puts the VPS in APT Integration mode. Auto Configuration starts and all ports are set
to provide Voice Mail service.
12
0
1
1234
Primary Language will be set to use Language 1 prompts.
*1
13
0
1
1234
Primary Language will be set to use Language 2 prompts.
*1
14
0
1
1234
Primary Language will be set to use Language 3 prompts.
*1
15
Reserved
*1
If the selected language has no prompts, no prompts will be heard.
When setting the Mode Switch to any position (except 0):
1. Disconnect the port cables from the VPS.
2. Turn the power switch off.
3. Set the Mode Switch to the desired position.
4. Turn the power switch back on.
Document Version 3.0 2010/06 Installation Manual 41
2.3 Names and Locations


