Page 242 Creating a Custom Expense Report
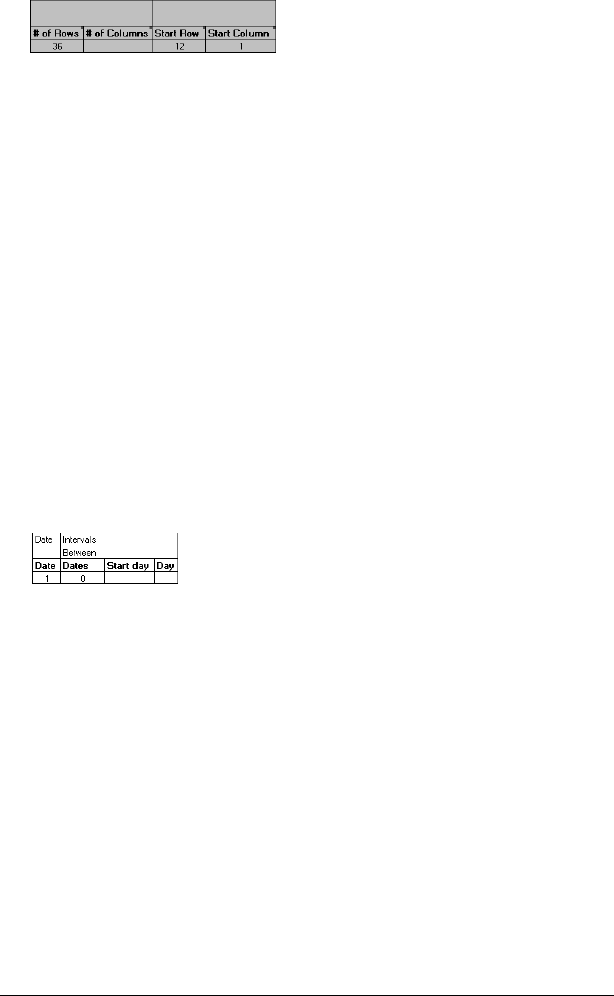
10. Define the dimensions of the Section. The dimensions of the Section
appear in the green columns (10–13).
11.
Define the Dates and Intervals. The dates and intervals between dates
appears in the light blue columns (14–17).
In the Date cell, enter the row or column number where all the date
information will be placed.
In the Dates cell, enter the number of blank columns (or rows)
separating the date fields. If there are no blank columns (or rows)
between date entries, leave this number set to zero.
In the Start Day cell, enter the day of the week that starts the
expense reporting period. Enter a three-character abbreviation for
the day (e.g., Sun, Mon, Tue).
In the Day cell, enter the row or column number where all the day
information will be placed. If the dates are in a row, enter the row
number. If the dates are in a column, enter the column number.
# of
Rows
Represents the total number of rows in the Section,
excluding any header or total rows. In other words,
this includes only the number of rows in the Section
where your handheld data will be placed.
# of
Columns
Represents the total number of columns in the
Section, excluding any header or total columns. In
other words, this includes only the number of
columns in the Section where your handheld data
will be placed.
Start
Row
Is the number of the first row of the Section that will
be filled with your handheld data.
Start
Column
Is the number of the first column of the Section that
will be filled with your handheld data.


