


Page 96 Application Specific Tasks
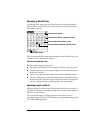
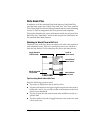
You can distinguish a floating event from an integrated To Do List
item by the circle that appears next to the floating event (in place of the
To Do List item priority number and check box). Floating events
appear in alphabetical order at the top of the Day View screen
between any integrated To Do List items and untimed events.
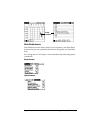
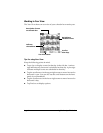
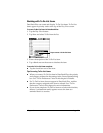
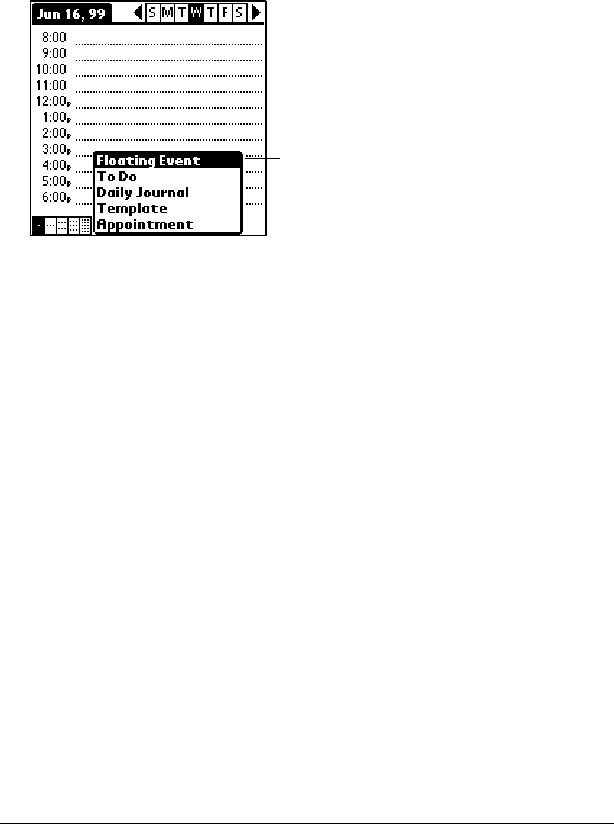
To create a floating event:
1. Tap the Day View button.
2. Tap New and select Floating Event from the list.
3. Enter a description of the event.
4. Tap a blank area on the screen to deselect the floating event.
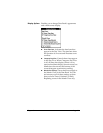
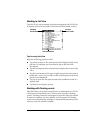
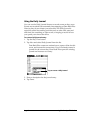
To mark a floating event complete:
■ Tap the circle to the right or left of the event.
Tips for using floating events:
■ To prioritize floating events, enter a number followed by a space
or dash as the first few characters of the description.
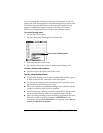
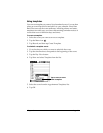
■ To convert an existing event to a floating event, select the event,
tap Details and select Float as the Type.
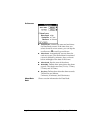
■ When you complete a repeating floating event, it marks only the
current occurrence of the event as complete.
■ Avoid scheduling a floating event that repeats daily. These events
can accumulate quickly unless you complete them each day.
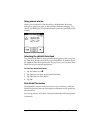
■ When viewing a floating event in a desktop application, the Note
field will contain a series of characters: ##f@@@@@@ for an
incomplete event and ##c@@@@@@ for a complete event. Do not
remove or edit these characters.
Tap to create a floating event