


AastraLink RP Phone User Guide 81
Using Your 6757i CT RP Cordless Handset
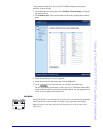
Pressing Select while viewing this option brings up a list of base and paired handsets
available for intercom. To select a handset or base to intercom, navigate to the desired
handset or the base using the  key or the Ï key. Then press the
Call soft key.
Shortcut to any handset or base in the list is permitted by pressing the corresponding
numeric key digit; the order of the list is numbered from zero (0) for the base (0) and
four (4) for the 4th handset in the list.
Note: Your System Administrator can configure outgoing Intercom calls using the
Icom button.
For more information about the intercom feature, see Intercom on page 80.
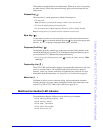
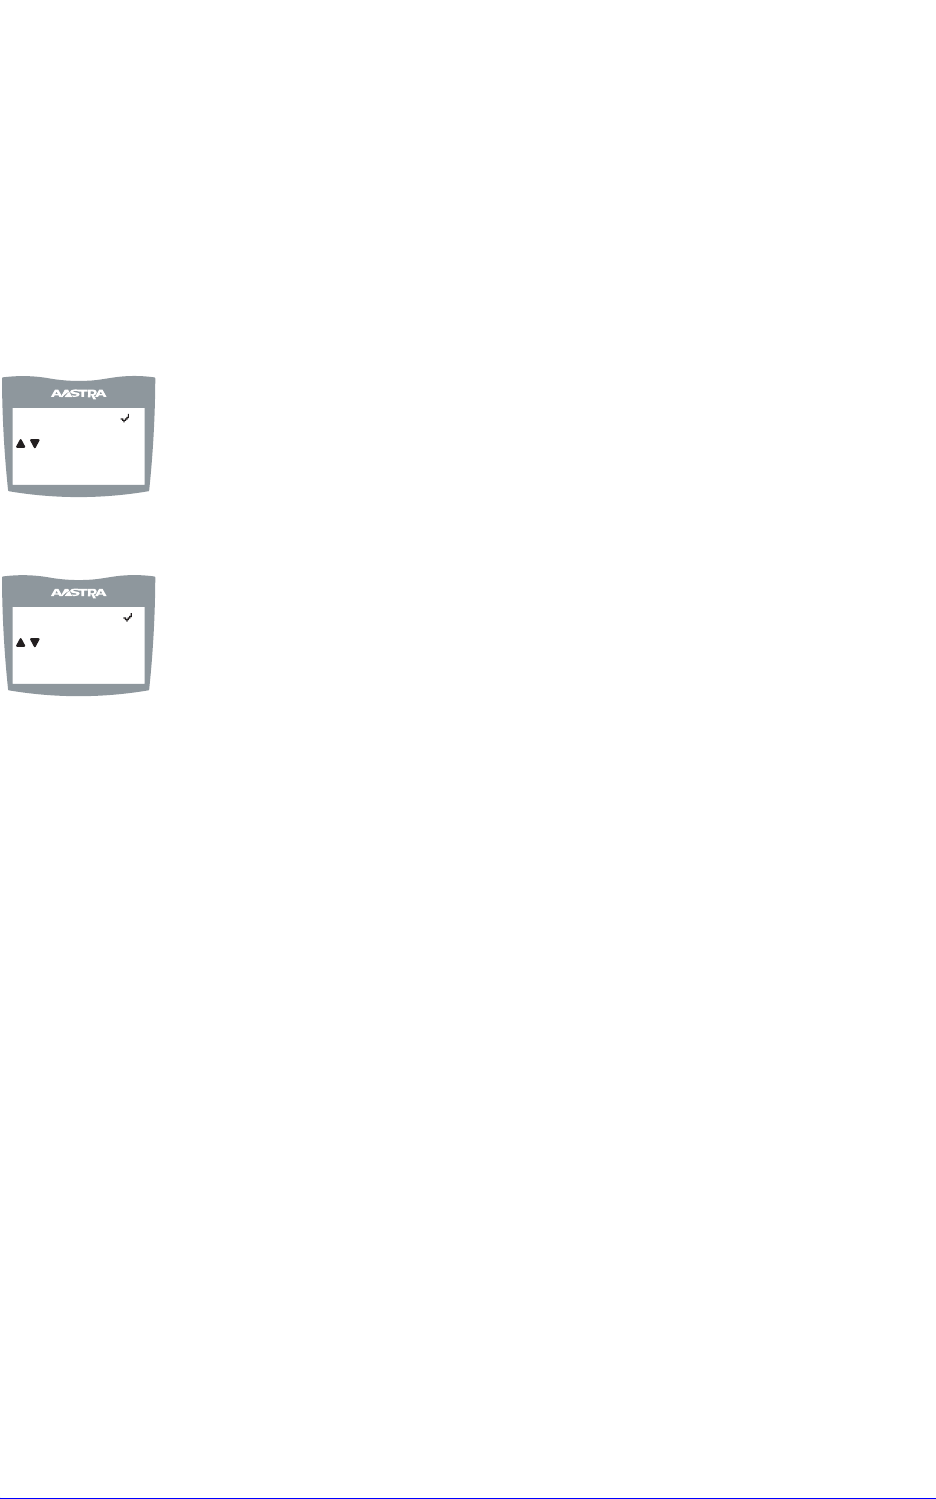
Language
The prompt on 6757i CT RP handset can be personalized to English, French, or
Spanish language. A checkmark beside the language indicate the currently selected
language prompt.
For more information about changing language on the handset, see Foreign Language
Support on page 76.
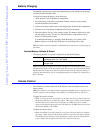
Ring Tone
There are several selectable Ring tones available on the 6757i CT RP handset. A
checkmark beside the ring tone number indicates the currently selected ring tone.
For more information about changing ring tones on the handset, see Using Your 6757i
CT RP Cordless Handset on page 79.
Custom name
Custom name allows the user to personalize the name/label for the cordless handset.
In a multi-handset environment, this is an ideal option to personalize each handset to
its user or extension number.
To customize the name of your cordless handset, do the following.
1. Press Â.
2. Navigate to
Custom Name or press 4.
3. Press the
Change softkey.
4. Press the
Edit softkey. If a custom name already exists, the Delete softkey is
presented.
5. Using the keypad, type out a new label or use the scroll keys Ï and  to move
the cursor to the desired display position or to erase text.
6. The
ChCase softkey is available to toggle between upper and lower case text entry.
7. Press the
Save softkey to save the name.
8. Press the Goodbye y key to return to the main idle screen.
Note: In editing mode, the Volume Bar can be used in place of the Ï and  keys
to control the screen cursor. Pressing the Lower end volume bar for Backspace/
Erase; and pressing the Higher end volume bar to add a Space.
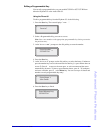
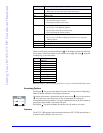
In English?
= Scroll
Cancel Select
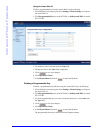
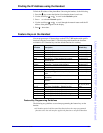
Ring Tone 1
= Scroll
Cancel Select