21
Setting the Menu List
CONFIGURATIONS
English
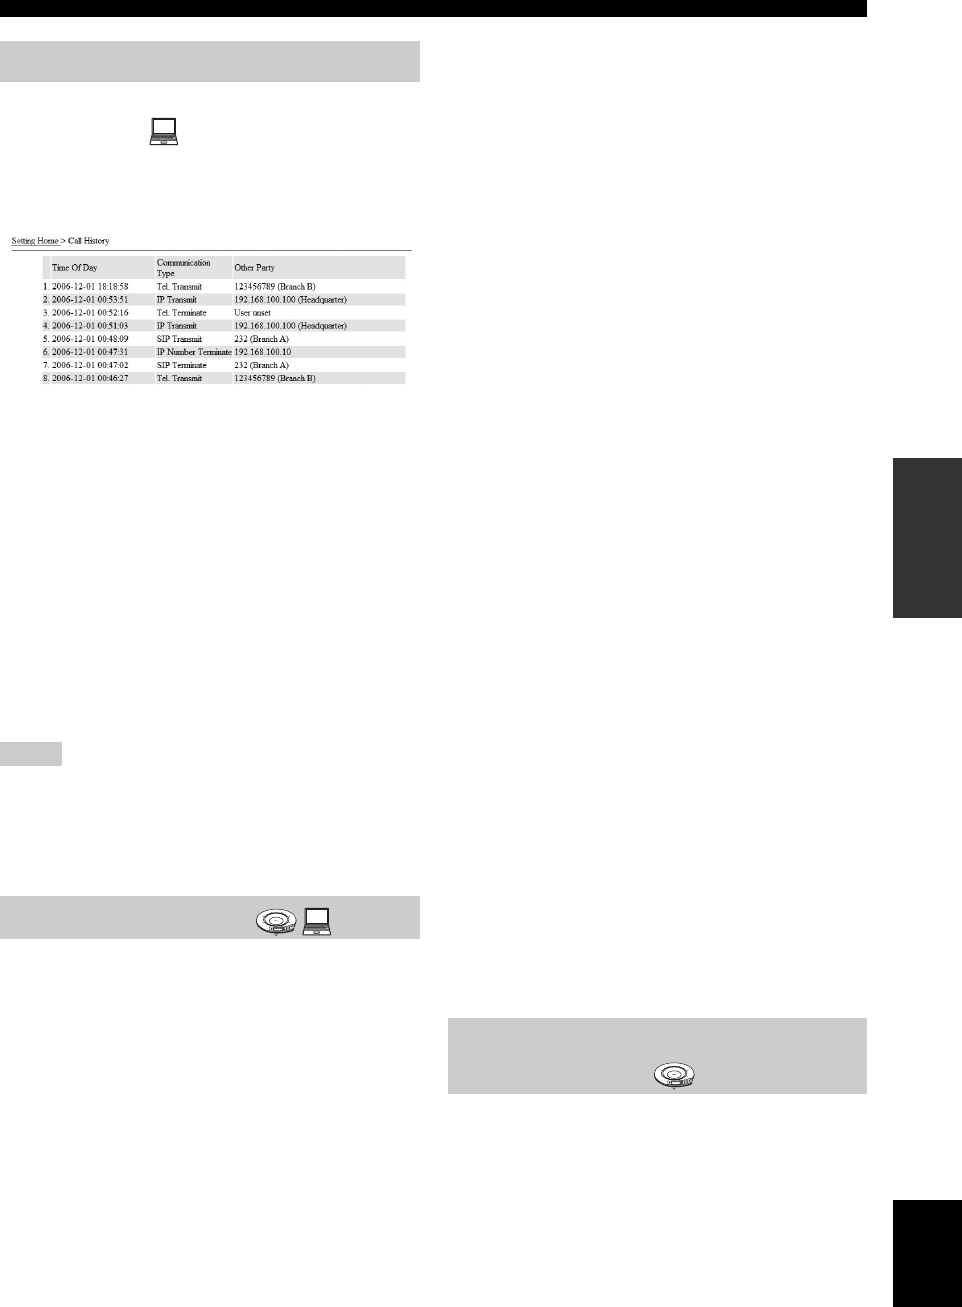
■ Checking the communication history of
this system
The communication history of this system can be viewed
on the Web setting page. This system stores the records of
up to 50 communications.
Displayed information:
• Time Of Day: Date and time at the start of each
communication.
• Communication Type: Means (telephone/IP network)
and type (incoming/outgoing/non-replied incoming/
multipoint) of communication are displayed. “Multi” is
displayed with automatic call origination/incoming
during mesh connection (page 14).
• Other Party: IP address, SIP address, IP intercom
number or telephone number of the other party of
communication. The name of the other party is also
displayed if it is registered in the address book.
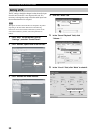
Using the Web menu
In the Web menu, select “Call History”.
• To obtain correct time information, it is required to set the built-
in clock of the system in advance.
• With the communications through telephone circuit, the
incoming telephone number is displayed as “Caller ID
blocked”.
Use this feature to prevent important configurations from
being unwantedly changed by a user other than the
administrator.
The configuration parameters under protection are as
follows:
• Network Settings
• Phone
• Save Config
• Restore Settings
• Firmware Update
• Setting by using the Web menu
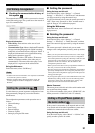
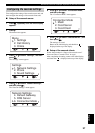
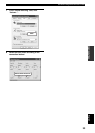
■ Setting the password
Using the keys on this unit
In the initial display, select “Settings” → “General
Settings” → “Password” → “Set Password” and then enter
a 4-digit password by using the numeric keys.
If a password already exists, enter the current password in
“Old”. Enter a new password in “New” and then enter it
again in “Retype” for confirmation purpose.
Using the Web menu
In the Web menu, select “Set Password” and enter a 4-
digit password.
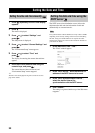
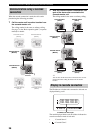
■ Deleting the password
Using the keys on this unit
In the initial display, select “Settings” → “General
Settings” → “Password” → “Delete Password” and then
enter a the current 4-digit password by using the numeric
keys.
The current password is deleted, and you can make
changes to the configurations previously under protection.
y
• When you set a password for the first time, leave “Old” empty.
• When a password has been set and you select a configuration
menu under protection by using the control keys of this unit, the
password entry screen appears. If you do not perform any
operations for the next 5 minutes, this unit returns to the
configuration protection mode.
• When a password has been set and you update the firmware of
this unit, you need to enter the current password.
• Once the existing password has been deleted, the configurations
previously under protection can no longer be protected. If you
want to protect the configurations again, perform the password
setting procedure again.
• If you forgot the password, you cannot initialize this unit to the
default factory settings. In this case, use the following master
password to set this unit to the default factory settings. The
master password can be entered in the Web menu.
Master Password
The master password for this unit is the serial number with
the second letter being omitted.
(e.g. If the serial number of this unit is “NP4012345”, the
master password is “N4012345” with “P” omitted.)
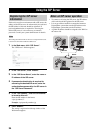
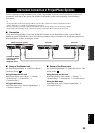
If the system is connected to an IP network such as LAN,
it can search and call another ProjectPhone system that is
available for communication in the same subnet.
Using the keys on this unit
From the initial display, select “Menu” → “Online” and
specify another system to be called.
Call history management
Notes
Setting the password
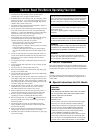
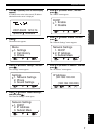
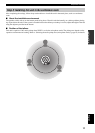
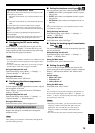
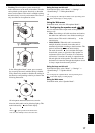
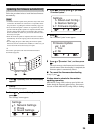
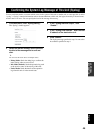
1
2
3
4
5
6
7
8
9
0
MIC MUTE
VOL
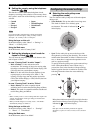
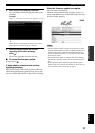
Calling a ProjectPhone system in
the same subnet
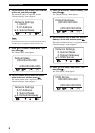
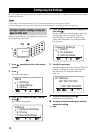
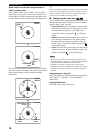
1
2
3
4
5
6
7
8
9
0
MIC MUTE
VOL