15
Setting the Menu List
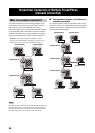
CONFIGURATIONS
English
■ Configuring the SIP server setting
Select “Enable” to use the SIP server for the call. The
default setting is “Disable”. To use the SIP server, you
need to register the SIP server name and password using
the Web menu. See page 24 for details.
• Even if you select “Enable”, the SIP server is available for a call
only if the SIP server name and password are registered in the
Web menu.
• To connect a call using a SIP server, it is necessary to register
the SIP address of this unit. See page 24 for details.
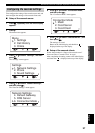
Using the keys on this unit
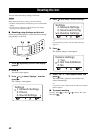
In the initial display, select “Menu” → “Settings” →
“Network Settings” → “SIP Server”.
Using the Web menu
In the Web menu, select “SIP Server”.
■ Configuring the silence suppression
setting
You can suppress packet output when no sound is input at
the microphone of this unit.
Select “Enable” to activate this function. The default
setting is “Disable”.
Using the keys on this unit
In the initial display, select “Menu” → “Settings” →
“Network Settings” → “Silence Suppress”.
Using the Web menu
In the Web menu, select “Silence Suppression”.
Register the settings for communication through the
telephone circuit.
These settings do not affect the communication through the IP
network including the LAN.
■
Setting the telephone circuit type
You can select the type of the connected telephone circuit.
• 20PPS: Select when your telephone circuit is a pulse
(20 pps) line.
• 10PPS: Select when your telephone circuit is a pulse
(10 pps) line.
• Pb (Default): Select when your telephone circuit is a
tone line.
y
If you do not know the type of your telephone circuit, consult
your telephone company.
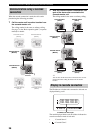
Using the keys on this unit
In the initial display, select “Menu” → “Settings” →
“Phone” → “Dial Type”.
Using the Web menu
In the Web menu, select “Dial Type”.
■ Setting the hooking signal transmission
time
You can set the transmission time of the hooking signal for
use in a call transfer.
Using the keys on this unit
In the initial display, select “Menu” → “Settings” →
“Phone” → “Hooking Time”.
Using the Web menu
In the Web menu, select “Hooking Time”.
■ Setting the prefix
You can set the prefix that identifies the network. The
prefix can be used in call originations using the “telephone
number,” “SIP extension number” and “address book
number”.
Default settings:
• Phone Line: None
•IP Number: 8#
• Address Book: 9#
Using the Web menu
In the Web menu, select “Prefix”.
y
You can check the current prefix setteings by using the keys on
the unit. In the initial display, select “Menu”
→ “Settings” →
“Phone” → “Prefix”. You cannot change the setting of the prefix
by using the keys on this unit
.
• Depending on the settings, you may not be able to call an
emergency number (such as that of the police or the fire
department). Also, note that there are cases where an
emergency number is accidentally called without your
intention.
• You cannot set the same prefix for different calling method.
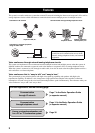
Tips for the “Audio Device” mode
This function can be used when this unit is connected to a PC
in the following conditions:
– When this unit and the PC are connected within the same
subnet.
Or,
– When this unit and the PC are connected directly by LAN
cable.
A special audio driver must be installed on the computer
before using “Audio Device” mode. The audio driver and
operating instructions can be downloaded from the following
URL:
http://www.yamaha.co.jp/english/product/projectphone/
download/appli/
See the above web site or the manual of the audio driver for
instructions on installing and operating the audio driver.
Notes
Setup of telephone function
Note
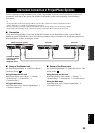
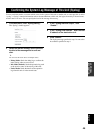
1
2
3
4
5
6
7
8
9
0
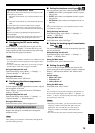
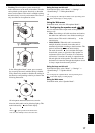
MIC MUTE
VOL
1
2
3
4
5
6
7
8
9
0
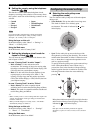
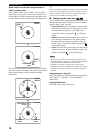
MIC MUTE
VOL
Notes
1
2
3
4
5
6
7
8
9
0
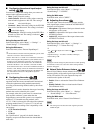
MIC MUTE
VOL
1
2
3
4
5
6
7
8
9
0
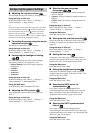
MIC MUTE
VOL