–––––––––––––––––––––––––––––––––––––––––––––––––––––––––––––––––––– System/Station Administration
45
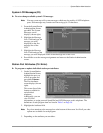
Administration Menu (DKAdmin)
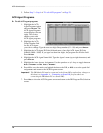
While you can assign these attributes to individual ports, station attributes cannot be copied
from one port to another, or set for a range of ports from this menu. However, range
programming for ports can be completed on a program level using the Program
Administration option.
Some features (Intercom/DID numbers and VMID codes) enable you to set a range of values
(default values) which can be applied to all ports, making programming quick and easy.
Note It is recommended, if you are updating station attributes and have not performed a
system backup recently, that you do so before updating system information. For
information, see Chapter 7 – Backup Menu (DKBackup).
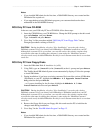
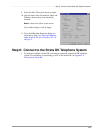
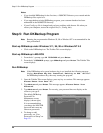
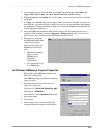
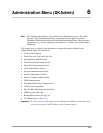
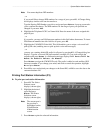
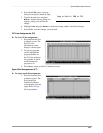
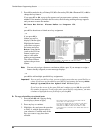
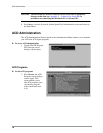
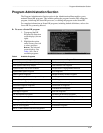
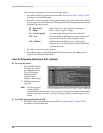
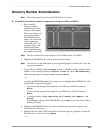
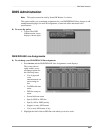
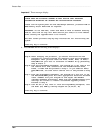
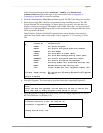
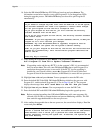
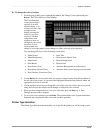
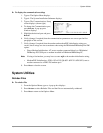
➤ To access the option
1. Type a and the
Administration Menu
displays (shown right).
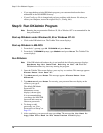
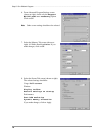
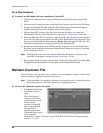
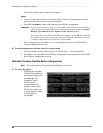
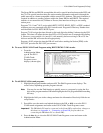
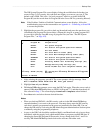
2. Type s and the
System/ Station
Administration screen
displays.
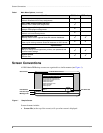
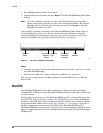
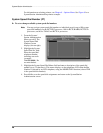
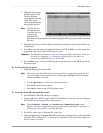
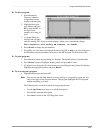
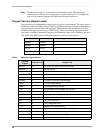
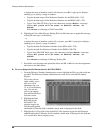
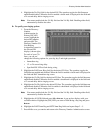
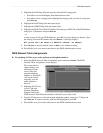
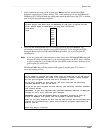
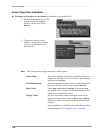
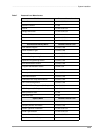
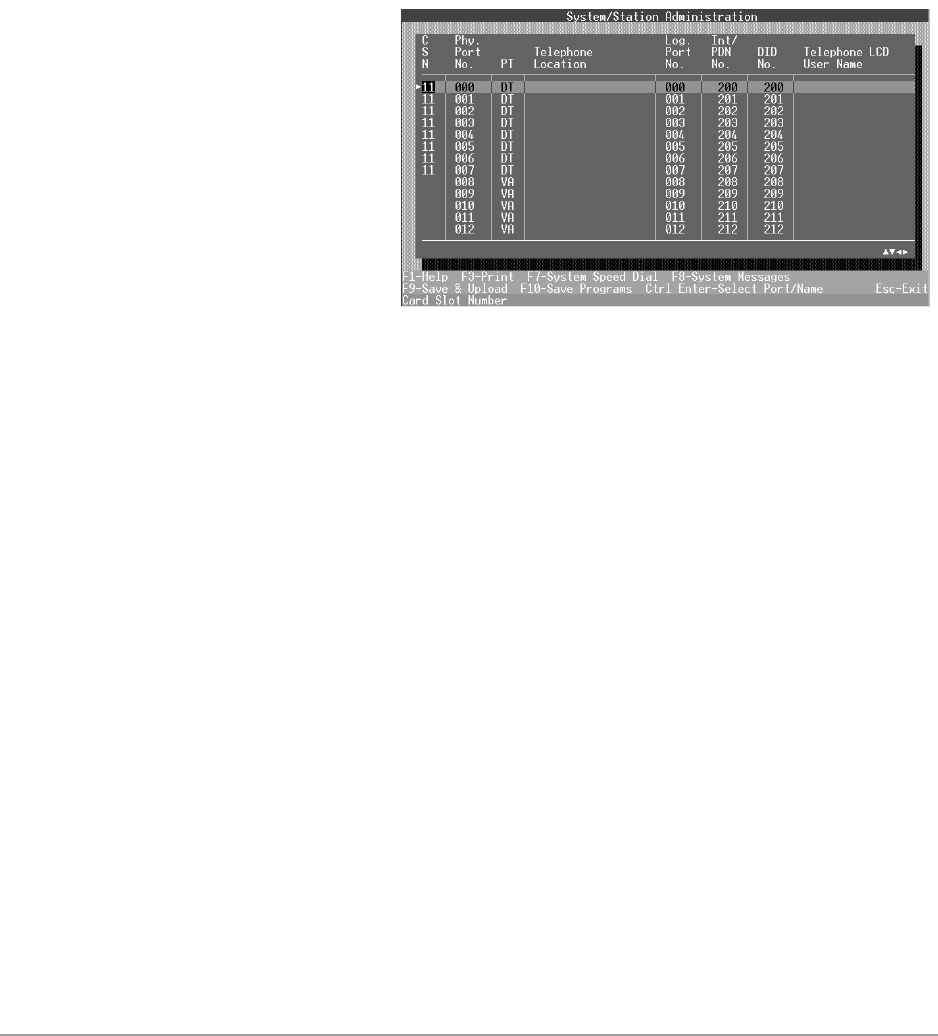
The System/Station
Administration screen
displays the entire
system as it currently
exists. For each
physical port, you can:
♦ Enter the location (room or office name) of each telephone or device connected to the
Strata DK.
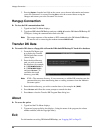
♦ Transfer telephone attributes to another telephone by changing the logical port
number.
♦ Enter a PDN/Intercom number.
♦ Enter a DID number.
♦ Enter a user name.
♦ Enter a voice mail call forward ID code.
● Enter a voice mail message waiting code.
● Assign speed dial numbers.
● Assign system messages.
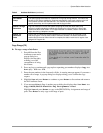
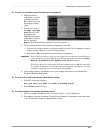
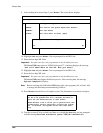
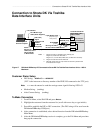
Important! The DKAdmin PC must be connected to the Strata DK to upload any changes to
this data (see Appendix A – Connecting to Strata DK for procedures on
connecting the DKAdmin PC to a Strata DK).
You can also:
♦ Print the information for all system ports.
♦ Print the attributes for a particular port.
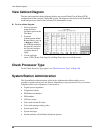
♦ Print the Strata DK cabinet configuration.