


15
Initial Setup
After unpacking the FLX2 Conferencing System, there are a few initial setup tasks that
must be performed before a call can take place or any system configuration can be
changed.
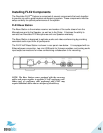
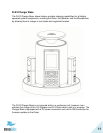
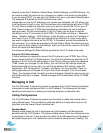
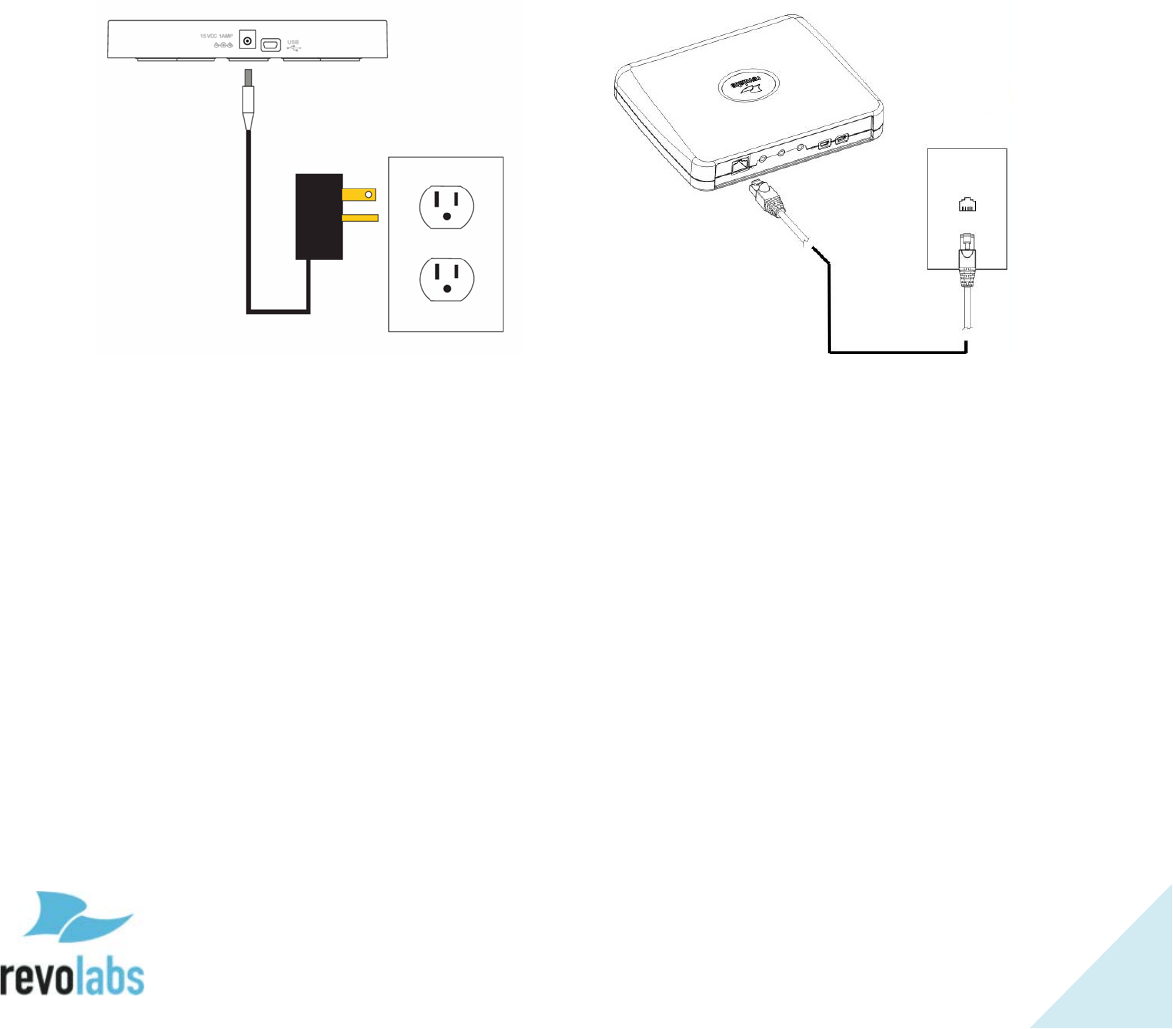
Connecting System Cables
The FLX2 Charger Base has a power supply that needs to be connected, as shown
below. In addition, the Base Station needs to be connected to the network using the
provided Ethernet cable before a conference call can be made. The FLX unit expects
Power over Ethernet (PoE) to be provided through the network connection. If your
network does not support PoE, a power injector is required. Please contact your
reseller to purchase the additional PoE power injector. The Base Station offers
additional optional connections that are only being used when the FLX2 System for
example is connected to a video conferencing unit or a recording device. The cables
required for these connections are not included with the FLX2 system and need to be
purchased separately.
VoIP configuration
For the FLX phone to work within a VoIP environment the phone has to be set up to
communicate to the IP PBX. You will also have to enable the extension (user) you want
to use with the FLX on your PBX. Please review your PBX documentation on
information on how to do that.
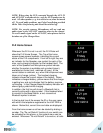
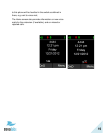
From the FLX Handset
Depending on your IP PBX, different settings will be required for your FLX to work in
your environment. First, the FLX will require an IP address. The IP address can either
be obtained from a DHCP server in your network, or be statically set on the phone. The
phone is preset to DHCP. If you want to change this setting, open the menu on the
Dialer by pressing the right soft key, go to the “Setup” menu, and select “Advanced
Setup.” You will have to enter a password, which is preset to 7386. Switch DHCP OFF,
and then select “Network Settings.” Under “IP Settings” you can set the required