~31~
2. Use admin handset, HS 11 or HS12, to conduct the registration for 2
nd
,
3
rd
, and 4
th
base unit.
3. Registration:
a. Press MENU-6 from HS 11 to enter the
registration mode
b. Press and hold the Registration (REG) button on
that additional base unit, which you want to add
into the system, for 2 seconds until 4 LEDs light
up.
c. Press handset key “3”, then enter the base ID i.e.
20 for 2
nd
base, 30 for 3
rd
base, or 40 for 4
th
base;
this completes the registration process.
Call Transfer
1. While a telephone call is in progress, you can place call on hold and
transfer the call.
2.
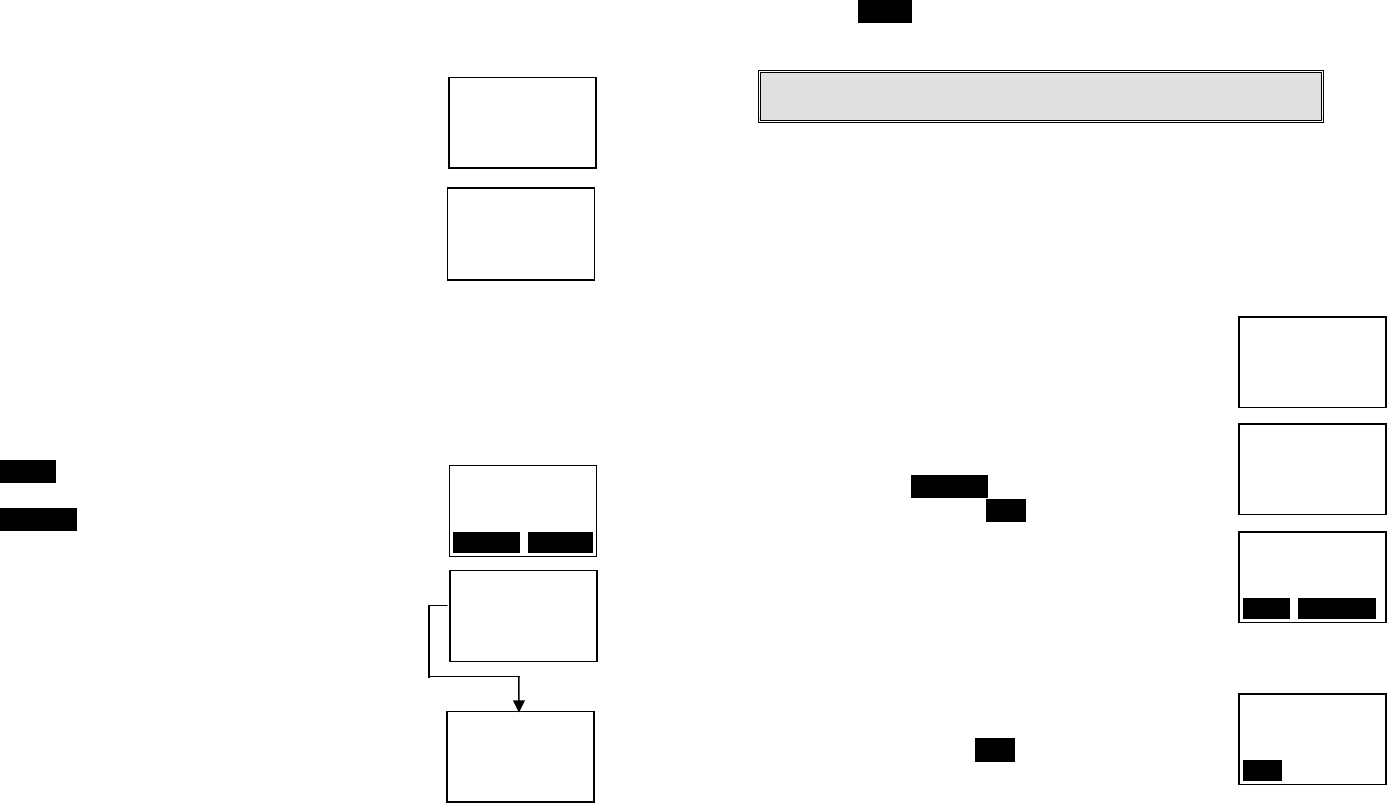
Press HOLD soft key to put call on hold.
3.
Press OPTION soft key to enter feature list for
selection.
4. Three types of transfer method:
a. Transfer PBX
(1) When DuraFon 1X is adjunct to the PBX system,
you can transfer the call to an assigned PBX
extension.
(2)
Proprietary PBX systems usually require a
specific feature code to transfer a call.
(3) You can pre-program that feature code by
entering the “System” mode (Menu-9); you need
to enter the base ID to link to the base station
(4) Press 3 and then enter the specific “call transfer” feature code
b. Un-announced Call Transfer:
Press “END” before the destination handset answers, the call is
automatically transferred to the destination handset.
c. Announced Call Transfer:
(1) Speak to the destination handset.
11
You have a
Call on hold
UNHOLD OPTION
11
1.Transfer PBX
2.UnancdXfer HS
3.AncdXfer HS
11
System: ÇÈ
2. Flash
3. Xfer PBX
11
Main Menu: ÇÈ
5. Settings
6. Registration
11
Registration: ÇÈ
2. Deregister
3. Set base
~32~
(2) Press XFER soft key or the END to end announcement. The call is
transferred to the destination handset.
Notes: If the destination handset does not answer after handset
paging timeout, the call is routed back to the originating handset.
Call Manager
“Call Manager” feature allows the handset to be set to receive all incoming,
transferred, and 2-Way/Intercom calls OR just transferred and 2-Way/
Intercom calls. The option is selectable by base 1 to base 4. Besides, this
feature allows you to select a specific base station to make an outgoing call.
1. Decide whether to receive the incoming, transferred,
and 2-Way/Intercom calls from a specific base station:
a. Press menu 8 to enter the Call Manager function.
The screen will display:
b. Press 1 to enter “incoming” setting.
c. Use ¿ and À Scrolling keys to select a base from
base 1 to base 4.
d.
Then press the ÆYES NO key to switch between
Yes and No, then press SAVE key to confirm the
setting.
e. Repeat the process until all base stations from
which calls are to be accepted have been
selected for the handset.
2. Decide whether to select a specific base station to make outgoing call:
a. Press menu 8 to enter the Call Manager function.
b. Press 2 to enter “Outgoing” setting.
c. Use ¿ and À to select either On or Off.
c.
Scroll to On and press SAVE if you want to select a
specific base station before you make an
outgoing call. The default setting is Off.
Change System Settings by Administrator
There are four types of system setting that can be adjusted by Administrator.
1. Tone
a. Press Menu-9 and enter the two-digit base ID to enter the System
mode.
11
Receive Calls
From base 1: ÇÈ
SAVE ÆYES NO
11
Main Menu: ÇÈ
8. Call Manager
9. System
11
Call Manager: ÇÈ
1. Incoming
2. Outgoing
11
Select Base
On
SAVE
