


28
2929
2) There are 3 options: Always, Busy and No Answer.
3) Make a selection and press the OK button or Enter soft key. Choose to activate
or deactivate the feature, then press the DOWN navigation key to enter the phone
number to which calls will be forwarded. For the No Answer feature, users can
also select the No Answer Timeout by pressing the DOWN navigation button.
4) To have the server perform this function, enter the On Code and O Code op-
tions. When users choose to enable the call forward function via their phone, it
will send the corresponding code to the server, which will take care of forwarding
all calls. In this case, forwarded calls will not be stored in the Call History.
5) Press the OK button or the Enter soft key to save the changes.
Notes: 1. If the FWD soft key is pressed during ringing, the call will be dynamically
forwarded to the desired number.
2. Users can quickly enable or disable the Call Forward feature by pressing the
DOWN navigation button from idle mode. This will activate or deactivate the Al-
ways Call Forward feature.
3. Only admin/var can set the On and O codes. Make sure the correct User Type is active.
4. When call forwarding is enabled, the icon will be shown on the display
5. The 3 Call Forward types have different priorities : Always > Busy > No Answer . If more than
one type of call forward is enabled , only the enabled setting with highest priority is effective .
6. FWD TO ... “ message will be displayed on idle screen after an incoming call was forwarded .
Pressing the OK button will clear this message. “
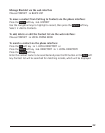
To congure Call Forward via the web interface:
Go to PHONE [ FEATURES (Forward)
Auto Answer
Auto answer allows an incoming call to be answered without requiring any action
by the user. This function is set on a per account basis.
This function can only be enabled or disabled by admin.
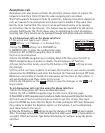
To set Auto Answer via the phone interface:
1) Make sure active User type is admin.
2) Press the Menu soft key[3. SETTINGS[2. ADVANCED,
enter the password and press the OK button
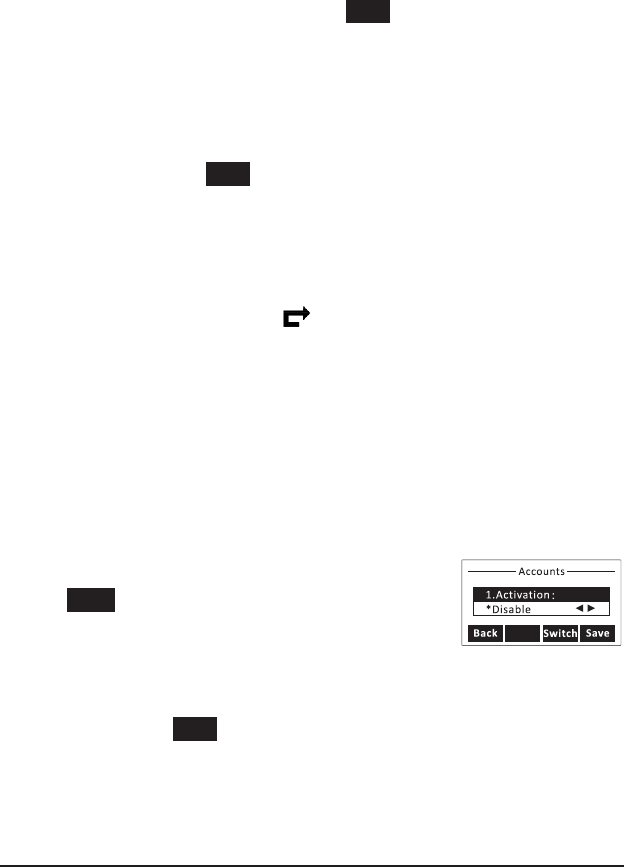
3) Then choose 1. ACCOUNTS and then select an account,
use the UP and DOWN navigation keys to choose 12. Auto Answer option.
4) Use the LEFT or RIGHT navigation keys to enable or disable the Auto Answer func-
tion. The default is disabled.
5) Press the OK button or Save soft key to save the changes.
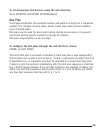
To set Auto Answer via the web interface:
1) Go to ACCOUNT[ACCOUNT SETTINGS page
2) Go to BASIC [AUTO Answer option.
3) Select Enabled or Disabled in the pull-down menu. Click SAVE button to save
the changes.