10
Multiple Unit Telephone Wiring
Up to four AE-100 units may be connected to the same dedicated
telephone line to form a simple network. Connecting multiple units allows
transferring programming data (either the directory entries only or the
entire memory’s contents) from the “master” unit to the other sub-units.
✦ NOTE: For a multiple-unit installation to function properly, be sure
to set programming Steps #07 & #71
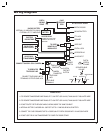
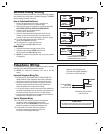
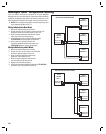
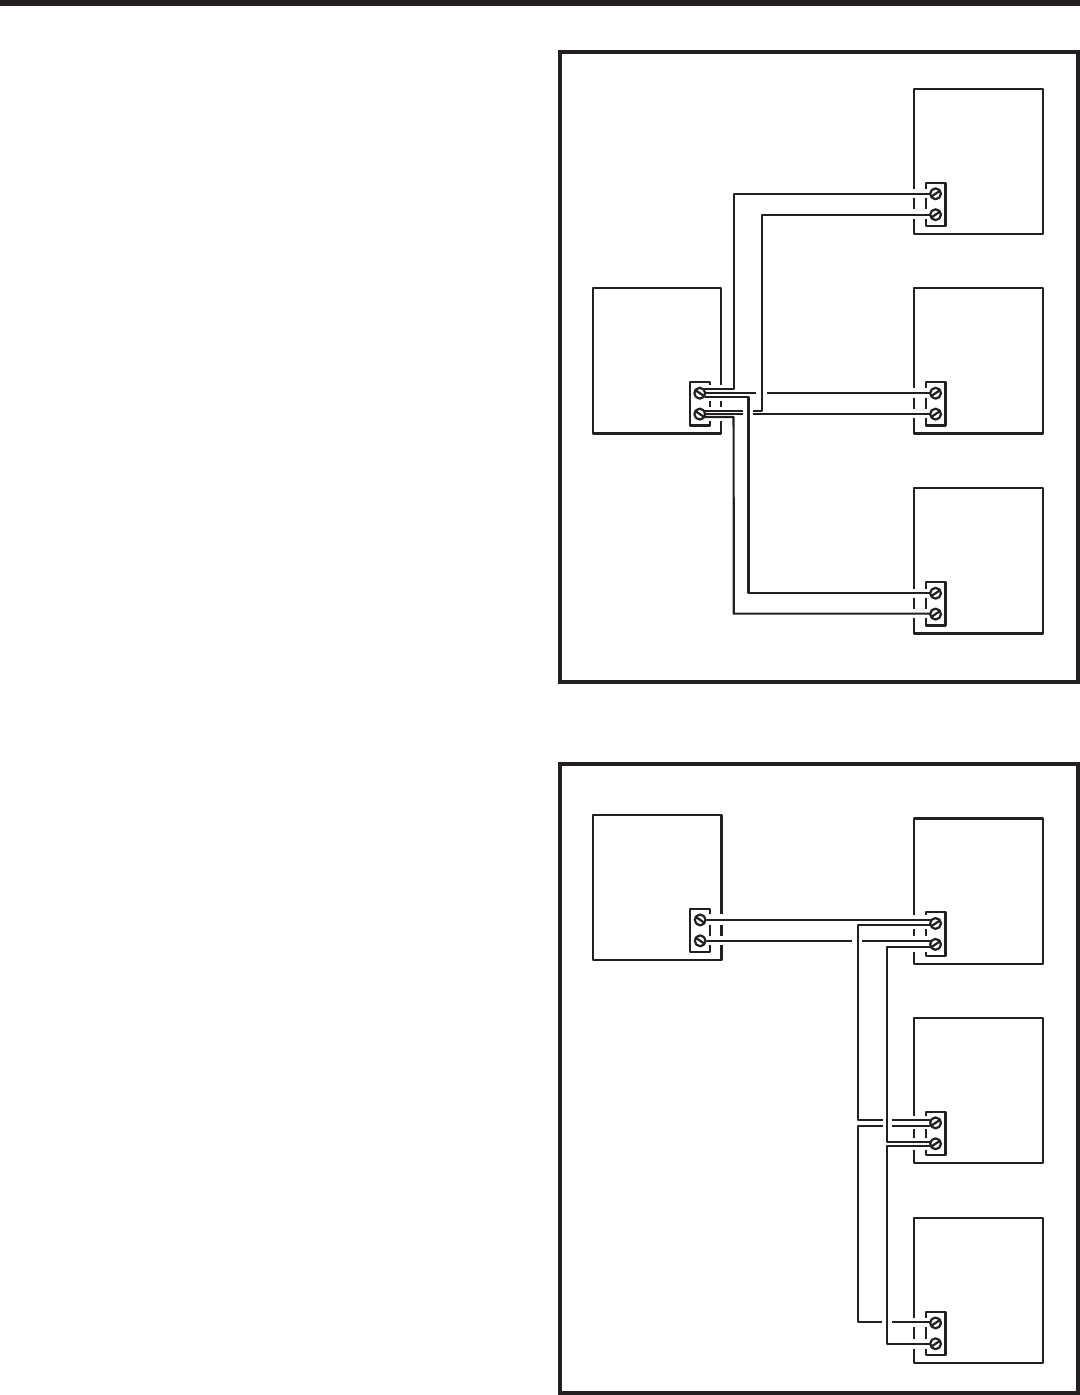
Multiple Units Home Run Wired
1. Mount and install the master and sub-units.
2. Choose one unit to be the “master” unit and act as the “hub”.
Usually this would be a centrally located or “main” unit.
3. Route 2-conductor telephone cable from the master
unit to each of the sub-units (see fi gure).
4. Connect each sub-unit’s 2-conductor telephone cable
its TELEPHONE terminals (polarity not important).
5. At the master unit, connect all the sub-unit
2-conductor telephone cables to the master unit’s
TELEPHONE terminals (polarity not important).
Multiple Units Daisy-chain Wired
1. Mount and install the master and sub-units.
2. Choose one unit to be the “master” unit. Usually this
would be a centrally located or “main” unit.
3. Route 2-conductor telephone cable from the
master unit to the closest sub-unit.
4. Route 2-conductor telephone cable from the
sub-unit in Step 3 to the next sub-unit.
5. Repeat for all sub-units (see fi gure).
6. Connect the 2-conductor telephone cables to the TELEPHONE
terminals in each unit (polarity not important).
TELEPHONE
TERMINALS
AE-100
MASTER
UNIT "1"
TELEPHONE
TERMINALS
AE-100
SUB-UNIT "3"
TELEPHONE
TERMINALS
AE-100
SUB-UNIT "4"
TELEPHONE
TERMINALS
AE-100
SUB-UNIT "2"
MULTIPLE UNIT HOME RUN WIRING
TELEPHONE
TERMINALS
AE-100
MASTER
UNIT "1"
TELEPHONE
TERMINALS
AE-100
SUB-UNIT "3"
TELEPHONE
TERMINALS
AE-100
SUB-UNIT "4"
TELEPHONE
TERMINALS
AE-100
SUB-UNIT "2"
MULTIPLE UNIT DAISY-CHAIN WIRING


