Using the Camera Features 10–5
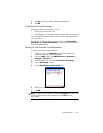
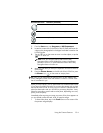
• To e-mail, send, or transfer the photo, tap the Send button on the
screen, and select the method to be used (MMS, E-mail Attachment,
Bluetooth, or Infrared) and follow the instructions on the screen.
NOTE: If you choose to e-mail the photo, notice the attached image
appears at the bottom of the e-mail message.
• To save an image, tap OK or simply wait for the preview to
disappear from the screen and the camera application to return to
the digital viewfinder.
Ending Your Photo Session
• To exit the camera application, tap the Close button on
the screen.
Taking a Video Clip
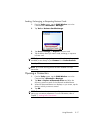
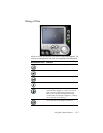
1. From the Start menu, tap Programs > HP Photosmart.
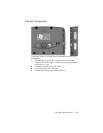
2. Locate the camera lens on the back of the HP iPAQ and frame the
subject to be photographed in the digital viewfinder located on the
HP Photosmart screen.
3. Tap the Video icon on the HP Photosmart screen, and then
press or tap the Shutter icon on the screen to begin filming
the video clip.
NOTE: Because you are filming moving images, you need to follow your
subject with the camera if they are moving around.
4. To end the video clip, tap or press the Shutter icon on the
screen
again.
5. To view the video clip, tap the Play icon.
6. To stop the video clip, tap the Stop icon.
7. To exit the video clip and camera application, tap the
Close
icon .
Adjusting the Camera Settings
Besides simple “point-and-shoot” and video clips, your HP Photosmart
Camera includes many other features such as:
• Exposure settings (white balance, auto-exposure metering)
• Color settings
• Compression settings
• Resolution settings
• Self-timer
• Flicker (banding) settings


