


RAV-Ware — Configuring Auxiliary Devices
RAV-Ware — Dialer and Phonebook Usage
43
Technical Services Group ~ 1-800-283-5936 (USA) ~ 1-801-974-3760
42
Technical Services Group ~ 1-800-283-5936 (USA) ~ 1-801-974-3760
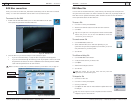
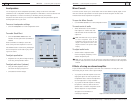
To test camera presets
1. Select the camera you are testing.
2. Click
Run Preset
for each mic pod to test the programming.
The camera should move to the preset position for each microphone.
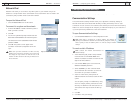
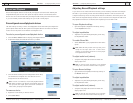
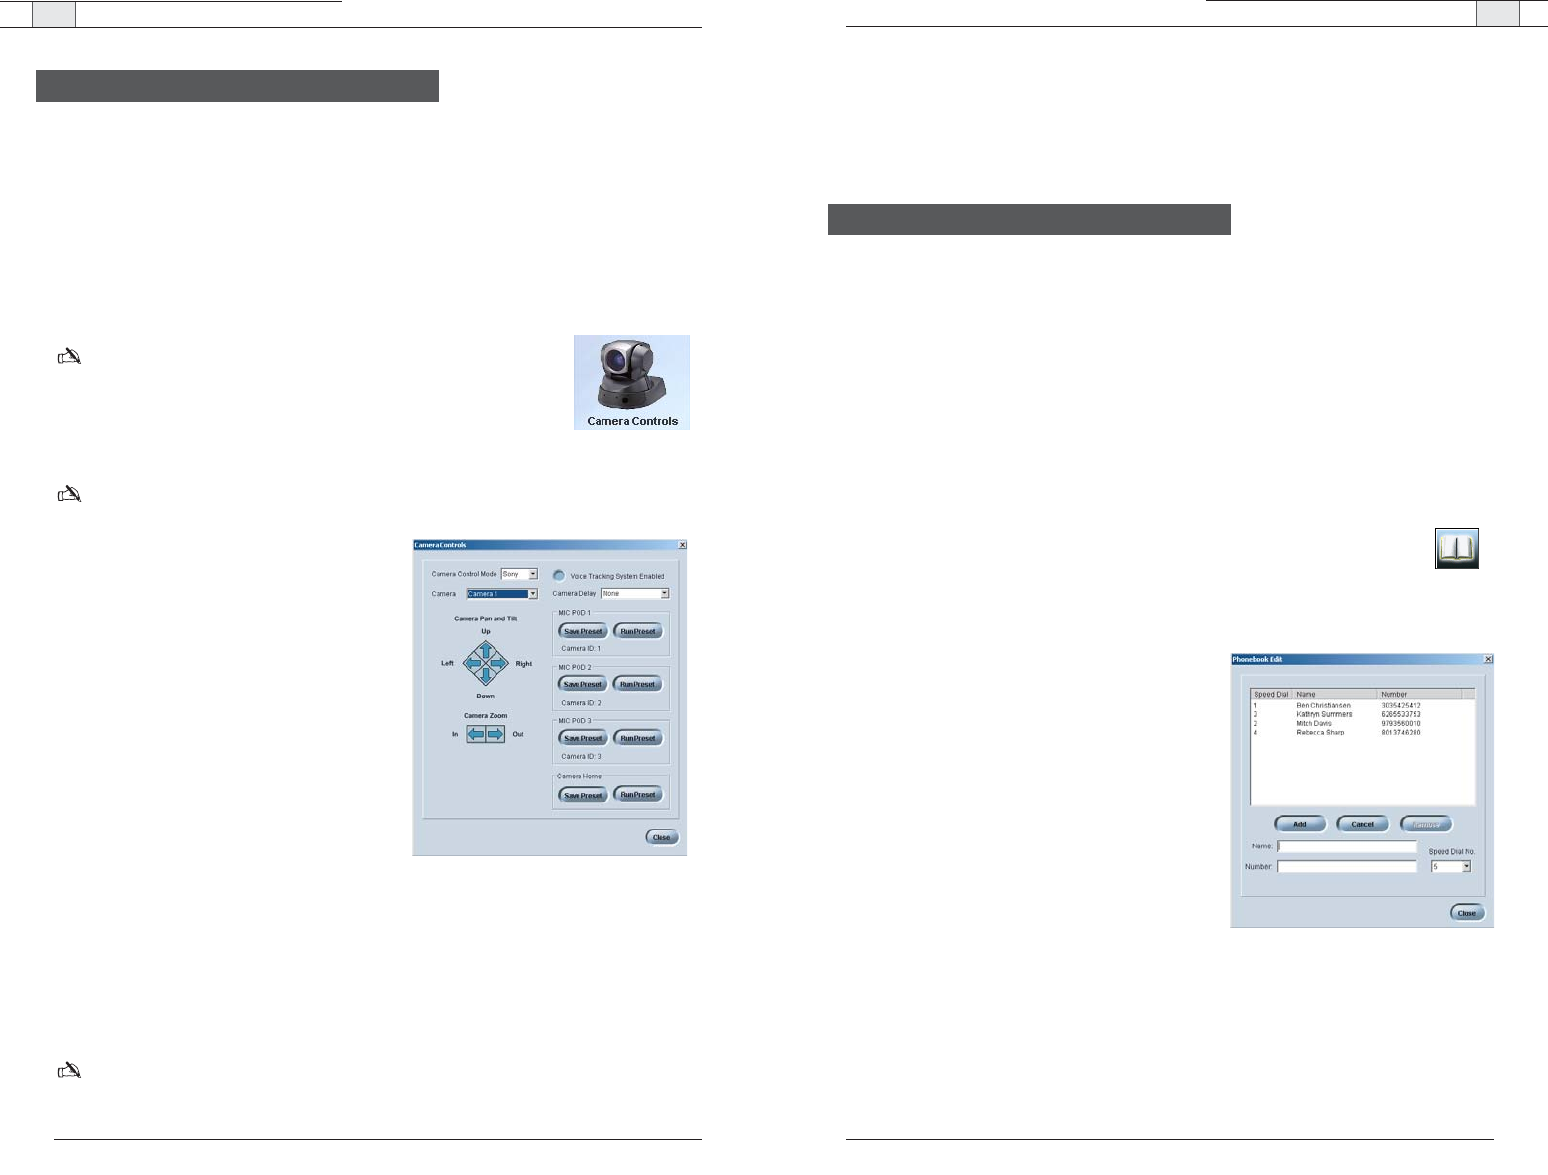
The RAV system includes a Phonebook that stores up to 20 names and phone numbers.
Phonebook entries may be entered through RAV-Ware or using the RF Controller.The Dialer in
RAV-Ware mimics the RF Controller and may be used to make calls, mute microphones and
adjust the loudspeaker volume. See pages 52–59 for information on using the RF Controller.
Phonebook
RAV-Ware features a Phonebook utility which stores up to 20 phone numbers.These
numbers are also assigned a speed dial number for dialing convenience through the RF
Controller. Phonebook entries are listed in alphabetical order.You can add, edit or delete
entries from the Phonebook window.
To open the Phonebook
• Click the
Phonebook
button on the toolbar.
To add a Phonebook entry
1. Click
New Entry
.
2. Enter the
Name and Number
.
3. Enter a
Speed Dial Number
.
4. Click
Add Entry
.
To delete a Phonebook entry
1. Select the entry you want to delete.
2. Click
Remove
.
To edit a Phonebook entry
1. Select the entry you want to edit.
2. Make desired changes to the entry.
3. Click
Change
.
Dialer and Phonebook Usage
Figure 3.29. Phonebook Edit
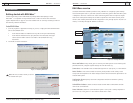
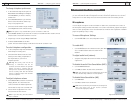
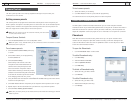
The RAV system provides voice tracking capabilities through a VISCA control port
connection to a PTZ camera.
Setting camera presets
The camera presets are programmed in RAV-Ware and assigned to each microphone pod.
When a specific microphone is activated, the PTZ camera will move to the associated preset
camera position.The RAV 900 supports three camera positions and a home position.The
RAV 600 supports two camera positions and a home position.
Note
:The PTZ camera can still be controlled manually from the camera
or video codec remote control.
To open Camera Controls
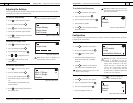
• Click the
Camera Controls
icon in the Configuration screen.
Note
:This option is only available when you are connected to a RAV unit and have a camera
connected to the VISCA port.
To set camera presets
1. Select the
Camera Control Mode
, either Sony
or Canon.
2. Select which camera you are programming
from the
Camera
list.
3. Select the
Camera Delay
.
Camera delay is the amount of time the
microphone must be activated before the
camera moves to the preset position and
amount of time the microphone must be
inactive before returning to the home position.
ClearOne recommends setting the camera delay
to at least two seconds to prevent the camera
from changing positions at every sound.
4. Using the directional arrow buttons and the Zoom In and Out buttons, position the camera
for the first microphone pod.
5. Click
Save Preset
under the microphone pod to assign the camera position to the mic pod.
6. Repeat steps for the second and third mic pod (RAV 900 only) and home position.
7. Select the
Voice Tracking System Enabled
.
Note
:Once you set the presets,do not switch Camera Control Mode (the camera type).This will
delete all presets.
Figure 3.28. Camera Controls
Camera Controls