


4 9112i IP Phone User Guide
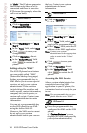
Aastra Web UI
The "Network Settings" and "SIP
Settings" selections are
administrator level options, and
require an administrator password
to access. Setting defaults under
"Phone Status" also requires an
administrator password. These
options should only be set up and
changed by your system
administrator.
For more information about
customizing your phone, see the
section "Customizing Your Phone"
in the Aastra SIP IP Phone 9112i
Installation Guide.
For more information about
administrator options, contact your
system administrator.
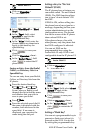
Aastra Web UI
You can access the 9112i phone’s
options using the Aastra Web UI.
In order to access the Aastra Web
UI, you will need to know the IP
address of your phone.
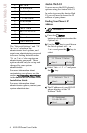
Finding Your Phone’s IP
Address
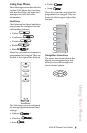
1. Press the I
button on the phone to enter the
Option List.
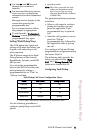
2. Use the V key to scroll down
the list of options to Phone
Status and press the U key to
select
.
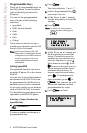
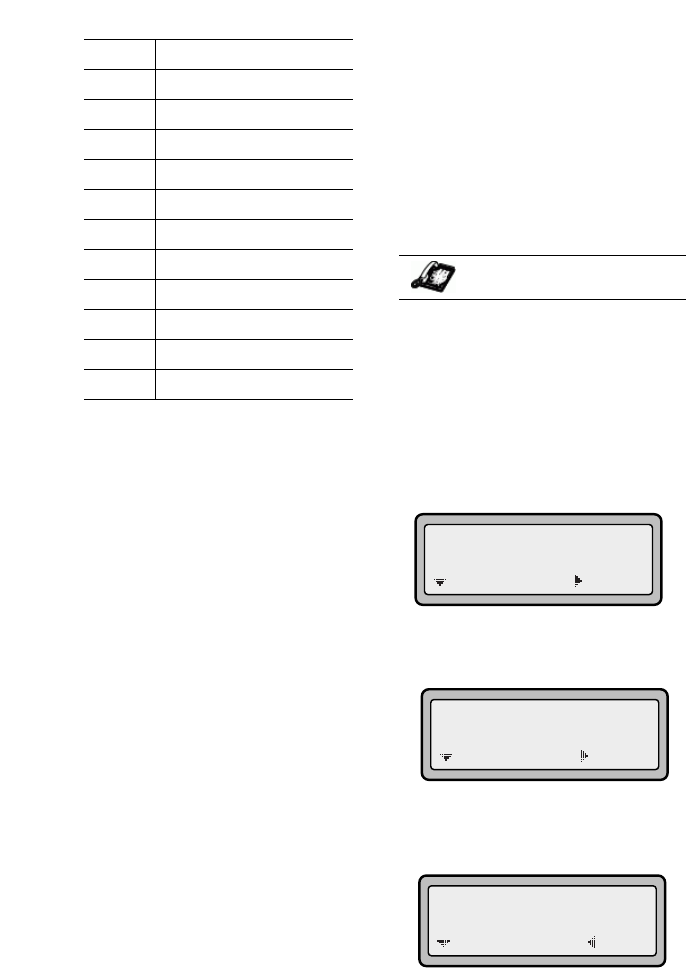
3. Select "Network Port" and press
the
U key.
4. The IP address of your 9112i IP
phone displays in the "IP
Address" field.
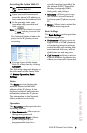
1
Language
2
Time and Date
3
Set Ring Tone
4
Clear Msg. Wtg.
5
Contrast Level
6
Live Dialpad
7
Headset Settings
8
Call Forward
9
Network Settings
10
SIP Settings
11
Phone Status
12
User Password
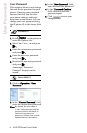
IP Phone UI
11 Phone Status
=Enter
=Next
1 Network Port
=Enter
=Next
IP Address:
10.40.50.112
=Exit
=Next