4 / IP Phone User Guide
Customizing Your 480i CT Base Station
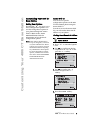
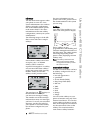
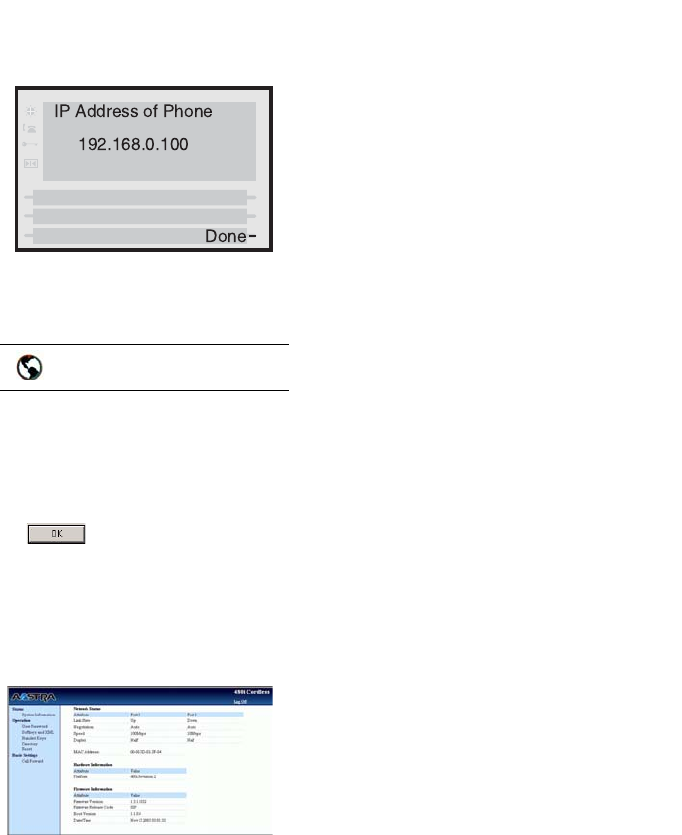
5. You will now see your phone’s
IP Address.
Accessing the Aastra Web UI
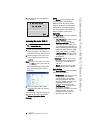
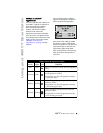
1. Open your web browser and
enter the phone’s IP address or
host name into the address field.
2. At the prompt, enter your user-
name and password and click
.
Note: For a user, the default user name
is “user” and the password field
is left blank.
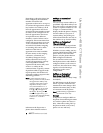
The Network Status window dis-
plays for the IP phone you are
accessing.
3. You can logout of the Aastra
Web UI at any time by clicking
LOGOFF.
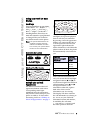
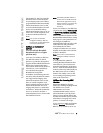
The following categories display in
the side menu of the Aastra Web
UI: Status, Operation, Basic
Settings.
Status
The Status section displays the
network status and the MAC
address of the IP phone. It also
displays hardware and firmware
information about the IP phone.
The information in the Network
Status window is read-only.
Operation
The Operation section provides the
following options:
- User Password - Allows you to
change user password
- Softkeys and XML - Allows
you to set up to 20 softkeys for
a specific function (line, do not
disturb (DND), speeddial, busy
lamp field (BLF), BLF list, XML,
flash, park, pickup, or empty.
--Handset Keys - Allows you to
configure up to 15 softkeys on
the handset.
Directory - Allows you to copy
the Callers List and Directory
List from your IP phone to
your PC.
- Reset - Allows you to restart
the IP phone when required.
Basic Settings
The Basic Settings section provides
the following options:
- Preferences - Allows you to set
park/pickup call settings,
enable/disable call waiting
tone and stuttered dial tone,
suppress DTMF playback, set
incoming intercom call
settings, and set ring tones.
- Call Forward - Allows you to
set a phone number
destination for where you want
calls forwarded. You can
configure call forward on a
global or per-line basis.
Aastra Web UI


