


97
3
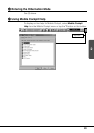
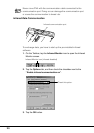
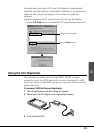
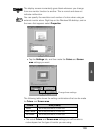
4. On the Taskbar, check the Infrared Monitor icon to make sure that
it has changed to the form that indicates infrared communication is
enabled.
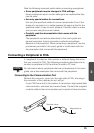
FIVA comes with software named Quick Beam, for data exchange
using the optional cradle. See the documentation that comes with the
cradle for information about how to use it.
Important
Leaving the infrared monitor on battery life. Be sure to power FIVA
using the AC adaptor whenever performing infrared communications.
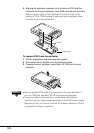
USB Connection
The USB (Universal Serial Bus) lets you connect or disconnect
peripherals without turning off FIVA power. There is one USB
connector built into FIVA and one more on the port replicator or
cradle.
USB devices include the mouse, keyboard, printer, etc. Each requires
a USB cable for connection. Use the appropriate cable for the device
you are connecting.
A peripheral connected to the USB port draws power from the port.
Click the USB icon and enable power before connecting a peripheral
to the USB port. See “8 Power Management for Specific Hardware”
on page 86 for more information.
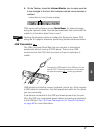
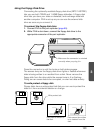
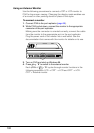
Connect the USB cable to the USB port on the
side of FIVA. Orient the connector of the cable
so the side marked
is facing upwards.
Infrared Monitor icon (infrared enabled)