


30
Telephone settings
Handset settings
Set date and time
The answering system announces the day and time of each message prior to
playing it. If you subscribe to caller ID service, the day, month and time are
set automatically with each incoming call. If you do not want to set the date
and time automatically with caller ID information, turn this feature off (see Use
caller ID to automatically set date and time on page 34). However, the year
must be correct so that the day of the week can be calculated from the caller
ID information. Before using the answering system, set the date and time as
follows.
After handset registration or a power failure, the handset will prompt you to set
the date and time.
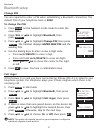
Follow the steps below to set the month, day, year and time.
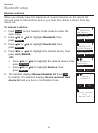
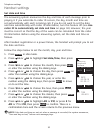
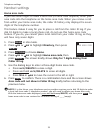
Press MENU in idle mode.
Press CID or DIR to highlight Set date/time, then press
SELECT .
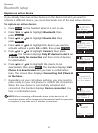
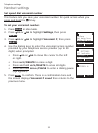
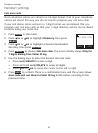
Press CID or DIR to choose the month, then press NEXT,
or enter the number using the dialing keys.
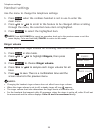
Press CID or DIR to choose the day, then press NEXT, or
enter the number using the dialing keys.
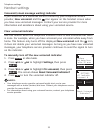
Press CID or DIR to choose the year, or enter the
number using the dialing keys, then press NEXT to move
on to set the time.
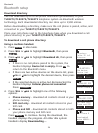
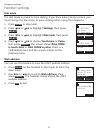
Press CID or DIR to choose the hour, then press SAVE,
or enter the number using the dialing keys.
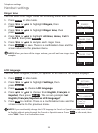
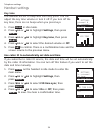
Press CID or DIR to choose the minute, then press SAVE,
or enter the number using the dialing keys.
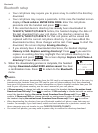
Press CID or DIR to highlight AM or PM, or press 2 for
AM or 7 for PM, then press SAVE to confirm. There is a
confirmation tone and the screen returns to the previous menu.
NOTE: If the date and time are not set when a message is recorded, the system announces,
“Time and day not set,” before each message plays.
1.
2.
3.
4.
5.
6.
7.
8.
Intercom
Bluetooth
Ringers
Set date/time
BACK
SELECT
SET DATE
09/30/10
MM/DD/YY
BACK
NEXT
SET TIME
05:41PM
BACK
SAVE