


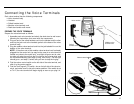

Connecting the Voice Terminals
●
●
●
●
●
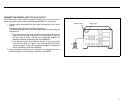
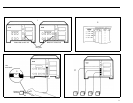
Each voice terminal has the following components:
Voice terminal body
Handset
Coiled handset cord
Modular voice terminal cord
Desk stand and/or wall mount
Voice terminal
Handset
3
LINE
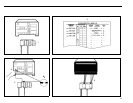
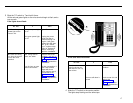
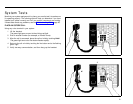
PREPARE THE VOICE TERMINALS
Prepare the voice terminals as follows:
1
2
3
4
5
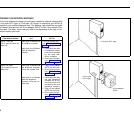
Assemble each voice terminal and attach the desk stand or wall mount
following the instructions that come with the components.
Plug one end of the coiled handset cord into the handset and the other
end into the jack next to the handset symbol at the base of the voice
terminal body.
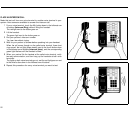
Plug the modular voice terminal cord into the jack labeled Line on the
bottom of the voice terminal.
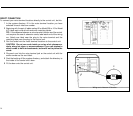
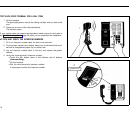
NOTE: If the other end of this modular voice terminal cord is already
plugged into the control unit (as may be the case for a voice terminal
located very close to the control unit), a red light will go on next to a but-
ton when you plug the cord into the Line jack on the voice terminal, and
the voice terminal may even begin to ring. Don’t worry. The red light
should go on, and step 5, below, tells you how to stop the ringing.
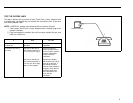
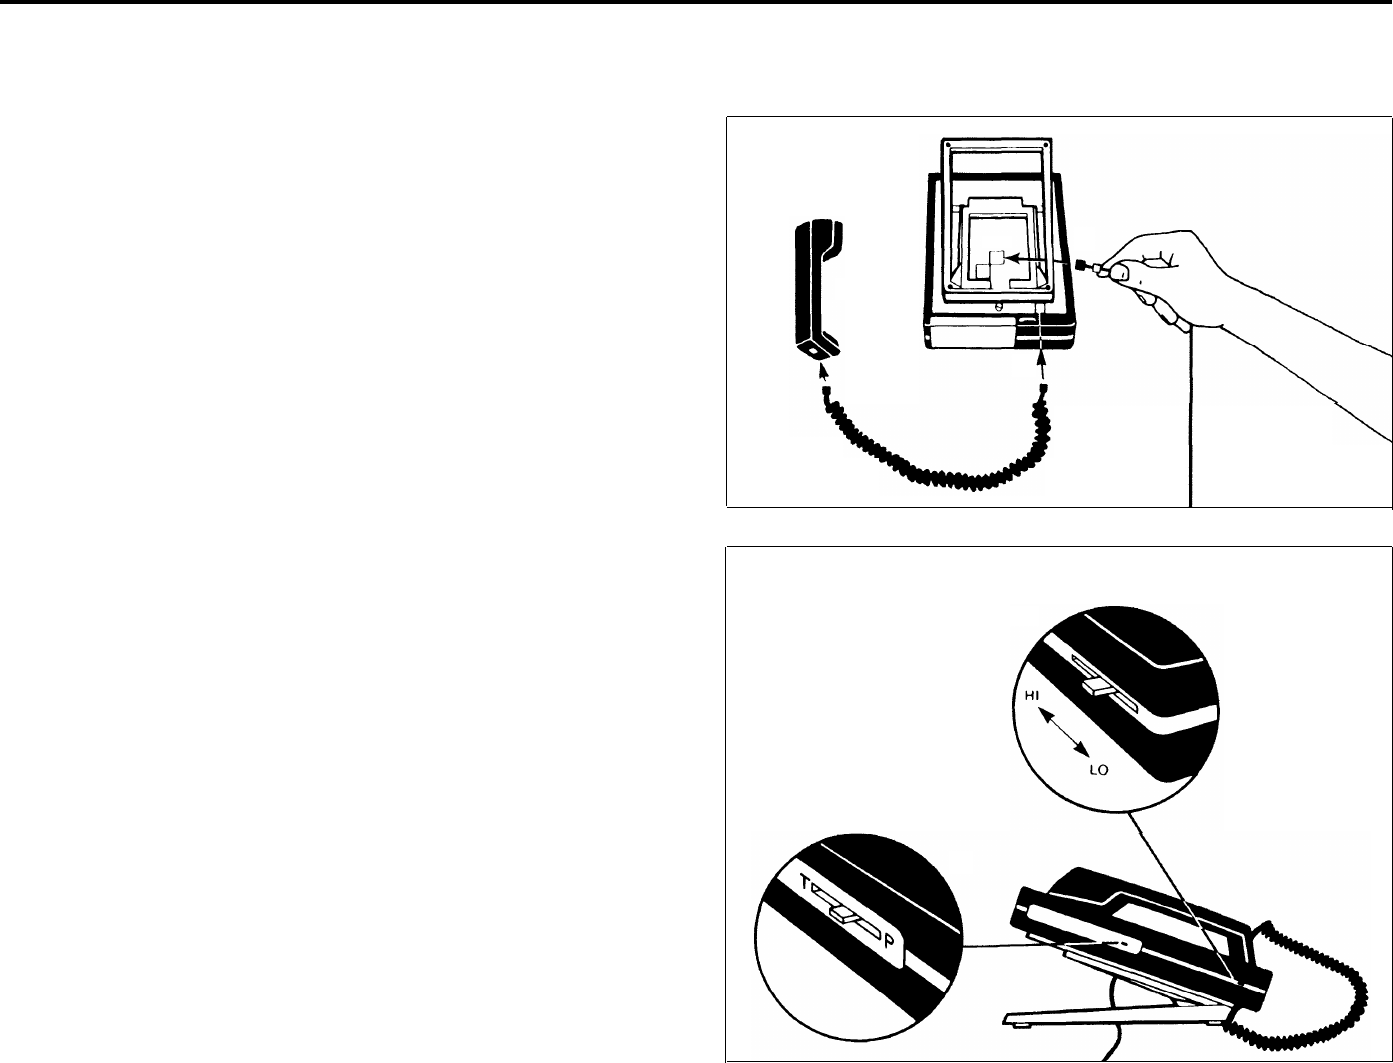
Find the volume control switch on the left side of the voice terminal, and
slide it to the center position.
Find the Test/Program (T/P) switch, also on the left side of the voice ter-
minal, and make sure it’s set to the center position. If the switch is set
at T or P, the voice terminal will begin ringing as soon as you plug it in.
2
2
Modular voice
terminal cord
Coiled
handset cord
Volume control switch
4
Test/Program switch
5
15