Model 6755i IP Phone User Guide 205
Managing Calls
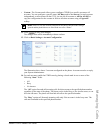
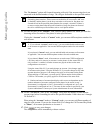
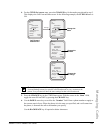
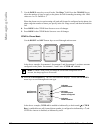
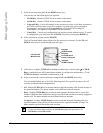
17. Press DONE in the CFWD Mode Screen to save all changes.
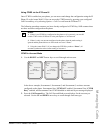
CFWD in Custom Mode
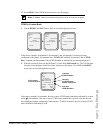
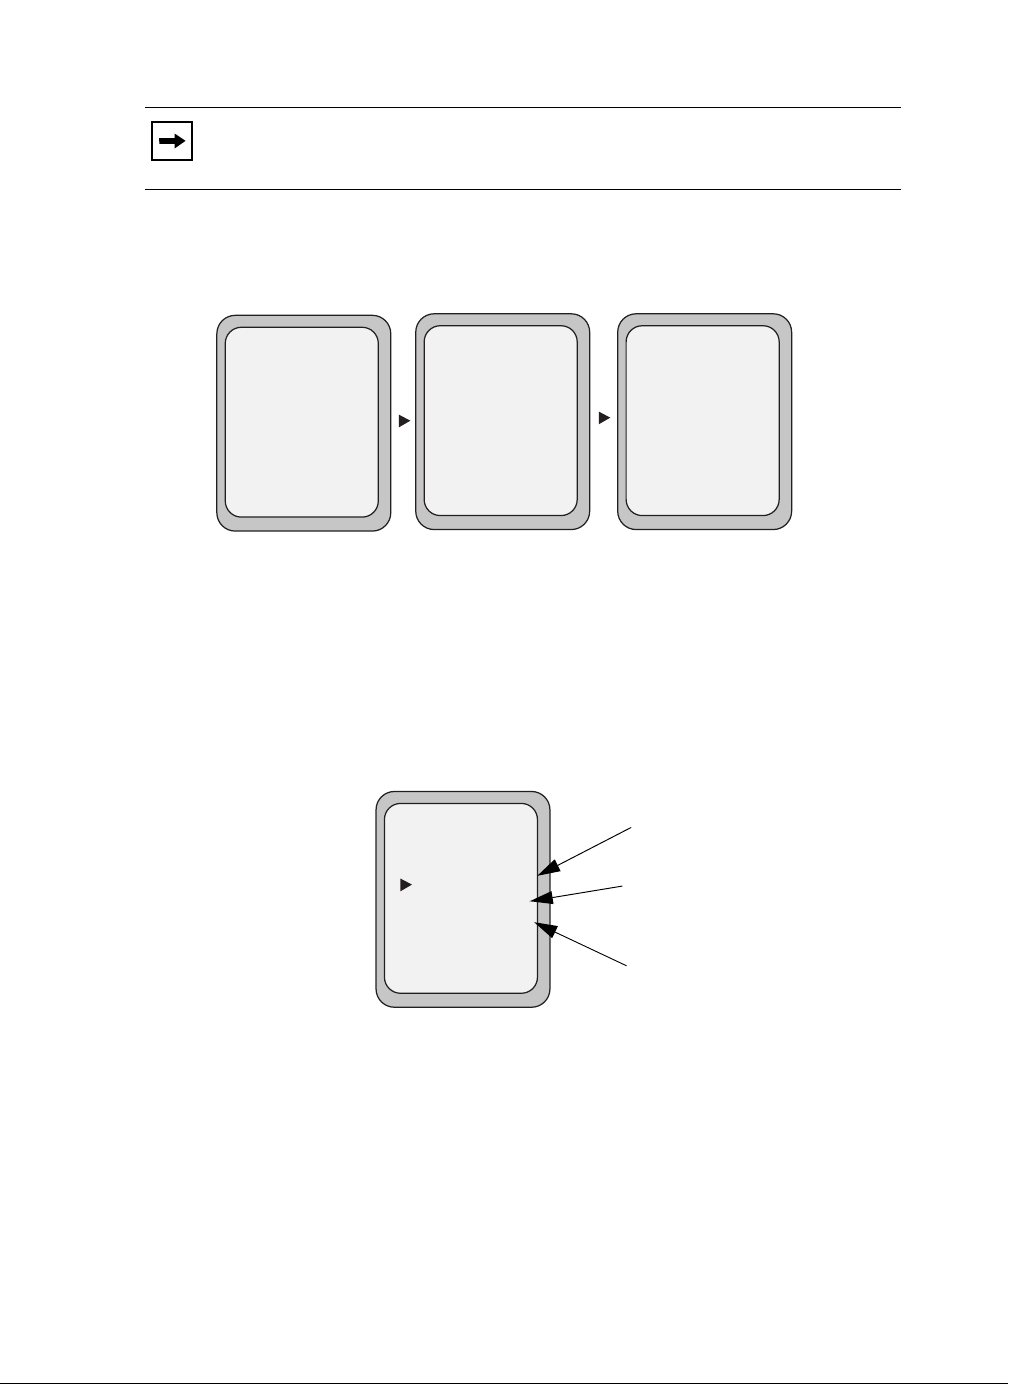
1. Use the RIGHT and LEFT arrow keys to scroll through each account.
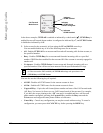
In the above example, Screenname1, Screenname2, and Screenname3, are three accounts
configured on the phone. Screenname1 has “CFWD All” enabled, Screenname2 has “CFWD
Busy” enabled, and Screenname3 has CFWD disabled as indicated by no message displayed.
2. With the account in focus on the IP Phone UI, press the Call Forward key. The Call Forward
Account screen displays which lists all the accounts on the phone. Use the UP and DOWN
arrow keys to scroll through each account.
In the above example, Screenname1 has one or more CFWD states enabled as indicated by a check
mark (
3), Screenname 2 has one or more CFWD states enabled but a specific state has no call
forward phone number configured as indicated by a
!, and Screenname3 has one or more CFWD
states disabled as indicated by an X.
Note: In “Phone” mode, the configuration applies to all the accounts on the phone.
Tues Jan1 10:00am
Services
Dir
Callers
L1
- Call Fwd
Screenname1
CFWD All
Tues Jan1 10:00am
Services
Dir
Callers
L2
- Call Fwd
Screenname2
Tues Jan1 10:00am
Services
Dir
Callers
L3
- Call Fwd
Screenname3
CFWD Busy
Indicates
Indicates
CFWD Enabled
CFWD Disabled
Indicates
no CFWD phone
number configured
Call Forward
Account Screen
Call Forward
- Change
- All Off
- All On
Cancel -
Done -
X
CopytoAll -
1. Screenname1
2. Screenname2
3. Screenname3
!
Services
Dir
Callers


