


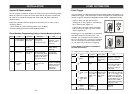

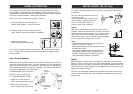
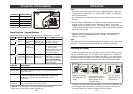
The control panel continuously monitors the system status as well as all the
sensors status. It will monitor occurrences such as triggered sensors, low
battery sensors, malfunction sensors, or phone line failure etc.
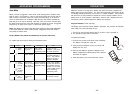
In order to check the system status, user can press the “Status” button on the
control panel, voice announcement will be made regarding the system and
sensor status. When the “Status” button is pressed, you will be notified if any of
the following events is occurring:
- System armed or disarmed
- Any triggered sensors
- Any sensors with low battery warning
- Any sensors with failure warning
- Phone line failure
Refer to page 23 for more details regarding system failures.
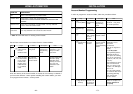
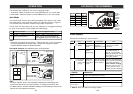
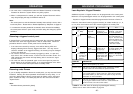
Arming the System
You should arm the system when you are the last person to leave the house. By
arming the system, the control panel will call the preprogrammed emergency
phone numbers and the siren will sound when break-in occurs.
Caution: Only arm the system when nobody is expected to be inside the premises.
When someone is expected to be within the premises, the system should not be
armed.
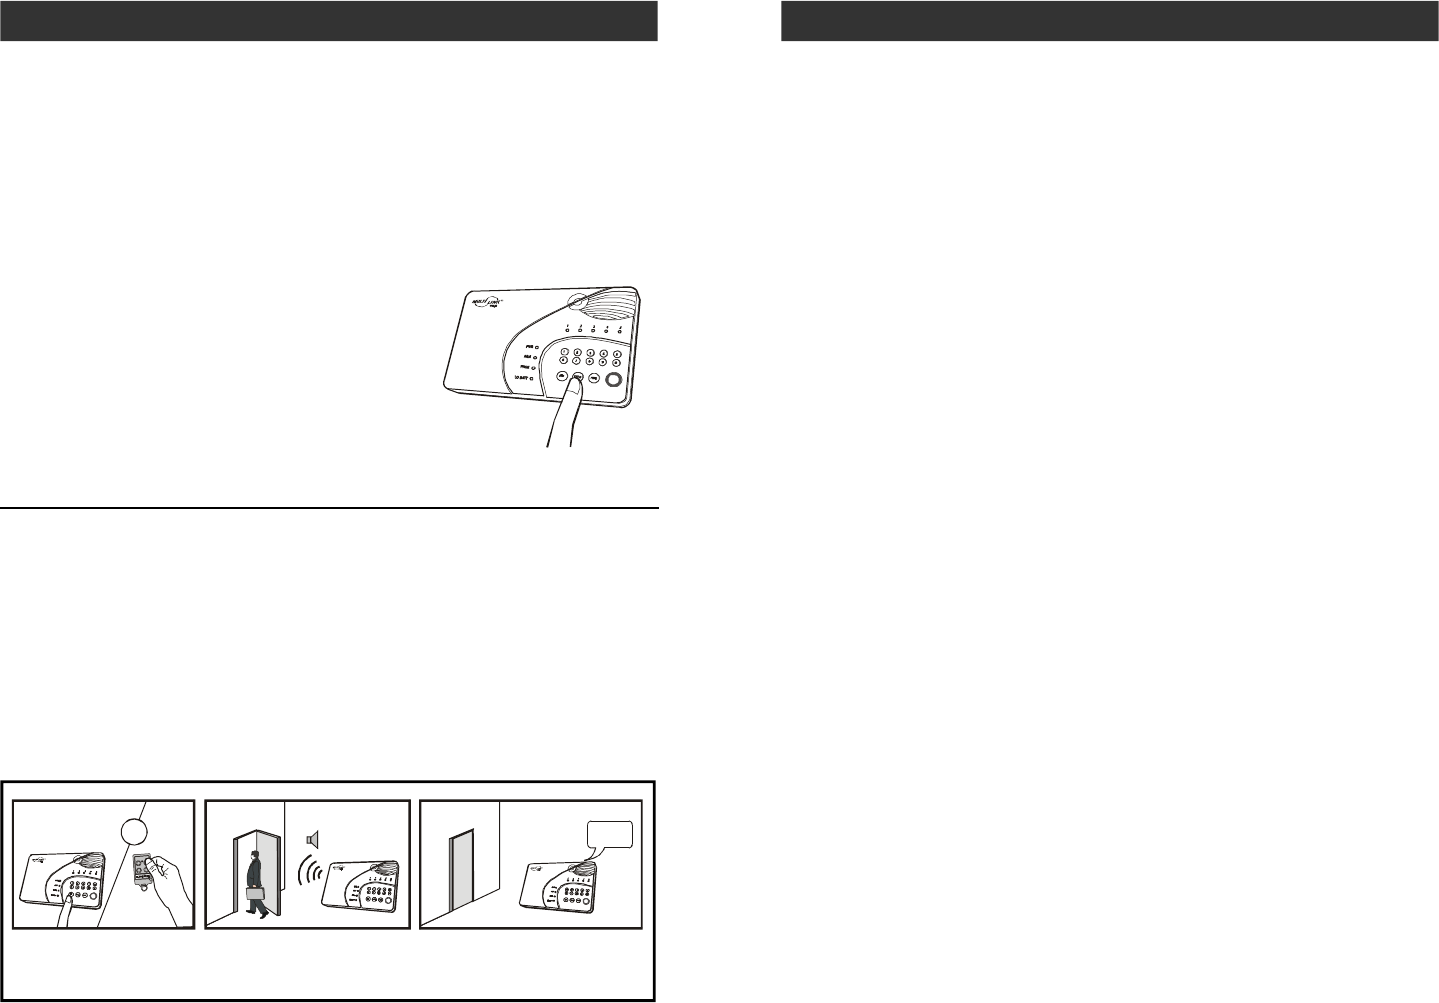
To arm the system, follow the procedures below:
1. Press [Arm] button on the control panel when no sensors are triggered.
You can also use the keychain remote to arm the system by pressing arm
button on the remote.
System Status
OPERATION
1. Press [Arm] on the control
panel or keychain remote.
2. Leave the premises
within 45 seconds.
3. After 45 seconds.
System will be armed.
Beep Beep
Exit delay 45 seconds
System
Armed
45 seconds later
ARM LED on.
–
20
–
–
37
–
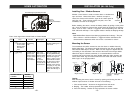
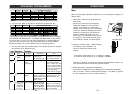
ADVANCED PROGRAMMING
Learn Sensors
You can program up to 10 sensors to the control panel. There are 5 zones on
the control panel, each zone can program up to 2 sensors. Before program-
ming a sensor, you must decide which sensor location (zone number and
sensor number) you would like to program the sensor to. It is strongly recom-
mended that you refer to “Sensor Location Selection Guide” before deciding
which sensor location you would like to program the new sensors to. Some
features you may need to consider are: 1) Beep/Alarm setting, 2) auto mute, 3)
alert zone , 4) event trigger. Explanation for each feature can be found in the
following pages in Advanced Programming:
1. Beep/Alarm Setting - Page 29
2. Auto Mute - Page 32
3. Alert Zone - Page 33
4. Event Trigger - Page 45
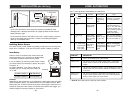
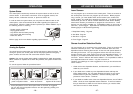
Sensor Location Selection Guide
You can program up to 10 sensors to the control panel. There are 5 zones and
maximum 2 sesnors per zone. The 4 features mentioned above are Zone
dependent features meaning both sensors in that zone will operate based on
the setting for that zone. So if you program 2 sensors into one zone, those 2
sensors will react in the same manner for those zone dependent features. For
example, if you enable the Auto-Mute feature for zone 1, both zone 1 sensor 1,
and zone 1 sensor 2 will have this feature enabled. It is not possible to enable a
zone dependent feature for sensor 1 only, but not sensor 2.
Therefore, the followings are some suggestions of how you should select the
sensor location.
1. Check all the zone dependent features, and determine if you would like to
enable any one of them.
2. If you decide not to enable any zone dependent features and keep the
factory default setting, you can simply program the sensor to any sensor
location based on your own preference. Omit the following steps and
proceed to "Learn Sensor - Continue".
3. If you decide to enable some of the zone dependent features, check Table C
below. Circle the zone dependent feature selections. If there are features
that you would like to enable for more than 2 sensors, you need to select
more than one zone for those features.
OR