


42
Receiving Faxes
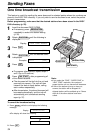
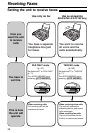
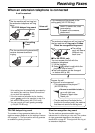
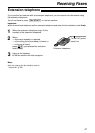
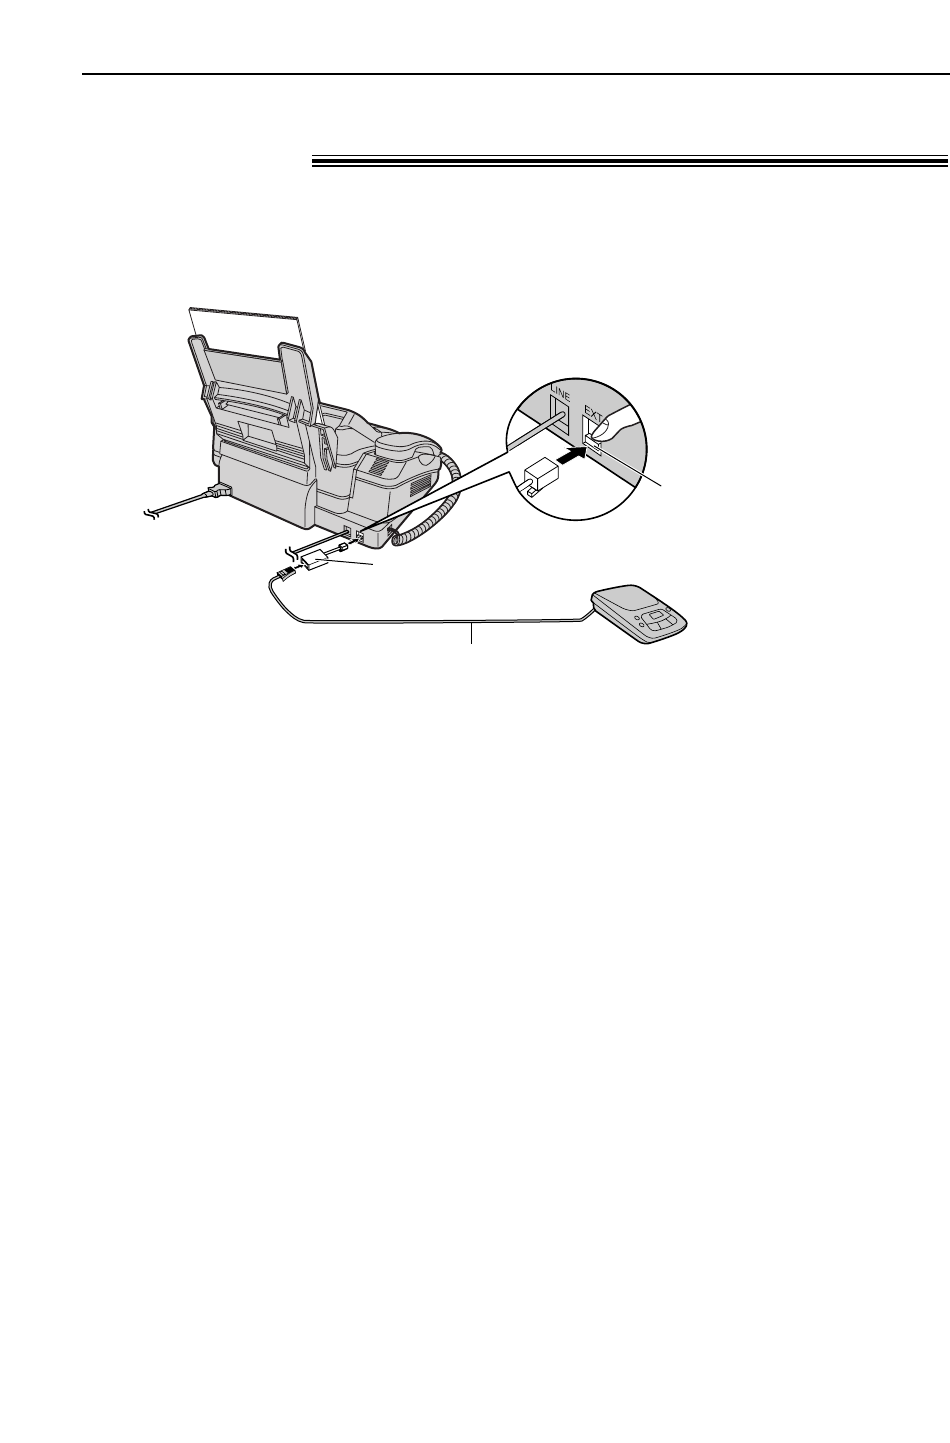
Remove the stopper with
your finger and connect
the cord to the EXT jack.
Telephone line cord
(not included)
Extension telephone adaptor
(not included)
Stopper
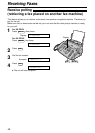
Answering machine
(not included)
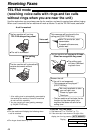
1
Connect the answering machine.
Setting up the fax machine and an answering machine
Note:
●
We recommend you keep the greeting message around to 10 seconds long. If the greeting message is
too long, some incoming fax calls may not be answered by the fax machine.
●
Every time the fax machine receives a document, a silent pause or fax tone may be recorded on the
answering machine.
2
Set the number of rings on the answering machine to less than 4.
●
This will allow the answering machine to answer the call first.
3
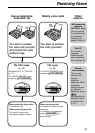
Record a greeting message on the answering machine.
Example:
“This is (your name, business and/or telephone number). We are unable to
answer the phone right now. To send a fax, start transmission. To leave a
message, please speak after the beep. Thank you.”
4
Activate the answering machine.
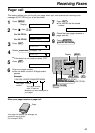
5
Set the receive mode of the fax machine to the TEL mode (p. 40) or FAX ONLY mode
(p. 41).
●
If you set to the FAX ONLY mode, set the ring count in the FAX ONLY mode to
more than 5 (feature #06 on page 65). Using the FAX ONLY mode will allow you to
receive faxes if the answering machine is full.
6
Check the remote access code of the answering machine and program the same code into
the remote operation ID of the fax machine. See feature #12 on page 66.
Using the unit with an answering machine
(KX-FP181 only)!