


Avaya 1010/1020 User Guide 19
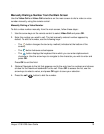
Adjusting Volume
To adjust the volume in a call, use the button on the remote control. You can also adjust
the active microphone volume, or the treble and bass levels for audio out by adjusting
preferences in User Preferences : Audio.
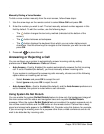
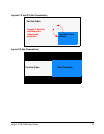
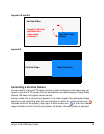
Volume preferences for audio inputs appear with a bar graph audio meter next to the slider.
The audio meter expands below the slider when you select the slider and press OK on the
remote control.
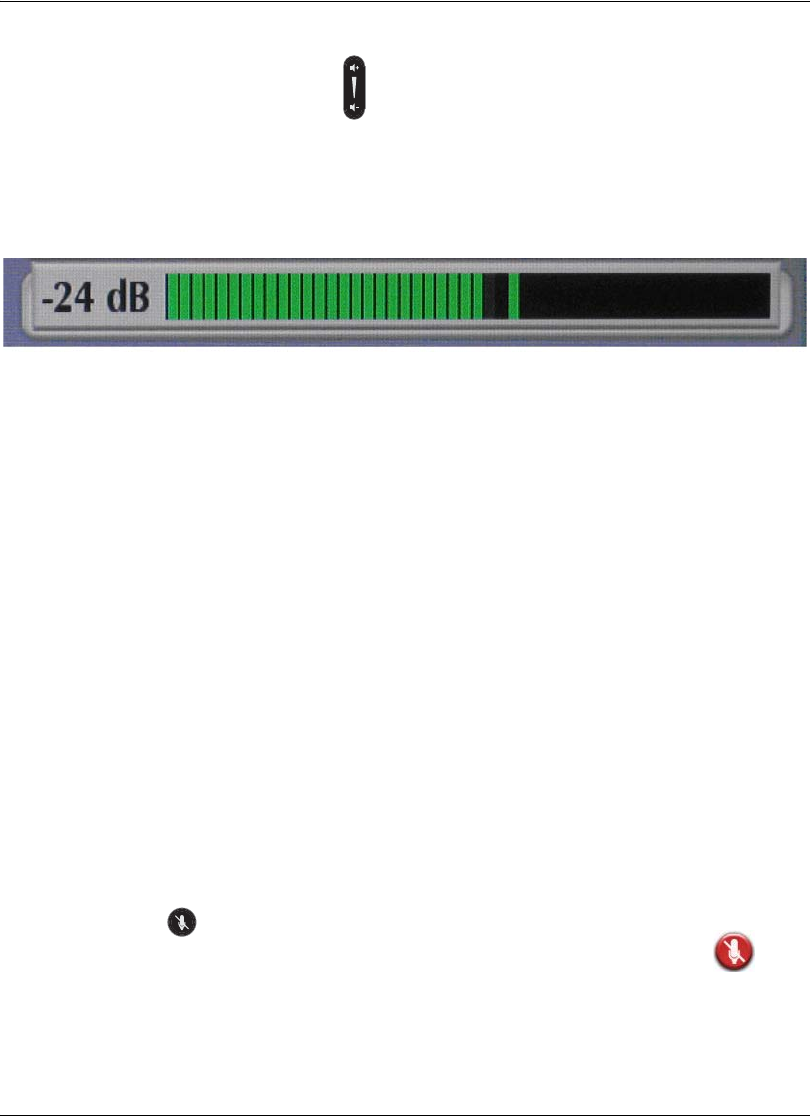
The audio meter displays the level of the transmitted voice. The meter is calibrated in
decibels (dB) RMS below digital full scale (DFS). The meter is accurate to ± 1 dB.
• A level of 0 dB is the maximum.
• Levels below –50 dB are not displayed, and indicate a very quiet or inactive input.
• Typical levels during a call peak around –28 to –22 dB DFS. The AEC (Acoustic Echo
Canceller) and AGC (Automatic Gain Control) In Avaya 1010/1020 attempt to keep the
RMS transmit level below –20 dB DFS.
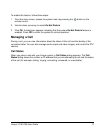
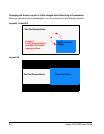
To set the level for your audio input, position someone the same distance from the
microphone as participants would be in the room during a video conference and have them
speak at a normal volume. Green bars indicate an acceptable setting at normal speaking
volume. Yellow bars are acceptable if you are shouting or speaking loudly. Avoid settings
that produce red bars in the audio meter.
Avaya recommends a volume setting of 5 to 8 for most Avaya Video MicPod 1000
applications. Avaya recommends a volume setting of 5 to 10 for most Avaya Video Camera
100 applications. Use the meter to visually verify that the transmit level peaks in the desired
-28 to -22 dB range.
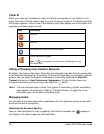
When the user interface is visible during a call, a volume meter for the active microphone
appears in the near video image next to the dominant speaker icon.
Muting the Active Microphone
Pressing the mute button on the remote control or Avaya Video MicPod 1000 mutes the
active microphone. When the near side active microphone is muted in a call, the
symbol appears.