


8
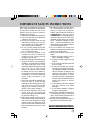
Setting Up Your
VTECH VT 9151/ VT 9155
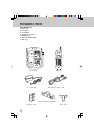
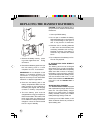
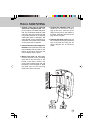
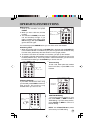
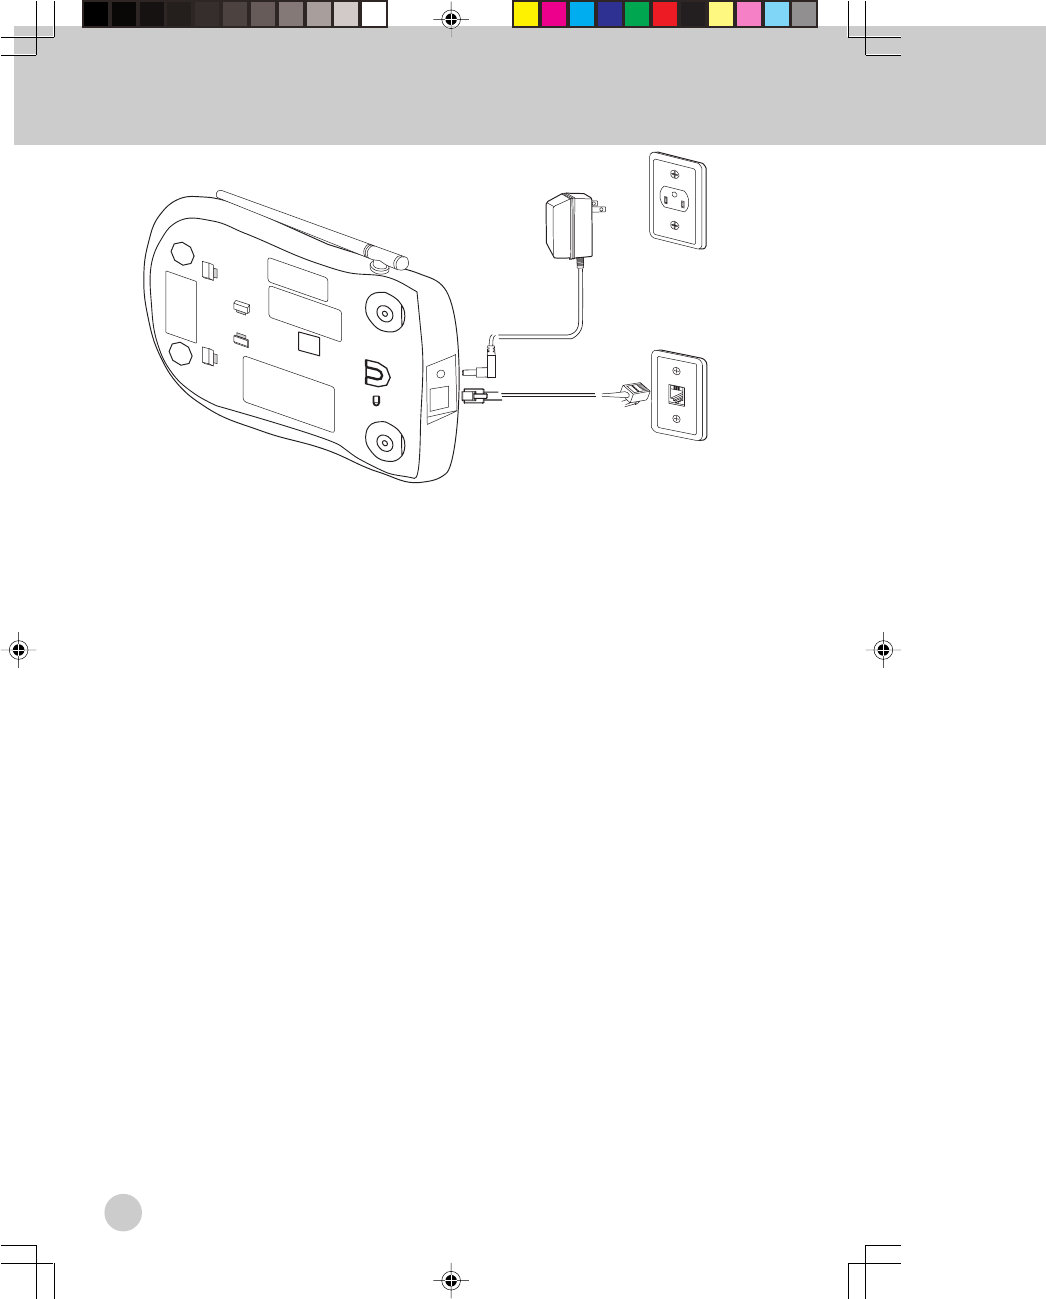
1. Choose an area near an electrical
outlet and a telephone wall jack.
2. Plug the AC power adapter into an
electrical outlet and the DC
connector to the back of the base unit.
CAUTION: Use only the AC adapter
shipped with your
VTECH VT 9151/
VT 9155
. This is a Class 2 AC adapter,
specifically designed for use with the
VTECH VT 9151/VT 9155
.
NOTE: Connect power to the base unit
before placing the handset in the cradle.
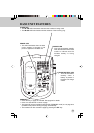
3. The ANSWER ON/OFF indicator key
will then turn on to indicate the ITAD
is initialized. After a while, the display
will show “CL” flashing, indicating that
the day and time must be set.
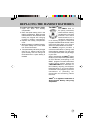
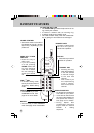
4. CHARGE THE HANDSET BATTERIES
BEFORE USE. The batteries recharge
automatically whenever the handset
is in the base unit cradle. The batter-
ies must be charged for 24 hours
before using your phone for the first
time.
GETTING STARTED
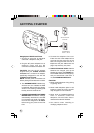
5. Connect the telephone line cord.
Insert one end of the telephone line
cord into the jack at the rear of the
base unit. Plug the other end into a
telephone wall jack. Make sure the
plugs snap securely into place.
6. CHECK FOR A DIAL TONE. After the
batteries are charged, pick up the
handset and press the PHONE key.
The PHONE indicator should light up,
and you should hear a dial tone. If
not, see IN CASE OF DIFFICULTY.
CAUTION:
1. Never install telephone wiring during
a lightning storm.
2. Never install telephone jacks in wet
locations unless the jack is specifi-
cally designed for wet locations.
3. Never touch un-insulated telephone
wires or terminals unless the
telephone line has been discon-
nected at the network interface.
4. Use caution when installing or
modifying telephone lines.
TELEPHONE
WALL JACK
AC
ELECTRICAL
OUTLET