


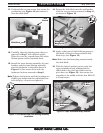


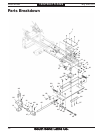

11. Unthread the two cap screws that secure the
end bracket (see Figure 10) and remove it
from the slide block.
Figure 10. End bracket removed from slide block.
End
Bracket
Slide Block
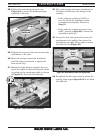
Figure 11. End bracket and outer bearing assembly
installation.
!
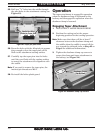
14. Secure the slide block onto the end bracket
with the two cap screws removed in Step 11,
as shown in Figure 12.
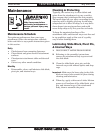
Figure 13. Taper attachment body installed.
Cap Screw
(1 of 4)
Taper Attachment
Body
Pivot Pin
& Bore
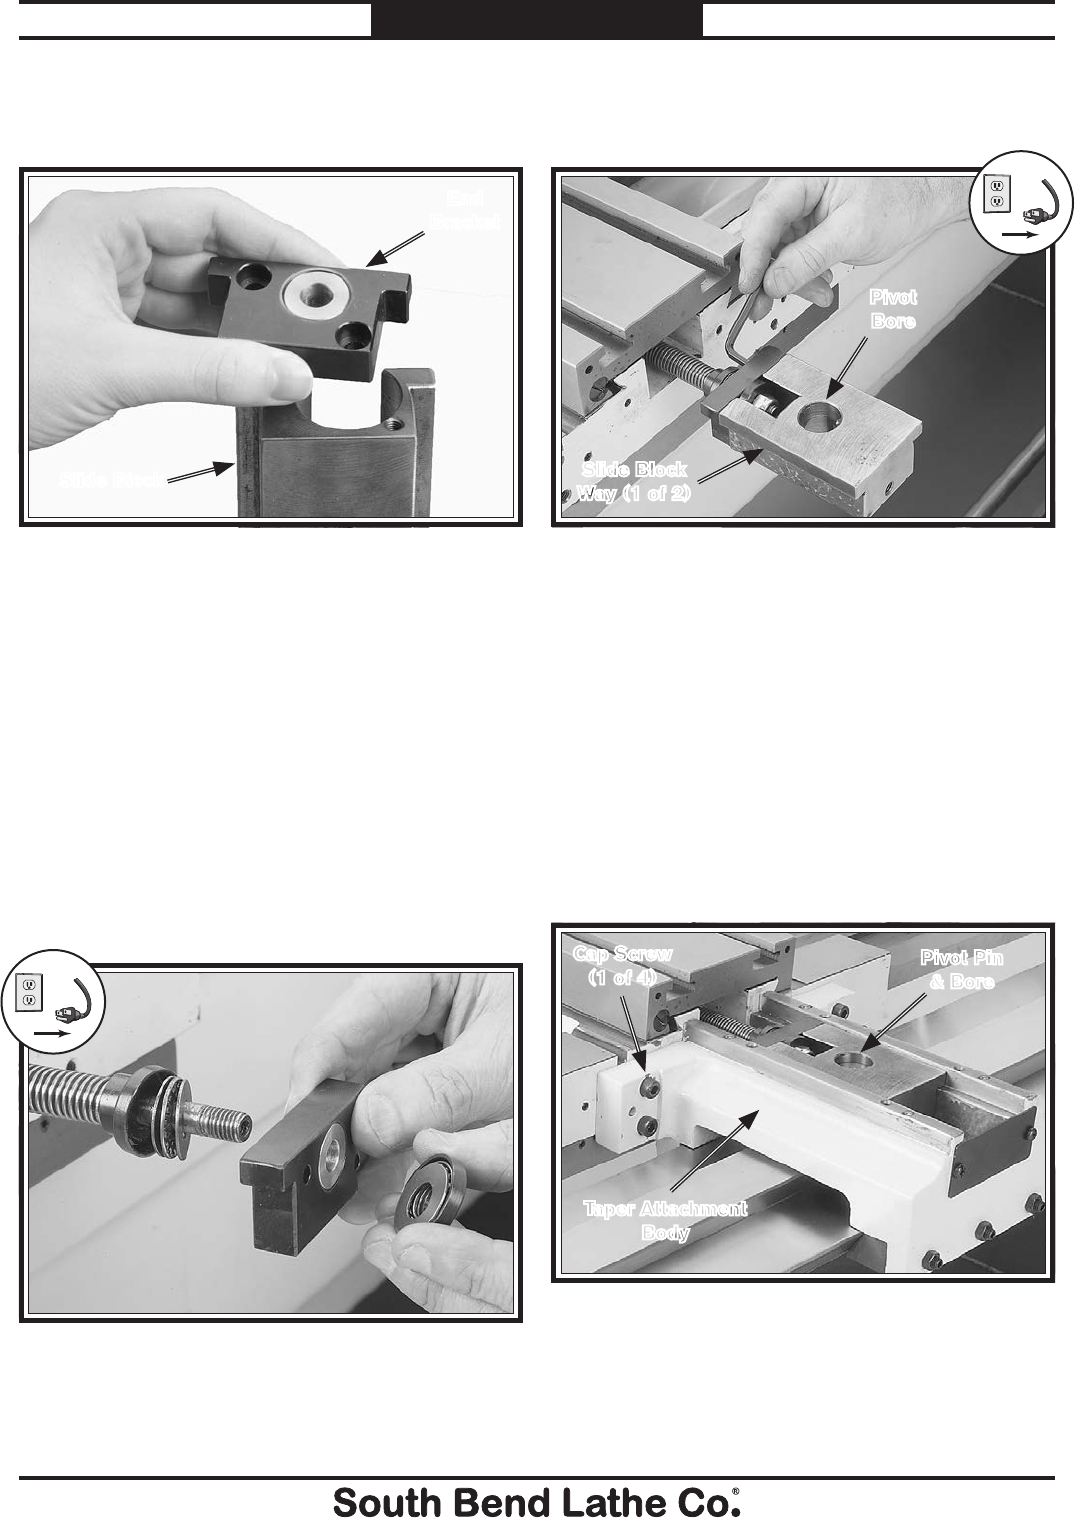
15. Apply a thin coat of white lithium grease to
the inside of the pivot bore and both slide
block ways (see Figure 12).
Note: Make sure the brass plug remains inside
the slide block.
16. With the help of another person, raise the
taper attachment body underneath the
slide block so the pivot pin slides into the
pivot bore (see Figure 13), then secure the
assembly to the saddle with the four M8-1.25
x 45 cap screws.
Figure 12. Slide block installation.
Pivot
Bore
Slide Block
Way (1 of 2)
12. Carefully clean the bearing parts that you
removed in Step 7 with mineral spirits.
When they are dry, repack them with white
lithium grease and re-assemble them.
13. Install the inner bearing assembly, the end
bracket, and the outer bearing assembly
onto the leadscrew in the order shown in
Figure 11, then secure them with the
leadscrew lock nut removed in Step 6.
Note: Tighten the lock nut until the bearings are
slightly pre-loaded and the end bracket has
zero end play—do not over-tighten it.
!
-6-
Mfg. Since 9/11
Model SB1263
INSTRUCTIONS